Easy Ways to Clean and Maintain Your Vacuum Cleaner
Vacuum cleaners are the unsung heroes of our homes, tirelessly collecting dust, dirt, and debris to keep our living spaces clean and healthy. But who cleans the cleaner? In this comprehensive guide, we’ll explore the essential steps to maintain your vacuum cleaner, ensuring it continues to perform at its best for years to come.
Your vacuum cleaner works hard to keep your home pristine, but without proper care, its performance can deteriorate over time. Regular maintenance not only extends the life of your appliance but also ensures it cleans effectively, saving you time and money in the long run.
Benefits of Regular Vacuum Cleaner Maintenance:
- Improved suction power
- Enhanced air quality in your home
- Reduced energy consumption
- Extended lifespan of your vacuum
- Better cleaning results
Understanding Your Vacuum Cleaner
Before diving into maintenance techniques, it’s crucial to understand the different types of vacuum cleaners and their components.
Types of Vacuum Cleaners:
- Upright vacuums
- Canister vacuums
- Stick vacuums
- Handheld vacuums
- Robot vacuums
Each type has its unique features, but they all share common components that require regular attention.
Key Components:
- Dust bag or canister
- Filters (HEPA, foam, or cloth)
- Brush roll or beater bar
- Hoses and attachments
- Motor
Understanding these parts will help you maintain your vacuum cleaner more effectively.
Signs Your Vacuum Cleaner Needs Cleaning
Don’t wait for your vacuum to stop working entirely. Look out for these telltale signs that indicate it’s time for a thorough cleaning:
- Reduced suction power: If your vacuum isn’t picking up debris as efficiently as before, it’s likely due for a clean.
- Unusual noises: Strange rattling, whistling, or whining sounds can indicate blockages or worn parts.
- Unpleasant odors: Foul smells coming from your vacuum often mean it’s time to empty and clean the dust compartment and filters.
Essential Tools and Materials for Cleaning
Before you begin, gather these items:
- Screwdriver
- Scissors
- Cleaning cloth
- Warm water
- Mild dish soap
- Compressed air (optional)
- Replacement filters (if needed)
Safety Tip: Always unplug your vacuum cleaner before performing any maintenance tasks.
Step-by-Step Guide to Cleaning Your Vacuum Cleaner
1. Emptying the Dust Bag or Canister
For bagged vacuums:
- Remove the bag carefully to avoid spilling dust.
- Replace with a new bag if it’s more than 2/3 full.
For bagless vacuums:
- Remove the canister and empty it into a trash bag outdoors.
- Wipe the inside of the canister with a damp cloth.
- Allow it to dry completely before reassembling.
2. Cleaning or Replacing Filters
Filters are crucial for trapping fine particles and maintaining air quality.
- Locate all filters in your vacuum (consult your manual if unsure).
- Remove each filter carefully.
- For washable filters:
- Rinse under cold water until the water runs clear.
- Allow to air dry completely (usually 24-48 hours).
- For non-washable filters:
- Tap gently to remove loose dust.
- Replace if visibly worn or damaged.
Pro Tip: Mark your calendar to check and clean filters monthly for optimal performance.
3. Inspecting and Cleaning the Brush Roll
The brush roll or beater bar is essential for agitating carpet fibers and collecting debris.
- Turn your vacuum over and locate the brush roll.
- Cut away any tangled hair or fibers using scissors.
- Remove the brush roll if possible (refer to your manual).
- Clean the brush and its housing with a damp cloth.
- Allow to dry before reassembling.
4. Checking and Clearing Hoses and Attachments
Blockages in hoses and attachments can significantly reduce suction power.
- Detach all hoses and attachments.
- Visually inspect for blockages.
- Use a long, flexible brush or a straightened wire hanger to clear any obstructions.
- Rinse attachments with warm, soapy water and allow to dry.
5. Wiping Down the Exterior
Don’t forget the outside of your vacuum!
- Use a damp cloth to wipe down the exterior.
- Pay special attention to wheels and crevices where dust can accumulate.
- Dry thoroughly with a clean cloth.
Maintaining Different Types of Vacuum Cleaners
While the general principles of maintenance apply to all vacuums, each type has its unique considerations.
Upright Vacuums
- Focus on belt maintenance, as these often wear out in upright models.
- Check for proper height adjustment to ensure effective cleaning on different surfaces.
Canister Vacuums
- Pay extra attention to hose maintenance, as these are prone to blockages.
- Regularly inspect the connection points between the canister and attachments.
Stick and Handheld Vacuums
- These often have smaller dust compartments, so empty them more frequently.
- Be gentle with flexible hoses to prevent damage.
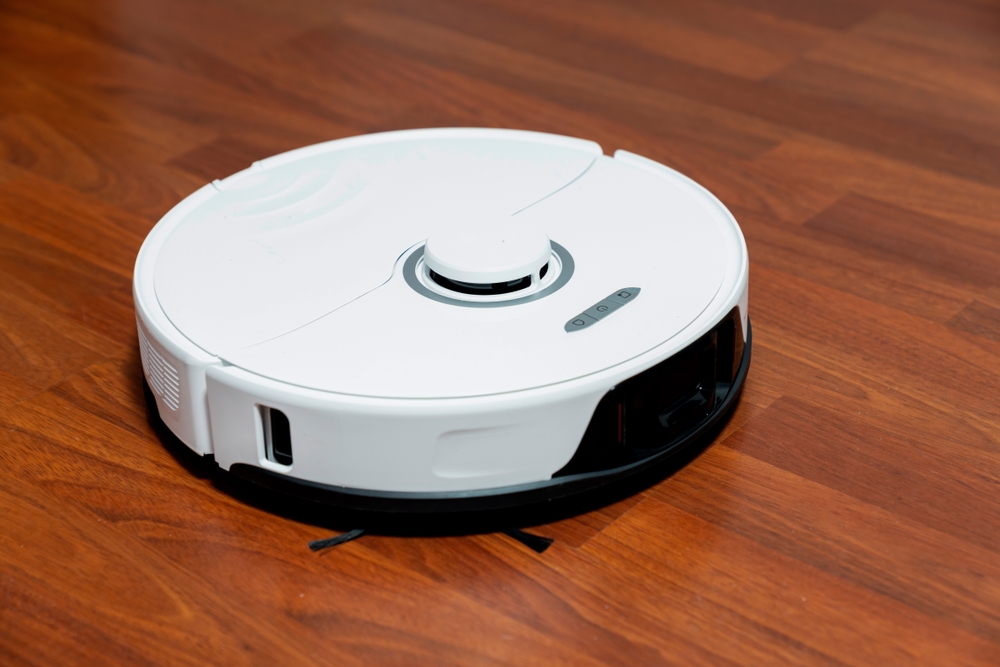
Robot Vacuums
- Clean sensors regularly to ensure proper navigation.
- Empty the dust bin after each use.
- Keep charging contacts clean for efficient battery charging.
Tips for Extending Your Vacuum Cleaner’s Lifespan
Implement these practices to keep your vacuum running smoothly for years:
- Proper storage: Store your vacuum in a cool, dry place to prevent moisture damage.
- Regular maintenance schedule: Set reminders for monthly deep cleans and filter checks.
- Use the right settings: Adjust height and suction settings for different floor types.
- Don’t overwork your vacuum: Empty the dust compartment when it’s 2/3 full to maintain suction power.
- Address issues promptly: Don’t ignore strange noises or reduced performance.
Troubleshooting Common Vacuum Cleaner Issues
Even with regular maintenance, you may encounter some common problems:
Loss of Suction
- Check for blockages in hoses and attachments.
- Ensure the dust bag or canister isn’t full.
- Clean or replace filters.
- Inspect the brush roll for tangles.
Overheating
- Empty the dust compartment and clean filters.
- Check for blockages that might be straining the motor.
- Allow the vacuum to cool down before resuming use.
Strange Smells or Noises
- Clean all components thoroughly.
- Check for objects caught in the brush roll or hoses.
- Replace the dust bag or empty and clean the canister.
When to Seek Professional Help or Consider Replacement
While regular maintenance can solve most issues, some problems require professional attention:
- Motor failures
- Electrical issues
- Significant loss of suction despite thorough cleaning
- Damaged body or critical components
Consider replacement if:
- Repairs cost more than 50% of a new vacuum’s price.
- Your vacuum is over 10 years old and frequently needs repairs.
- New models offer significantly better energy efficiency or features.
Eco-Friendly Cleaning Solutions for Vacuum Maintenance
Embrace sustainable practices in your vacuum maintenance routine:
Natural Cleaning Agents:
- Use a mixture of equal parts water and white vinegar for cleaning attachments.
- Baking soda can help neutralize odors in filters and dust compartments.
Sustainable Practices:
- Opt for washable, reusable filters when possible.
- Consider bagless models to reduce waste from disposable bags.
- Properly dispose of or recycle old vacuum cleaners and parts.
Conclusion
Maintaining your vacuum cleaner doesn’t have to be a chore. By incorporating these easy cleaning and maintenance steps into your routine, you’ll ensure your vacuum continues to perform at its best, keeping your home clean and healthy. Remember, a well-maintained vacuum not only cleans more effectively but also contributes to better air quality and a more sustainable home environment.
FAQs
Q: How often should I clean my vacuum cleaner? A: Perform basic maintenance like emptying the dust compartment and checking for blockages after each use. Deep clean filters and components monthly.
Q: Can I wash foam filters? A: Most foam filters are washable. Rinse with cold water and allow to air dry completely before reinserting.
Q: Why does my vacuum smell bad even after cleaning? A: Persistent odors might indicate mold growth. Try cleaning with a vinegar solution and ensure all components are completely dry before reassembling.
Q: Is it normal for my vacuum to get hot during use? A: Some warmth is normal, but excessive heat could indicate a blockage or motor issue. Stop using the vacuum and check for obstructions.
Q: How do I know if my vacuum’s motor needs replacing? A: Signs include significant loss of suction, unusual noises, or failure to turn on. If these persist after thorough cleaning, consult a professional.
By following these comprehensive maintenance tips, you’ll keep your vacuum cleaner in top condition, ensuring a cleaner home and a longer-lasting appliance. Remember, a little care goes a long way in maintaining the efficiency and longevity of your trusted cleaning companion.