Ultimate Butterfinger Layered Dessert
Get ready to meet a dessert that might just become the star of your recipe collection! This Ultimate Butterfinger Layered Dessert is a glorious stack of rich brownie, dreamy creamy filling, and that absolutely unmistakable crunchy, peanut-buttery magic from Butterfinger candy bars. It looks super fancy, a bit like a dessert lasagna’s cooler cousin, but don’t let that fool you – it’s surprisingly straightforward to assemble. Perfect for anyone dipping their toes into homemade treats, this halal recipe guides you step-by-step. Prepare for happy sighs (and maybe some gentle demands for the recipe) when this beauty hits the table!
Ingredients
Here’s the treasure needed for this delightful halal dessert:
- 🍫 1 box (approx. 18 oz) Halal brownie mix (plus ingredients called for on the box, like eggs, oil, water) OR 1 batch of your favorite homemade halal brownies
- 🧀 8 oz (1 block) Halal cream cheese, fully softened to room temperature (seriously, let it soften properly, it makes life easier!)
- 🍬 1 cup powdered sugar (also known as confectioners’ sugar)
- 🍦 16 oz Halal frozen whipped topping (like Cool Whip), completely thawed in the refrigerator (no icy bits allowed!)
- 🥜 6-8 full-size Halal Butterfinger candy bars (check packaging to ensure halal certification if needed – better safe than sorry!)
Equipment
Gather these trusty tools before embarking on this sweet adventure:
- 🥘 9×13 inch baking pan (for the brownie foundation)
- 🥣 Large mixing bowl (bigger is often better to avoid mess!)
- ⚡ Electric mixer (handheld or stand mixer – your call!)
- 🥄 Rubber spatula or large spoon (for gentle folding maneuvers)
- 🥄 Measuring cups and spoons (accuracy is key!)
- 🔪 Sharp knife (for slicing those cooled brownies)
- 🤐 Large, sturdy zip-top bag (choose one that can take a beating!)
- 🔨 Rolling pin or flat meat mallet (for the candy-crushing fun)
- 🍽️ Serving dish (a 9×13 inch glass one looks great) or just serve from the pan (we won’t judge!)
- ✨ Plastic wrap or lid (for keeping it fresh during chill time)
Instructions
Follow these steps for guaranteed dessert triumph:
- Build the Brownie Base: Prepare the brownies according to the package directions or your go-to recipe, baking them right in the 9×13 inch pan. Let them cool completely in the pan. Like, really completely. Walk away, have a cup of tea, just let them chill out.
- Candy Crushing Time: While the brownies are cooling (see? Multitasking!), it’s time for some therapeutic candy crushing. Unwrap the Butterfinger bars, pop them in the zip-top bag, seal it well (squeeze out the air!), and gently whack them with the rolling pin or mallet. Aim for a happy mix of crumbs and slightly bigger pieces for texture. Set aside about 1/2 cup of this glorious rubble for the topping later.
- Cream Cheese Cloud: In the large mixing bowl, put the fully softened cream cheese. Use the electric mixer on medium speed to beat it until it’s perfectly smooth, no lumps allowed. Think smooth jazz, not bumpy roads. This should take about 1-2 minutes.
- Sweeten the Mix: Gradually add the powdered sugar to the smooth cream cheese. Beat again, starting slow (unless you enjoy wearing powdered sugar), then up to medium, until it’s light, fluffy, and everything’s playing nicely together. Don’t forget to scrape the bowl sides!
- Fold It In: Now, gently add the thawed whipped topping. Use the rubber spatula to fold it in. Folding isn’t stirring – it’s a gentle lift-and-turn motion, bringing the bottom mixture over the top, rotating the bowl. Keep going just until no white streaks are visible. Resist the urge to mix like crazy – overmixing deflates the topping, and nobody wants a sad, flat filling. Aim for light and luscious.
- Brownie Prep: Once those brownies are totally cool, cut them into bite-sized squares (about 1-inch) or just crumble them up with clean hands. Rustic is good too!
- Layer Up – Round One: Start building in your serving dish (or the brownie pan). Spread about one-third of the brownie bits evenly on the bottom.
- Add the Crunch: Sprinkle about one-third of the main stash of crushed Butterfinger (not the reserved topping!) over the brownies.
- Creamy Dream Layer: Spoon about half of the cream cheese mixture over the candy. Gently spread it into an even layer with the back of a spoon or an offset spatula. Be kind to the layers below!
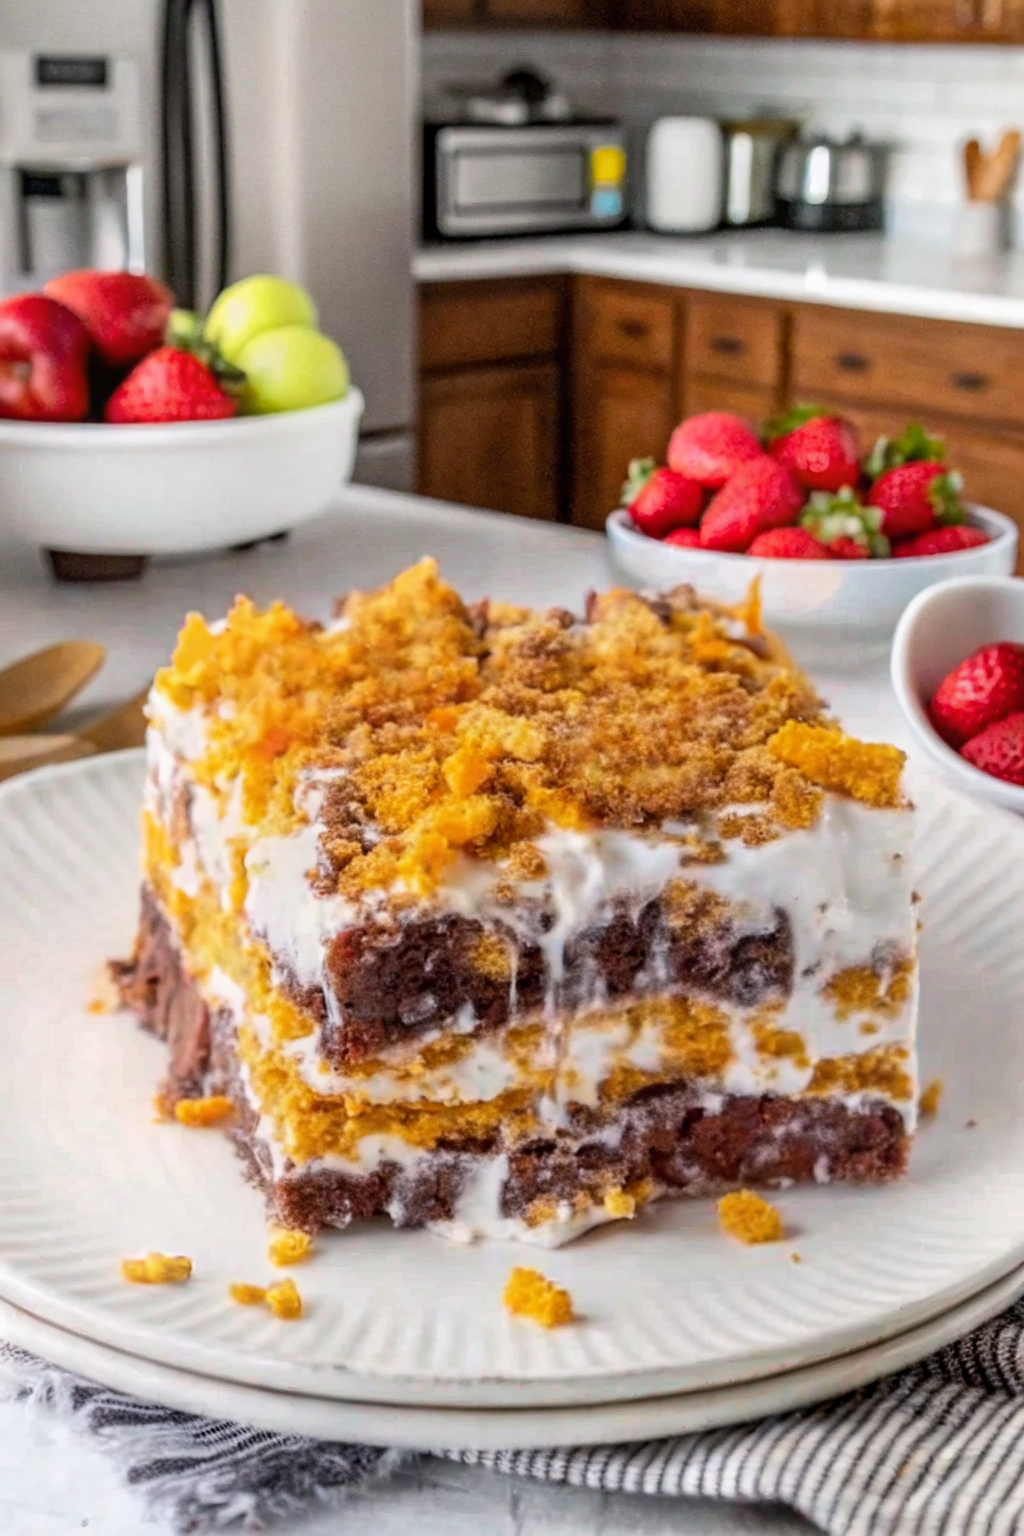
- Repeat Performance: Keep the layers coming! Add another third of the brownie pieces. Follow with another third of the crushed Butterfinger. See how the rich dark brownie contrasts with the bright white filling? Gorgeous, just like the photo promises!
- Final Cream Blanket: Spread the rest of the cream cheese mixture over the second Butterfinger layer, smoothing it out nicely.
- The Grand Finale Topping: Scatter the last of the brownie pieces over the top. Now, grab that reserved 1/2 cup of crushed Butterfinger and sprinkle it generously all over. This makes that irresistible crunchy, golden-brown crown you see in the picture – the perfect finish!
- Chill Out Time (The Hardest Part!): Cover the dish tightly with plastic wrap or a lid. Pop it in the fridge to chill for at least 4 to 6 hours. Honestly, overnight is even better if you can stand the wait! This chill time lets all the flavors become best friends and makes slicing way easier (and neater). Patience is your secret weapon here!
- Serve and Bask in Glory: Once thoroughly chilled, slice into squares with a sharp knife (wiping the knife between cuts helps for clean edges). Serve cold and get ready for the compliments to roll in!
This layered Butterfinger dream is pure happiness. The chewy brownie, the smooth cream, that iconic candy crunch – it’s a texture party! Sharing this homemade delight is a guaranteed way to make someone’s day a little brighter. Enjoy every single, glorious spoonful!