The Sweetest Mouse Amigurumi
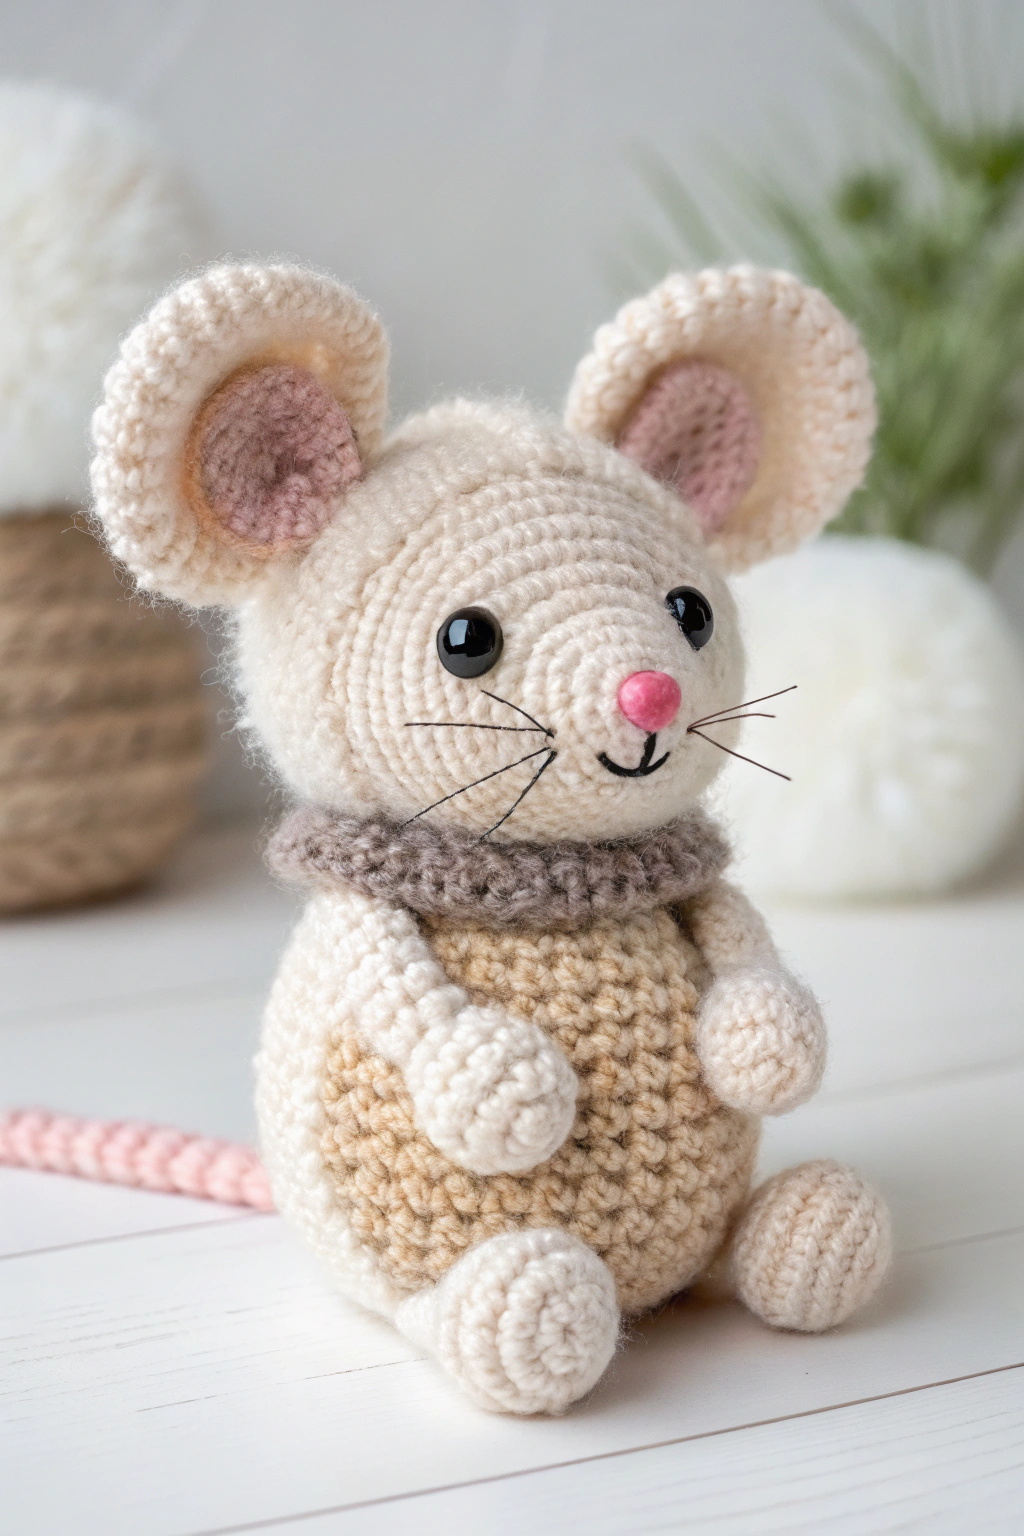
Ready to embark on a delightful crafting journey? Let’s fashion an adorable amigurumi mouse, just like the charming one you see in the image! This project is perfect for beginner crocheters, and you’ll be amazed at how quickly you can assemble your own cuddly friend. Don’t worry if you’re new to crochet – we’ll guide you every step of the way! Get ready to experience the joy of making something truly special with your own hands.
Gather Your Supplies
Before we begin, let’s collect everything you’ll need. Making this little mouse is easier when you have all your materials ready.
- 🧶 Yarn in cream, light brown, light pink, dark pink, and grey – Worsted weight yarn is a great choice for beginners.
- 🪡 Crochet hook – Size 3.5mm (E/4) is recommended for worsted weight yarn, but check your yarn label for suggestions!
- 👀 Safety eyes – 6mm black safety eyes will work perfectly for this project.
- Yarn needle – For sewing pieces together and weaving in ends.
- 📌 Stitch markers – These little helpers will mark the beginning of your rounds.
- 솜 Stuffing – Polyester fiberfill to give your mouse its cuddly shape.
- ✂️ Scissors – For snipping yarn.
- 📏 Measuring tape (optional) – To check your gauge, although it’s not crucial for this project.
Basic Crochet Stitches You’ll Need
Let’s quickly go over the basic crochet stitches we’ll be using. Don’t be intimidated; they’re easier than you think!
- ch – chain: This is the foundation of most crochet projects. To form a chain, make a slip knot on your hook, yarn over (wrap the yarn around your hook), and pull through the loop on your hook. Repeat this to fashion a chain of the desired length.
- sc – single crochet: Insert your hook into the stitch, yarn over, pull up a loop (you’ll have two loops on your hook), yarn over again, and pull through both loops.
- inc – increase: To increase, simply work two single crochet stitches into the same stitch. This expands your piece.
- dec – decrease: There are a couple of ways to decrease. For an invisible decrease (often used in amigurumi), insert your hook into the front loop only of the next stitch, then insert your hook into the front loop only of the stitch after that. Yarn over, pull through both front loops (two loops on hook), yarn over, pull through both loops on hook. Alternatively, a simpler decrease is to insert your hook into the next stitch, yarn over, pull up a loop, insert your hook into the following stitch, yarn over, pull up a loop (three loops on hook), yarn over, pull through all three loops. We’ll use the simpler decrease for this project as it is beginner-friendly.
- sl st – slip stitch: Insert your hook into the stitch, yarn over, and pull through both the stitch and the loop on your hook. This is often used to join rounds or to finish off pieces.
- Magic Ring (or Magic Circle): Wrap yarn around your fingers to fashion a loop, insert hook into loop, yarn over and pull through (this is your first chain, but it doesn’t count as a stitch), chain 1. Now work your stitches into the ring, then pull the tail to tighten and close the ring. If you find the magic ring tricky, you can start with ch 2 and work your stitches into the second chain from the hook.
Let’s Start Making the Mouse!
We’ll begin by fashioning the head, then the body, and then we’ll build the smaller parts and assemble everything. Refer to the image as you go to see how each piece looks!
Making the Head
We’ll use cream yarn for the head.
Round 1: Start with a magic ring and work 6 sc into the ring. Pull the magic ring tight. (6 stitches)
Round 2: Inc in each stitch around. (12 stitches)
Round 3: [Sc in the next stitch, inc in the next stitch] repeat 6 times. (18 stitches)
Round 4: [Sc in the next 2 stitches, inc in the next stitch] repeat 6 times. (24 stitches)
Round 5: [Sc in the next 3 stitches, inc in the next stitch] repeat 6 times. (30 stitches)
Round 6-11: Sc in each stitch around. (30 stitches for 6 rounds) – Refer to the image to see the rounded shape of the head. These rounds will help form that shape.
Round 12: [Sc in the next 3 stitches, dec over the next 2 stitches] repeat 6 times. (24 stitches)
Round 13: [Sc in the next 2 stitches, dec over the next 2 stitches] repeat 6 times. (18 stitches)
Round 14: [Sc in the next stitch, dec over the next 2 stitches] repeat 6 times. (12 stitches)
Round 15: Dec over the next 2 stitches, repeat 6 times. (6 stitches)
- Tip for stuffing: Start stuffing the head firmly before the opening gets too small. It’s easier to stuff as you go!
- Attaching Safety Eyes: Now is the perfect time to attach the safety eyes. Observe in the image the placement of the eyes. They are positioned on the front of the head, roughly between rounds 8 and 9, and spaced a few stitches apart. Attach the safety eyes securely.
- Finishing the Head: Cut the yarn, leaving a long tail for sewing. Thread the tail through your yarn needle and weave it through the front loops only of the remaining 6 stitches. Pull tight to close the opening and secure.
Crafting the Body
The body is two-toned, cream on top and light brown on the bottom. We’ll switch colors while making it.
Starting with cream yarn:
Round 1: Start with a magic ring and work 6 sc into the ring. Pull the magic ring tight. (6 stitches)
Round 2: Inc in each stitch around. (12 stitches)
Round 3: [Sc in the next stitch, inc in the next stitch] repeat 6 times. (18 stitches)
Round 4: [Sc in the next 2 stitches, inc in the next stitch] repeat 6 times. (24 stitches)
Round 5: [Sc in the next 3 stitches, inc in the next stitch] repeat 6 times. (30 stitches)
Round 6: [Sc in the next 4 stitches, inc in the next stitch] repeat 6 times. (36 stitches)
Round 7-10: Sc in each stitch around. (36 stitches for 4 rounds) – These rounds will shape the upper body in cream yarn.
Round 11: Change to light brown yarn. Sc in each stitch around. (36 stitches) – To change color, finish the last stitch in cream, but before pulling through the final loop, drop the cream yarn, pick up the light brown yarn, yarn over with the new color, and pull through to complete the stitch. Cut the cream yarn, leaving a small tail to weave in later.
Round 12-17: Sc in each stitch around. (36 stitches for 6 rounds) – These rounds will form the lower body in light brown.
Round 18: [Sc in the next 4 stitches, dec over the next 2 stitches] repeat 6 times. (30 stitches)
Round 19: [Sc in the next 3 stitches, dec over the next 2 stitches] repeat 6 times. (24 stitches)
Round 20: [Sc in the next 2 stitches, dec over the next 2 stitches] repeat 6 times. (18 stitches)
Round 21: [Sc in the next stitch, dec over the next 2 stitches] repeat 6 times. (12 stitches)
Round 22: Dec over the next 2 stitches, repeat 6 times. (6 stitches)
- Stuffing the Body: Stuff the body firmly as you decrease, ensuring it’s well-shaped.
- Finishing the Body: Cut the yarn, leaving a long tail. Close the opening just like you did for the head.
Fashioning the Ears (Make 2)
We’ll develop both the outer and inner parts of the ears. You’ll make two of each!
Outer Ear (Cream Yarn):
Round 1: Start with a magic ring and work 6 sc into the ring. Pull the magic ring tight. (6 stitches)
Round 2: Inc in each stitch around. (12 stitches)
Round 3: [Sc in the next stitch, inc in the next stitch] repeat 6 times. (18 stitches)
Round 4: [Sc in the next 2 stitches, inc in the next stitch] repeat 6 times. (24 stitches)
Round 5-6: Sc in each stitch around. (24 stitches for 2 rounds)
Round 7: [Sc in the next 2 stitches, dec over the next 2 stitches] repeat 6 times. (18 stitches)
Round 8: Fold the circle in half and sc across the top edge through both layers to close it. (9 stitches approximately).
- Finishing Outer Ear: Fasten off and leave a tail for sewing. Don’t stuff the ears.
Inner Ear (Pink Yarn):
Round 1: Start with a magic ring and work 6 sc into the ring. Pull the magic ring tight. (6 stitches)
Round 2: Inc in each stitch around. (12 stitches)
Round 3: [Sc in the next stitch, inc in the next stitch] repeat 6 times. (18 stitches)
Round 4: [Sc in the next 2 stitches, inc in the next stitch] repeat 6 times. (24 stitches)
Round 5: Sc in each stitch around. (24 stitches)
Round 6: Sl st in each stitch around. Fasten off, leaving a tail for sewing.
- Assembling the Ears: Place the pink inner ear on top of the cream outer ear, aligning the bottom edges. Sew the pink inner ear to the cream outer ear using the pink yarn tail, securing them together.
Constructing the Tail
We’ll build a long, slender tail using pink yarn.
Round 1: Start with a magic ring and work 4 sc into the ring. Pull the magic ring tight. (4 stitches)
Round 2- Approximately Round 40-45 (or desired length): Sc in each stitch around. (4 stitches) – Continue crocheting in rounds until the tail is the length you want. Refer to the image to see the tail length relative to the body.
- Finishing the Tail: Fasten off, leaving a tail for sewing. Do not stuff the tail. It should be flat and flexible.
Making the Scarf
Let’s fashion a cozy little scarf using grey yarn. This is a simple rectangle.
Row 1: Ch 6, sc in the second ch from the hook and in each ch across. Turn. (5 stitches)
Row 2- Approximately Row 30-35 (or desired length): Ch 1, sc in each stitch across. Turn. (5 stitches) – Continue crocheting rows until the scarf is long enough to wrap around the mouse’s neck. Notice in the image how the scarf sits.
- Finishing the Scarf: Fasten off and weave in the ends.
Assembling Your Mouse
Now for the fun part – putting all the pieces together to assemble your mouse!
Step 1: Attach the Head to the Body.
Use the cream yarn tail from the head to sew the head securely to the top of the body. Make sure the head is centered.
Step 2: Sew on the Ears.
Observe in the image the ear placement. They are positioned on the top of the head, slightly angled outwards. Sew the base of each ear securely to the head using the cream yarn tails from the outer ears.
Step 3: Attach the Tail.
You can see in the image that the tail is attached to the lower back of the body. Sew the base of the tail to the body using the pink yarn tail.
Step 4: Fashion the Nose.
Using dark pink yarn, embroider a small triangle or oval shape for the nose just below the eyes. The mouse in the image has a cute, small pink nose.
Step 5: Add Whiskers.
Using black yarn or embroidery floss, sew on a few whiskers on each side of the nose. The mouse depicted has three whiskers on each side.
Step 6: Accessorize with the Scarf.
Gently wrap the grey scarf around the mouse’s neck. You can tie it loosely in the front or simply let it hang.
You Did It!
Congratulations! You’ve just made your very own adorable crocheted mouse! Isn’t it satisfying to see what you can fashion with yarn and a hook? You’ve taken simple stitches and developed a charming little companion.
Remember, practice makes perfect! Don’t be discouraged if your first mouse isn’t exactly like the image. Each handmade item has its own unique charm. The most important thing is to enjoy the process of making. Happy crocheting!