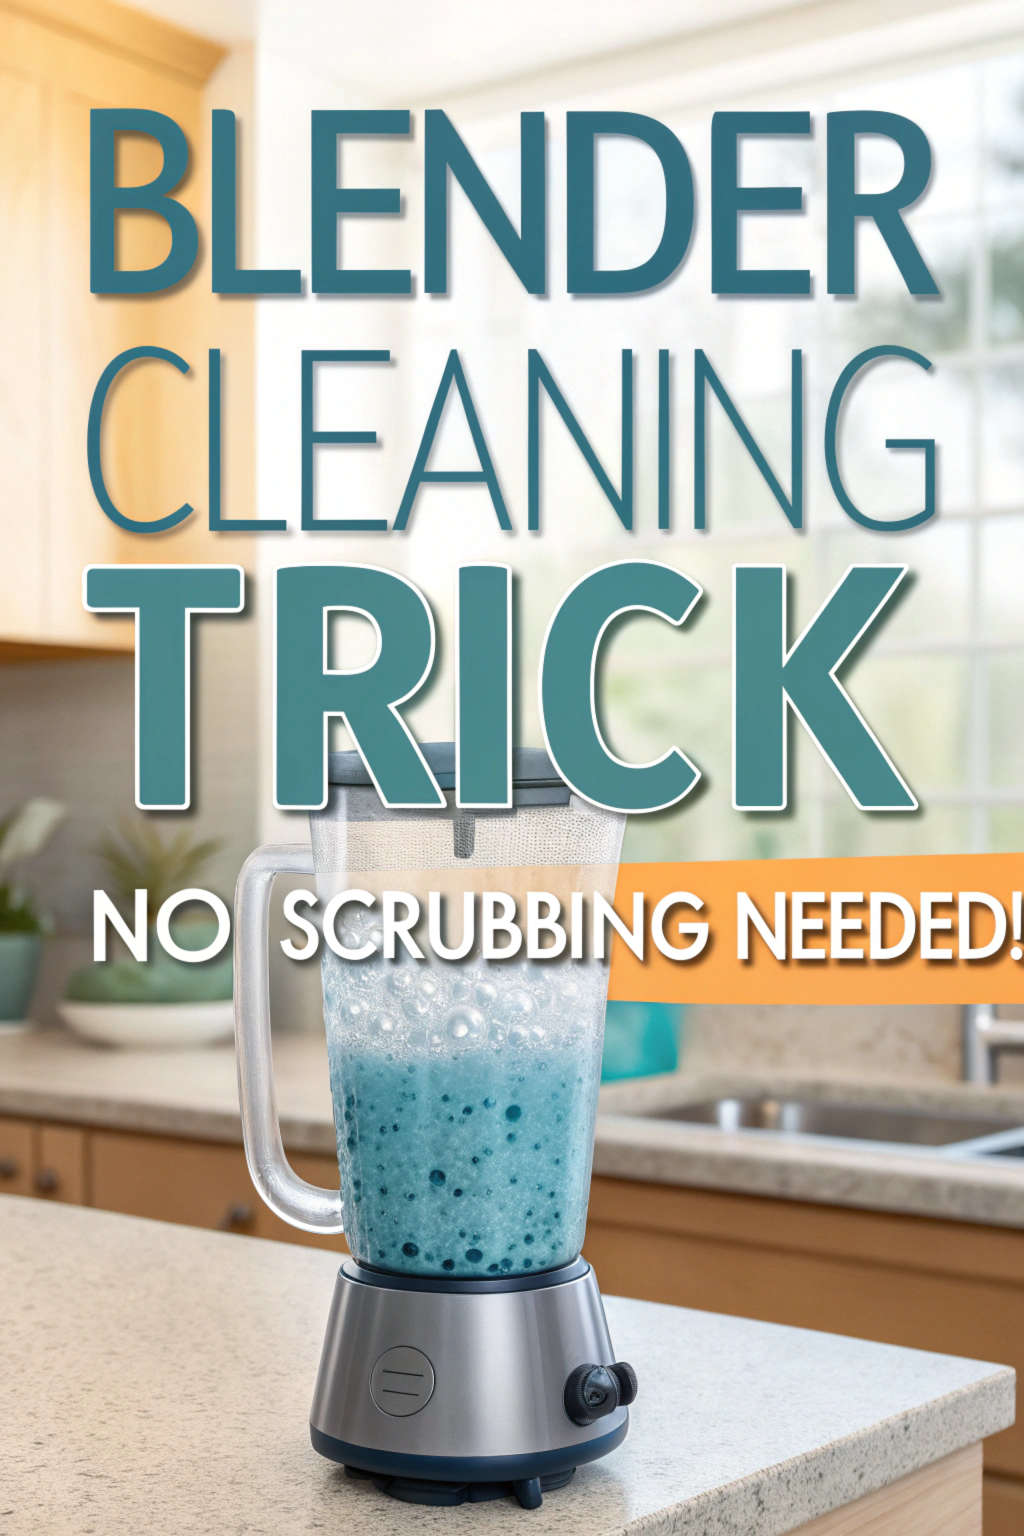
Are you tired of struggling with crusty blender blades and hard-to-reach corners? Say goodbye to soaking, scrubbing, and dismantling your blender after every use. This game-changing cleaning trick will transform your kitchen routine and keep your blender sparkling clean in just seconds!
Why Traditional Blender Cleaning Methods Fall Short
We’ve all been there – trying to clean dried smoothie residue or sticky protein shake remains from our blenders. Traditional cleaning methods often involve:
- Dangerous handling of sharp blades
- Time-consuming disassembly
- Frustrating scrubbing of dried-on ingredients
- Risk of cutting yourself while cleaning
- Missing spots in hard-to-reach areas
But there’s a better way that’s both safer and more effective.
The 30-Second Blender Cleaning Solution
This revolutionary cleaning method is so simple, you’ll wonder why you haven’t been doing it all along. Here’s what you need:
- Warm water
- A few drops of dish soap
- Your dirty blender
- 30 seconds of your time
Step-by-Step Instructions
- Quick Rinse: As soon as you’re done using your blender, give it a quick rinse to remove any loose debris.
- Add Cleaning Solution: Fill your blender about halfway with warm water and add 2-3 drops of dish soap.
- Blend Away: Put the lid on securely and run your blender on high speed for 20-30 seconds. The combination of hot water, soap, and the blender’s power creates a powerful cleaning vortex that reaches every nook and cranny.
- Final Rinse: Pour out the soapy water and rinse thoroughly with clean water.
- Quick Dry: Let your blender air dry upside down on a dish rack, or give it a quick wipe with a clean kitchen towel.
Pro Tips for Maximum Effectiveness
- Use this method immediately after use – don’t let ingredients dry and stick
- For stubborn residue, use warm (not hot) water to help break down oils
- Don’t overfill – halfway is perfect for creating the right cleaning action
- Run the blender in pulses for extra cleaning power
- For protein shakes or sticky substances, add an extra drop of dish soap
When to Deep Clean
While this 30-second method works great for daily cleaning, aim to deep clean your blender once a month by:
- Disassembling all removable parts
- Checking and cleaning the rubber gasket
- Sanitizing the base and control panel
- Inspecting the blade assembly for wear
Safety and Maintenance Notes
Remember these important points to keep your blender in top condition:
- Never submerge the electrical base in water
- Always unplug your blender before cleaning
- Replace the gasket if it shows signs of wear
- Check the blade assembly regularly for damage
Why This Method Works
The science behind this cleaning hack is simple but effective. The combination of:
- Centrifugal force from blending
- Hot water’s cleaning properties
- Dish soap’s grease-cutting action
- Immediate cleaning before residue dries
Creates the perfect environment for effortless cleaning without the need for scrubbing or disassembly.
Environmental Benefits
This method isn’t just convenient – it’s also eco-friendly:
- Uses less water than traditional cleaning
- Reduces the need for separate cleaning tools
- Minimizes the use of cleaning products
- Saves energy compared to running a dishwasher
Common Questions Answered
Q: Will this damage my blender? A: No, this method is completely safe for your blender and may actually help maintain it by preventing buildup.
Q: Can I use this method for all types of blenders? A: Yes, this works for most household blenders, including high-speed and personal blenders.
Q: What if I have particularly sticky ingredients? A: For extra sticky situations, add a drop of vinegar to the cleaning solution or repeat the process twice.
Time to Transform Your Kitchen Routine!
Say goodbye to dreading blender cleanup and hello to more time enjoying your favorite blended creations. This simple hack will revolutionize your kitchen cleanup routine and keep your blender ready for its next use.
Ready to Try It?
Give this method a try with your next blended creation and experience the magic of effortless blender cleaning for yourself. Your future self will thank you for adopting this time-saving kitchen hack!
Remember to always follow your blender manufacturer’s specific cleaning guidelines and safety instructions.

