Sunny Peach & Plum Tart Delight
Get ready to welcome the deliciousness of a homemade fruit tart into the kitchen! This guide is here to help beginner bakers put together a truly lovely Peach and Plum Tart. Imagine presenting a dessert with a golden, buttery crust, juicy fruit filling, and pretty pastry strips on top – just like the one in the picture. Let’s walk through the steps for a fun and satisfying baking adventure.
Getting Ready: Supplies and Ingredients
First things first, let’s gather everything needed. Finding halal ingredients for this recipe is nice and simple.
Kitchen Tools
- 🥣 Large Mixing Bowl
- 🥣 Medium Mixing Bowl
- 🥄 Wooden Spoon or Spatula
- 🔪 Sharp Knife
- ⬜️ Cutting Board
- 📏 Measuring Cups & Spoons
- 🥖 Rolling Pin
- 🥧 9-inch Tart Pan with Removable Bottom (the kind where the sides lift away)
- 📜 Parchment Paper (baking paper)
- ⚖️ Baking Weights or even Dried Beans work!
- 🖌️ Pastry Brush
- 🥅 Wire Rack (for cooling)
Halal Ingredients List
- 🌾 2 ½ cups All-Purpose Flour (plus a little extra for dusting surfaces)
- 🧂 ½ teaspoon Salt
- 🧈 1 cup (2 sticks) Unsalted Butter (halal certified, needs to be cold and cut into small cubes)
- 🧊 ½ cup Ice Water (approximately – keep it chilly!)
- 🍑 3 ripe Peaches (they should feel slightly soft but still hold their shape)
- 🍒 3 ripe Plums (same as peaches, nicely ripe but firm)
- 🍋 1 tablespoon Lemon Juice (freshly squeezed is wonderful!)
- ✨ ½ cup Granulated Sugar (for the yummy fruit filling)
- 🌽 2 tablespoons Cornstarch (this helps thicken the fruit juices)
- 🥚 1 large Egg (halal sourced, beaten lightly for the glaze)
- ✨ 1 tablespoon Granulated Sugar (for that sparkle on top!)
Putting Together the Peach and Plum Tart
This journey involves making the pastry dough, arranging the colorful fruit filling, and baking the tart until it looks just right – golden and bubbly, exactly as shown.
Part 1: Making the Pastry Dough
- Mix Dry Stuff: In the large mixing bowl, give the 2 ½ cups of flour and ½ teaspoon of salt a quick whisk together. This just makes sure the salt isn’t all clumped in one spot.
- Add the Butter: Tip the cold butter cubes into the flour. Now, using just fingertips or a handy tool called a pastry blender, quickly mix the butter into the flour. The goal is a crumbly mix that looks a bit like coarse sand but still has some small, pea-sized butter bits. Working fast is key here – cold butter makes the flakiest pastry!
- Drizzle in Ice Water: Start adding the ice water, just one tablespoon at a time. Mix gently with a fork or spatula after each little splash. Stop as soon as the dough starts to clump together. Try hard not to add too much water; nobody wants sticky dough!
- Form the Dough Discs: Gently gather the dough bits together on a surface lightly sprinkled with flour, forming a ball without handling it too much (overworking makes pastry tough). Divide this ball into two pieces, one a bit bigger than the other (think roughly 60% and 40%). Pat each piece into a flat disc shape, like a small pancake.
- Chill Time: Wrap each dough disc snugly in plastic wrap. Pop them into the refrigerator for at least 30 minutes. This chill time lets the dough relax and the butter get cold again, which makes rolling easier and the final crust extra tender.
Part 2: Shaping the Tart Base
- Roll Out the Base: Take the larger dough disc from the fridge. On your lightly floured surface, use the rolling pin to roll it into a circle about 12 inches wide and about ⅛ inch thick. Roll from the center outwards and give the dough a little turn now and then to keep it round and stop it from sticking.
- Line the Pan: Carefully lift the dough circle and settle it into the 9-inch tart pan. Gently press it into the bottom and up the fluted sides so it fits perfectly. Run the rolling pin over the top edge of the pan or use a sharp knife to trim off any extra dough hanging over the sides.
- Another Quick Chill: Put the tart pan with the dough back in the fridge for 15-20 minutes. This little step helps stop the pastry sides from slumping down during baking.
- Get Ready to Blind Bake: Time to turn the oven on to 375°F (190°C). Take the chilled tart shell out. Use a fork to poke little holes all over the bottom – this is called docking. It lets steam out so the bottom doesn’t puff up. Lay a piece of parchment paper inside the shell, covering the bottom and sides. Fill this paper liner with baking weights or dried beans. This whole process has a fancy name: blind baking. It partially cooks the crust so it stays crisp later.
- First Bake: Bake for 15 minutes. Then, carefully lift out the parchment paper with the weights/beans. Put the tart shell back in the oven for another 5-7 minutes. It should look dry and just starting to turn a pale golden color. This step is super important for a crisp bottom crust that holds up to the juicy fruit. Let the shell cool down a bit while preparing the filling.
Part 3: Whipping Up the Fruity Filling
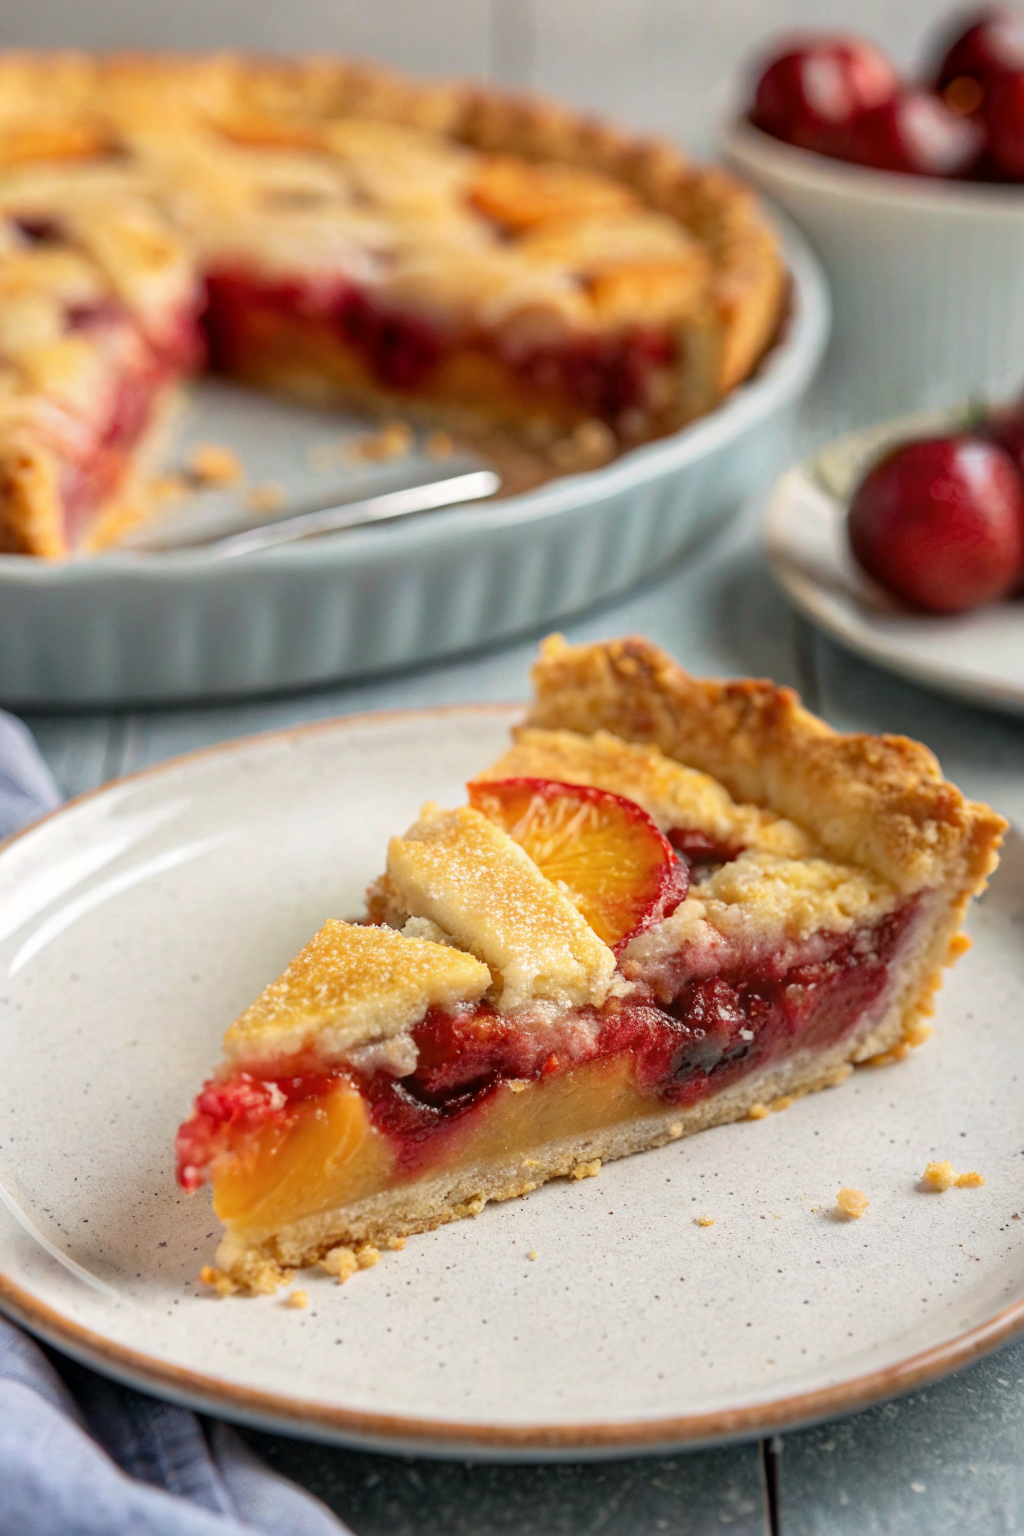
- Fruit Prep: Give the peaches and plums a good wash. Slice them in half, take out the pits (stones), and then cut the fruit into slices about half an inch thick. The photo shows lovely slices where you can see the golden peach and the reddish plum skin – aim for slices like that!
- Mix the Filling: In the medium mixing bowl, gently combine the peach slices, plum slices, ½ cup granulated sugar, 1 tablespoon lemon juice, and 2 tablespoons cornstarch. The sugar helps make the fruit juicy, the lemon adds a nice zing, and the cornstarch will thicken those juices while baking so the filling isn’t watery. Toss gently until all the fruit looks coated.
Part 4: Assembly and the Final Bake!
- Fill the Tart: Spoon the lovely fruit mixture right into the partly baked tart shell. Spread it out evenly. It looks nice to arrange a few pretty slices of both peach and plum right on top, just like in the picture.
- Top Pastry Time: Grab the smaller dough disc from the fridge. Roll it out on your floured surface, again to about ⅛ inch thick. Use a sharp knife or a pizza cutter to slice this dough into strips, maybe about ¾-inch wide.
- Arrange the Strips: Gently lift the pastry strips and lay them over the fruit. The tart in the photo doesn’t have a full woven top (called a lattice); instead, it has several strips laid across with space between them. Do the same! Place a few strips going one way. Trim the ends so they are neat against the tart edge.
- Egg Wash and Sparkle: Crack the egg into a small bowl and beat it lightly with a fork. Use the pastry brush to gently paint this beaten egg mixture onto the pastry strips and the visible edge of the bottom crust. This gives the tart that beautiful shiny, golden look when baked. Now, sprinkle the remaining 1 tablespoon of granulated sugar all over the egg-washed strips. See how the tart slice in the picture has that slightly sugary crust? This is how it’s done!
- Bake to Perfection: Place the assembled tart on a baking sheet (just in case any juices bubble over). Slide it into the preheated 375°F (190°C) oven. Bake for 40-50 minutes. Look for a deep golden brown crust (like the picture!) and gently bubbling fruit filling. If the edges of the crust seem to be getting too dark too fast, loosely cover just the edges with a bit of aluminum foil.
- Cool Down is Crucial: Once it’s beautifully baked, take the tart out of the oven and place it on the wire rack. Let it cool completely in the pan before trying to remove that outer ring. This is really important because it lets the filling set up properly. Patience here – it might take 2 or 3 hours.
Serving Your Delicious Handiwork
Once it’s totally cool, carefully release and lift off the outer ring of the tart pan. Use a sharp knife to cut the Peach and Plum Tart into wedges. Look at that slice in the photo – served on a charming speckled plate, showing off the golden crust, the bright fruit, and those pretty sugared pastry strips. What a treat!
Making this tart is such a lovely way to enjoy delicious fruit. The steps themselves are part of the fun, leading to a wonderful homemade dessert everyone can feel proud of. Hopefully, bakers feel inspired to give this recipe a whirl. Sharing pictures of the finished tarts would be fantastic! Enjoy every bite of this delightful mix of sweet peach, tangy plum, and rich pastry. Happy baking!