Rich Chocolate Mousse Layer Cake
Get ready for some “oohs” and “aahs” because this Chocolate Mousse Layer Cake is a real head-turner! Imagine sinking a fork through dreamy, dark chocolate cake layers and light-as-air chocolate mousse – pure bliss! Topped off with a shiny chocolate drizzle and fun chocolate crumbles, this cake looks as amazing as it tastes. It’s perfect for celebrating big moments or just treating yourself to something incredibly special. Don’t worry if you’re new to baking; this guide walks through every step, making it totally doable to whip up this halal chocolate wonder at home. Let’s get started on this joyful baking adventure!
Ingredients
🍫 For the Chocolate Cake Layers:
▸ 🧈 ½ cup (113g) Halal unsalted butter, nice and soft
▸ 🍚 1 ½ cups (300g) granulated sugar
▸ 🥚 2 large eggs, happy at room temperature
▸ 🥄 1 teaspoon vanilla extract (the good stuff!)
▸ 🌾 1 ¾ cups (220g) all-purpose flour
▸ ⚫ ¾ cup (65g) unsweetened cocoa powder (pick a rich one!)
▸ 🥄 1 ½ teaspoons baking soda
▸ 🥄 ¾ teaspoon baking powder
▸ 🧂 ¾ teaspoon salt
▸ 🥛 1 cup (240ml) buttermilk, room temperature (Easy DIY: 1 cup milk + 1 tbsp lemon juice or white vinegar, let it sit 5 minutes)
▸ ☕ ½ cup (120ml) hot water or freshly brewed hot coffee
☁️ For the Cloud-Like Chocolate Mousse:
▸ 🍫 10 oz (280g) Halal semi-sweet or bittersweet chocolate, chopped up small
▸ 🥛 2 cups (480ml) heavy whipping cream, kept chilly, divided
▸ 🥄 1 teaspoon alcohol free vanilla extract
▸ 🥄 (Optional Helper) 1 tablespoon Halal gelatin mixed with 3 tablespoons cold water (good for extra stability if you like!)
💧 For the Gorgeous Chocolate Drizzle:
▸ 🍫 4 oz (115g) Halal semi-sweet chocolate, chopped
▸ 🧈 2 tablespoons (28g) Halal unsalted butter
▸ 🍯 1 tablespoon light corn syrup or honey (optional, adds extra shine!)
✨ For the Finishing Sparkle:
▸ 🍫 Chocolate shavings or crumbles (use leftover cake bits or chop a chocolate bar)
Equipment
▸ 🍰 2 x 8-inch (20cm) round cake pans
▸ 📜 Parchment paper
▸ 🥣 Large mixing bowls (a couple will be handy!)
▸ 🔌 Electric mixer (stand or hand-held makes life easier)
▸ 🥄 Rubber spatula (for scraping every last bit!)
▸ 🌀 Whisk
▸ ⚖️ Measuring cups and spoons
▸ 🍳 Small saucepan
▸ 🧊 Wire rack (for cooling those lovely cakes)
▸ 🔪 Serrated knife (the bread knife works great!)
▸ 🖌️ Offset spatula or a large flat knife (for smooth spreading)
▸ 🍽️ Your prettiest serving plate or cake stand
Instructions
1. Let’s Bake Those Cake Layers:
▸ First things first, get that oven warming up to 350°F (175°C). Give your two 8-inch round cake pans a good greasing and flouring. Pop a circle of parchment paper in the bottom of each – this makes getting the cakes out a breeze!
▸ In a big bowl, whisk together the flour, cocoa powder, baking soda, baking powder, and salt. Think of it as making delicious chocolate dust! Set it aside for now.
▸ Grab another large bowl and your electric mixer. Beat the softened butter and sugar together on medium speed until they look pale and fluffy, like a sweet cloud (give it about 3-4 minutes).
▸ Add the eggs one by one, mixing well after each joins the party. Then, stir in the vanilla extract – smells good already, right?
▸ Time for a little dance: add about a third of your dry ingredients to the butter mixture, mixing on low speed just until it disappears. Then add about half the buttermilk, mixing just until combined. Repeat with another third of the dry stuff, the rest of the buttermilk, and finally the last bit of dry ingredients. Remember the golden rule: mix only until combined! We want tender cake, not tough!
▸ Now, carefully pour in the hot water (or coffee – yum!). Mix on low speed just until everything is smooth and happy together. The batter will look quite thin; that’s perfectly fine!
▸ Divide the batter evenly between your prepared pans. A kitchen scale helps here, but eyeballing it works too!
▸ Pop them into the preheated oven and bake for 30-35 minutes. You’ll know they’re ready when a wooden skewer poked into the center comes out clean. Plus, your kitchen will smell like chocolate heaven!
▸ Let the cakes cool down in their pans on a wire rack for about 15 minutes – patience! Then, carefully flip them out onto the rack to cool completely. Seriously, wait until they are totally cool before moving on.
2. Whipping Up Dreamy Chocolate Mousse:
▸ Put your finely chopped chocolate into a medium bowl that can handle a little heat.
▸ Gently heat ½ cup (120ml) of the heavy cream in your small saucepan over medium heat. Watch for tiny bubbles around the edge – that means it’s simmering. Don’t let it boil over!
▸ Pour this warm cream right over the chopped chocolate. Let it sit quietly for 5 minutes. This gives the chocolate time to melt into silky smoothness.
▸ Now, whisk it all together until it’s glossy and irresistible. If you’re using the gelatin helper, gently warm the bloomed gelatin until it’s liquid (no boiling!) and whisk it into the chocolate mix now. Let this chocolate base cool down until it’s no warmer than room temperature – this is super important!
▸ In a separate, chilled bowl (cold bowl = happy whipped cream!), pour the remaining 1 ½ cups (360ml) of cold heavy cream and the vanilla. Whip it up with your electric mixer on medium-high speed. Stop when you get medium peaks – they should hold their shape but the very tip might curl over softly. Be careful not to turn it into butter!
▸ Time to combine! Gently fold about a third of your fluffy whipped cream into the cooled chocolate base with your rubber spatula. This lightens the chocolate, making it easier to mix the rest. “Folding” means cutting down through the middle with the spatula, scraping along the bottom, and bringing that mixture up and over the top, turning the bowl as you go. Be gentle!
▸ Now, carefully fold in the rest of the whipped cream until you don’t see any more white streaks. Gentle hands are key here to keep all that lovely air in the mousse. It should look light, airy, and totally decadent.
3. Building Your Cake Masterpiece:
▸ Once your cake layers are completely cool (really cool!), take your serrated knife and gently slice off any domed tops so they’re nice and flat. Don’t toss the scraps – they make great crumbles for decoration later!
▸ Place one flat cake layer onto your chosen serving plate or cake stand. Feeling fancy yet?
▸ Spoon about half of that gorgeous chocolate mousse onto the cake layer. Spread it evenly all the way to the edges using your offset spatula or knife.
▸ Carefully set the second cake layer on top of the mousse. Steady does it!
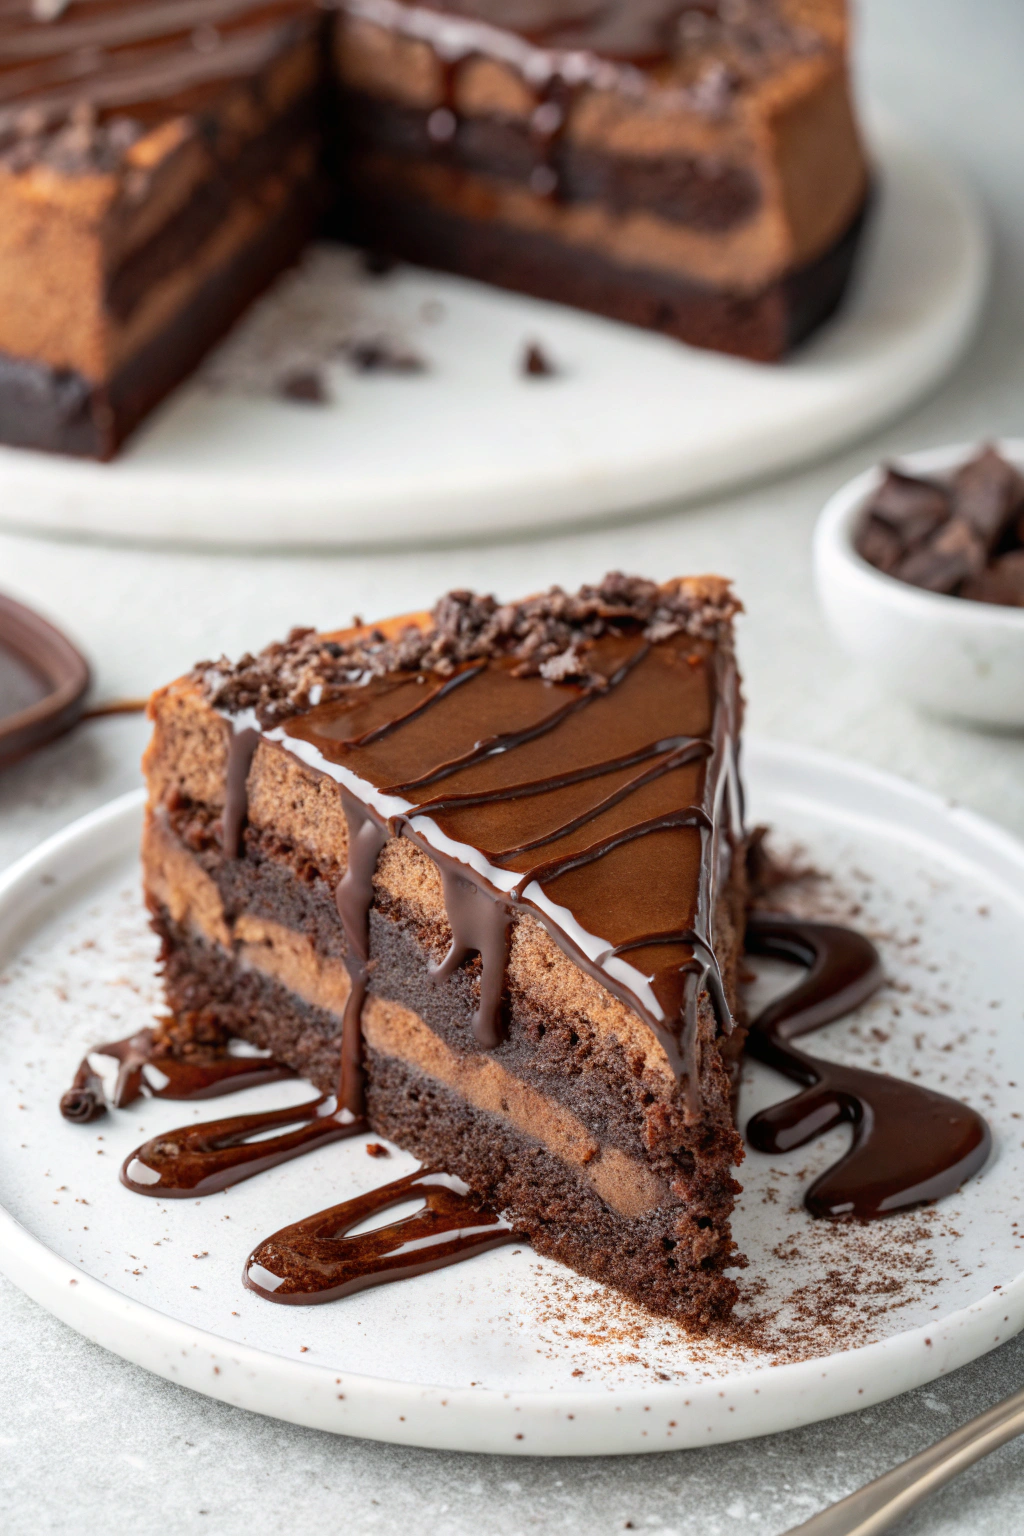
▸ Spread the rest of the chocolate mousse over the top and down the sides of the cake. Don’t stress about perfection; a slightly rustic look is charming! You’ll see those lovely, distinct layers forming, just like in the picture.
▸ Now for the hardest part: patience! Cover the cake loosely and pop it into the fridge for at least 4-6 hours, or even better, overnight. This lets the mousse set up properly so you get beautiful, clean slices.
4. The Dazzling Drizzle and Final Touches:
▸ Just before you’re ready to unveil your creation, let’s make the drizzle. Put the chopped chocolate, butter, and optional corn syrup/honey into a small bowl suitable for the microwave, or back into your small saucepan.
▸ Warm it gently – either in the microwave in short 20-second bursts, stirring each time, or over very low heat on the stove. Stir until it’s all melted, smooth, and shiny. Let it cool down for a few minutes; you want it thick enough to drizzle nicely, not too hot or watery.
▸ Grab a spoon (or use a small piping bag if you have one) and drizzle that lovely chocolate sauce all over the top of your chilled cake. Let it drip artistically down the sides – check out the photo for inspiration! Zigzags, swirls, random drips – it all looks delicious!
▸ Sprinkle your reserved chocolate crumbles or some chocolate shavings around the top edge of the cake. It’s like adding edible glitter!
5. Time to Serve and Enjoy!
▸ Want super neat slices? Dip a long, sharp knife into hot water, wipe it clean with a towel, and then make your cut. Repeat for each slice.
▸ Serve this beauty chilled. Stand back and watch everyone admire your handiwork before they take that first incredible bite!
Making this Decadent Chocolate Mousse Layer Cake is such a rewarding process. It’s not just about the eating (though that’s amazing!), it’s about the joy of putting together something so beautiful and delicious. Pat yourself on the back and savor every single chocolatey moment!