How to Remove Scratches from Wooden Furniture
Wooden furniture adds warmth and elegance to any home, but it’s also prone to scratches that can mar its beauty. Whether you’re dealing with a beloved antique or a modern piece, knowing how to remove scratches from wooden furniture is an essential skill for any homeowner. In this comprehensive guide, we’ll explore various methods to restore your wooden furniture to its former glory, from quick DIY fixes to more intensive repair techniques.
Understanding Wood Scratches
Before diving into repair methods, it’s crucial to understand the different types of scratches you might encounter:
- Surface scratches: These affect only the finish and don’t penetrate the wood itself.
- Deep scratches: These go through the finish and into the wood.
- Gouges: These are deep indentations that remove a significant amount of wood.
Common causes of scratches include:
- Moving furniture without proper protection
- Pets with sharp claws
- Accidents with keys, belt buckles, or other hard objects
- Children playing with toys on furniture surfaces
Assessing the Damage
To effectively repair a scratch, you must first assess its severity:
- Determine scratch depth: Run your fingernail across the scratch. If you can feel it catch, the scratch is likely deep enough to require more than simple polishing.
- Identify wood type and finish: Different woods and finishes require different treatment methods. Common finishes include:
- Varnish
- Lacquer
- Oil
- Wax
Knowing your wood type (e.g., oak, maple, cherry) can help you match colors and choose appropriate repair products.
Preparation Steps
Before attempting any repair:
- Clean the scratched area thoroughly with a soft cloth and mild soap solution.
- Dry the area completely.
- Gather necessary tools and materials, which may include:
- Soft cloths
- Fine-grit sandpaper
- Wood filler
- Wood stain
- Finishing products
Methods for Removing Light Scratches
For minor surface scratches, try these simple techniques:
Using Wood Polish or Oil
- Apply a small amount of wood polish or oil to a soft cloth.
- Rub the polish into the scratch, following the wood grain.
- Buff with a clean cloth to blend the area with the surrounding finish.
The Walnut Method
- Take a raw walnut and rub it along the scratch.
- The natural oils in the nut can help camouflage minor scratches.
- Buff the area with a soft cloth to blend.
Coffee Grounds Technique
- Mix coffee grounds with water to create a paste.
- Apply the paste to the scratch, let it sit for a few minutes.
- Wipe away with a damp cloth and buff dry.
Toothpaste Trick
- Use non-gel white toothpaste.
- Apply a small amount to the scratch and rub gently with a soft cloth.
- Wipe clean and buff to shine.
Techniques for Repairing Medium Scratches
For deeper scratches that penetrate the finish:
Wood Filler Application
- Choose a wood filler that matches your wood color.
- Apply the filler to the scratch using a putty knife.
- Allow it to dry completely, then sand smooth.
- Apply a matching wood stain if necessary.
Wax Stick Method
- Select a wax stick that matches your wood color.
- Rub the wax into the scratch.
- Use a plastic scraper to remove excess wax.
- Buff the area to blend with the surrounding finish.
Sandpaper and Refinishing
- Lightly sand the scratched area with fine-grit sandpaper.
- Clean off dust with a tack cloth.
- Apply wood stain to match the surrounding area.
- Once dry, apply a thin layer of finish to protect the repair.
Dealing with Deep Scratches and Gouges
For significant damage:
Wood Putty Application
- Choose a wood putty matching your wood color.
- Press the putty into the gouge, overfilling slightly.
- Allow to dry completely, then sand smooth.
- Stain and finish to match the surrounding wood.
Epoxy Wood Filler Technique
- Mix two-part epoxy wood filler according to instructions.
- Apply to the damaged area, slightly overfilling.
- Allow to cure fully, then sand smooth.
- Stain and finish to match.
When to Consider Professional Help
For antiques, valuable pieces, or extensive damage, professional restoration may be the best option. Experts have specialized tools and techniques to address severe damage without compromising the furniture’s value or integrity.
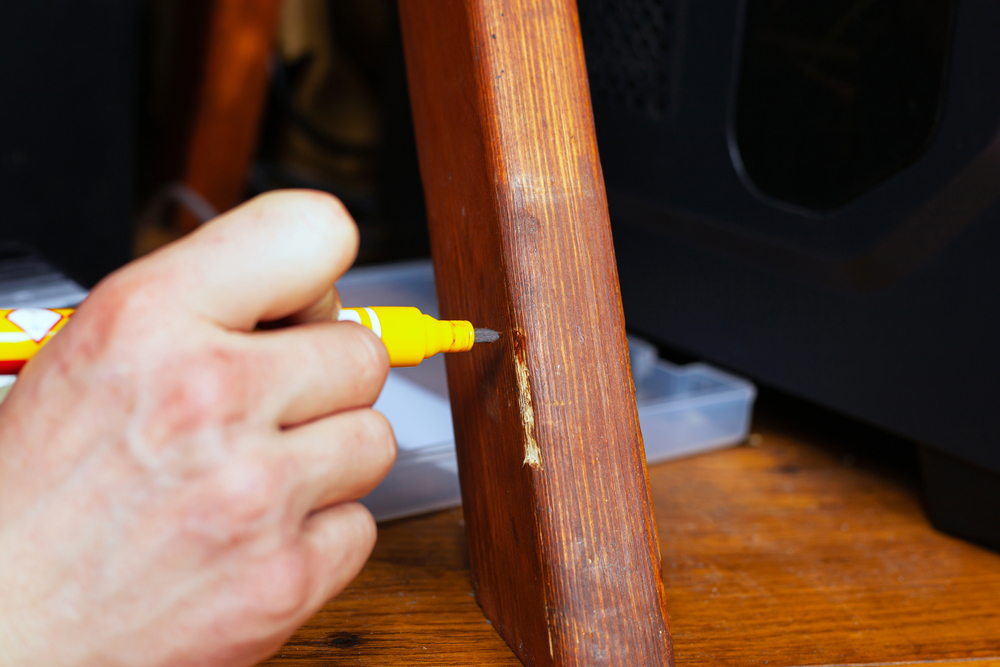
DIY Wood Scratch Repair Products
Several commercial products are available for DIY repair:
- Repair pens: Easy to use but limited in color options.
- Scratch cover polishes: Good for minor surface scratches.
- Touch-up markers: Offer precision but may not blend perfectly.
- Repair kits: Often include multiple tools and products for various repairs.
When choosing a product, consider:
- Wood color and type
- Scratch severity
- Ease of application
- Product reviews and recommendations
Preventive Measures
To minimize future scratches:
- Use furniture pads under chair and table legs.
- Place coasters under glasses and vases.
- Regularly dust and clean furniture with appropriate products.
- Position furniture away from high-traffic areas when possible.
- Trim pets’ nails regularly.
When to Seek Professional Help
Consider professional restoration if:
- The piece is an antique or highly valuable.
- Damage is extensive or structural.
- Previous DIY attempts have been unsuccessful.
- You’re uncomfortable with more complex repair techniques.
Professional restorers can:
- Match wood grain and color precisely.
- Repair structural damage.
- Refinish entire pieces for a uniform look.
Cost Comparison: DIY vs. Professional Repair
DIY repairs typically cost between $20-$100 for materials, depending on the products needed. Professional restoration can range from $100 to several thousand dollars, based on the piece’s size, value, and extent of damage.
Factors to consider:
- Value of the furniture
- Your skill level and available time
- Potential for further damage with DIY attempts
Eco-friendly and Natural Scratch Removal Methods
For those preferring natural solutions:
- Olive oil and vinegar mixture: Equal parts, applied with a soft cloth.
- Lemon juice and vegetable oil: Mix and apply to minor scratches.
- Baking soda paste: For light-colored woods, mix with water and gently buff.
- Tea bags: Steep in hot water, cool, and apply to scratches on dark woods.
These methods are best for very minor surface scratches and may need frequent reapplication.
Frequently Asked Questions
Q: Can I use olive oil to remove scratches from my wooden table? A: While olive oil can temporarily mask minor scratches, it’s not a permanent solution and may attract dust over time. It’s better to use products specifically designed for wood care.
Q: How often should I polish my wooden furniture to prevent scratches? A: Generally, polishing once every few months is sufficient. However, high-use pieces may benefit from monthly attention.
Q: Is it possible to remove water marks from wooden furniture? A: Yes, methods like using mayonnaise, toothpaste, or a mixture of baking soda and water can often remove water marks. For stubborn stains, professional help may be needed.
Q: Can I use car wax on my wooden furniture? A: It’s not recommended. Car wax is designed for different materials and may damage wood finishes. Stick to products specifically made for wood furniture.
Conclusion
Removing scratches from wooden furniture doesn’t have to be a daunting task. With the right techniques and a bit of patience, you can restore your cherished pieces to their former beauty. Remember to always start with the gentlest method and work your way up to more intensive repairs as needed. Regular maintenance and preventive measures will help keep your furniture looking its best for years to come.
Whether you opt for DIY solutions or professional restoration, the key is to act promptly when you notice damage. By addressing scratches early, you can prevent them from worsening and maintain the value and appearance of your wooden furniture.