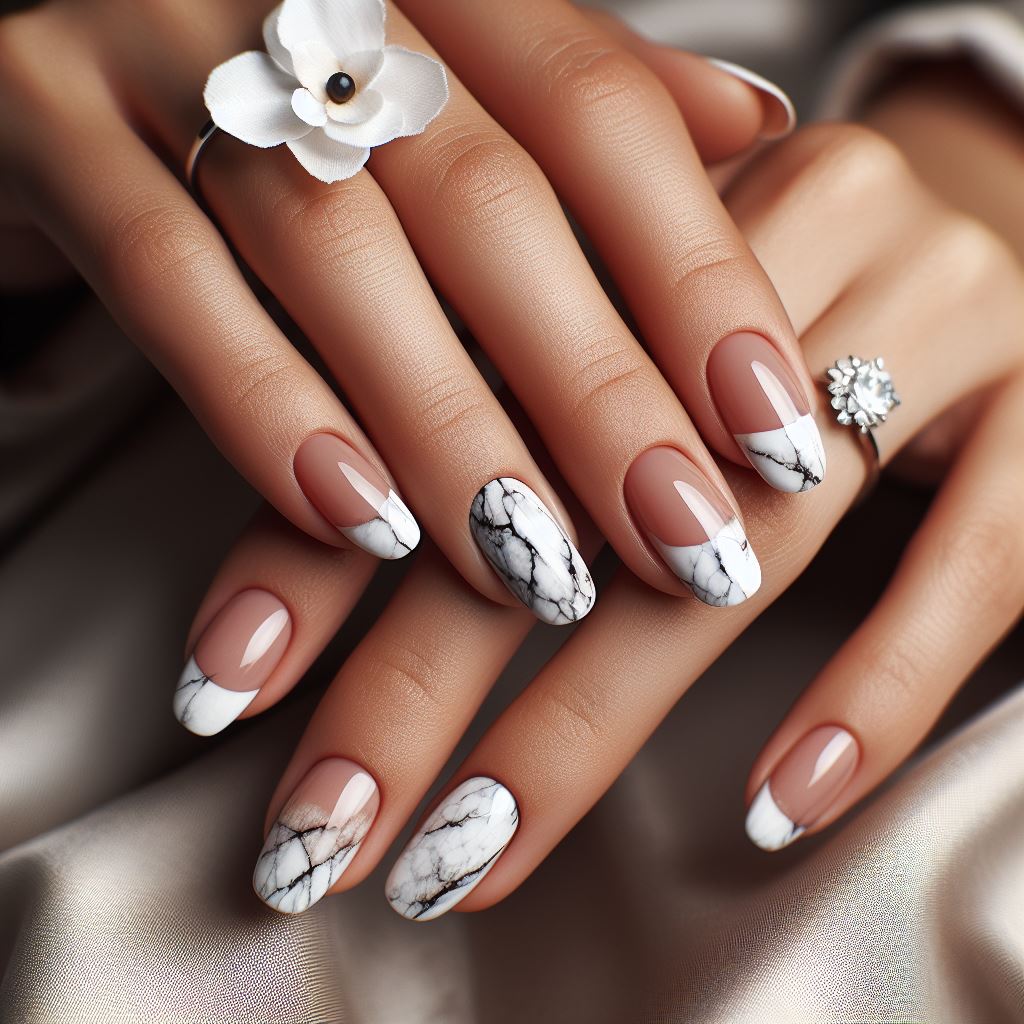
Marble nail art has become a popular staple look for nail art enthusiasts and salon clients alike over the past few years. The mesmerizing, vein-like white and gray swirls set against a dark background create dimension and interest on nails of any length and shape.
Not only is a marble manicure an on-trend way to elevate your nails, but the techniques used to create the painterly finish surprisingly easy to master at home. From understated monochromatic marble on a French manicure base to bold, colorful marble accents on an accent nail, tricks like using water to dilute nail polish and carefully dipping a dotting tool to swirl the polish result in showstopping nail looks.
Classic White and Gray Marble Nails
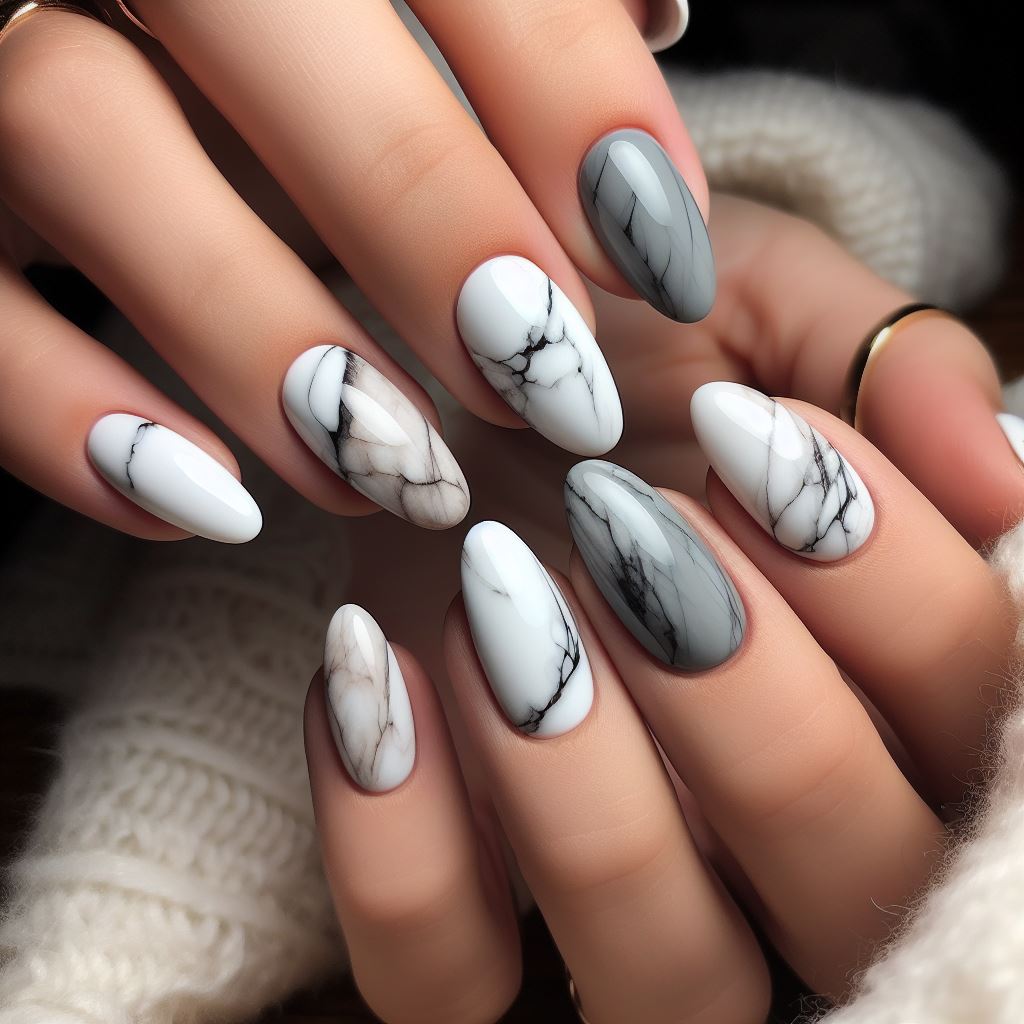
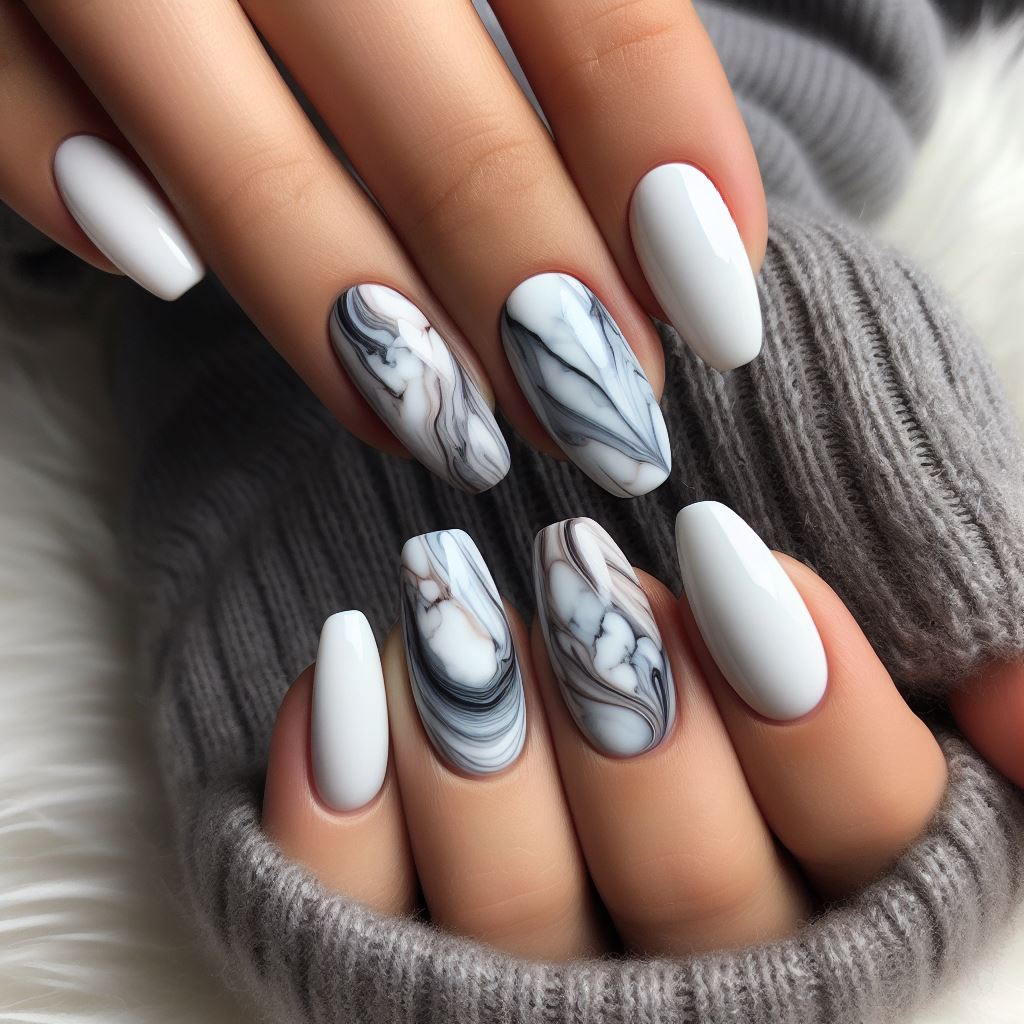
The classic marble nail look relies on different shades of white and gray to create subtle contrast. Typically, a dark gray or black base coat is applied first. Then, drops of white polish are lightly swirled directly on the nail or with a tool like a dotting pin, skewer or toothpick. This swishing motion blends the white and gray polish together to create veins. Top coat seals in the marble design.
When doing white and gray marble nails, the color contrast determines how bold the veining appears. Using a medium gray rather than true black as the base results in a more subtle, wearable marble effect. Leaving a free edge or area framing the cuticle bare allows the dark base to peek through for definition.
Salons like Nail Poppy and Glam Nail Lounge in Los Angeles and Paintbox in New York City are go-to spots for chic white and gray marble nails. At home, marble gel polish kits like those from Modelones and Makartt make recreating this look easy.
Marble Accent Nails for a Pop of Color
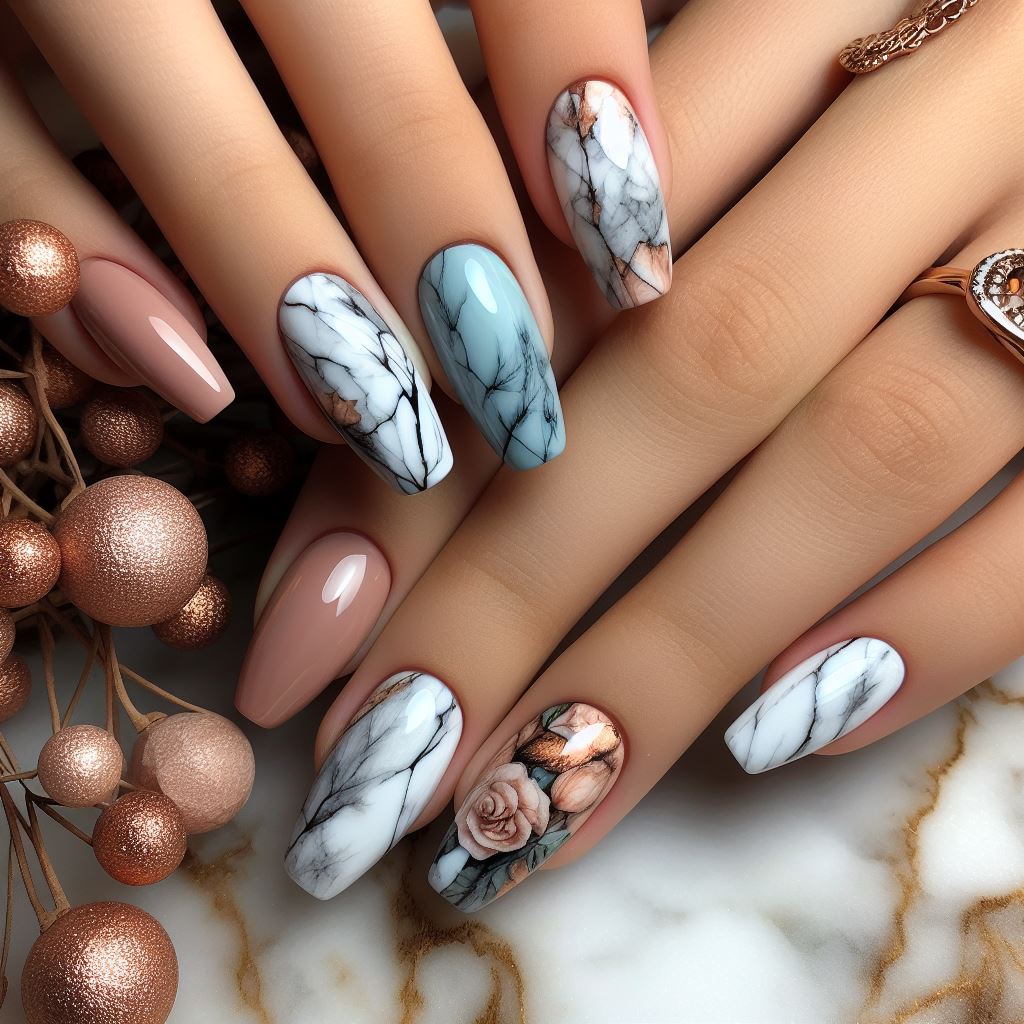
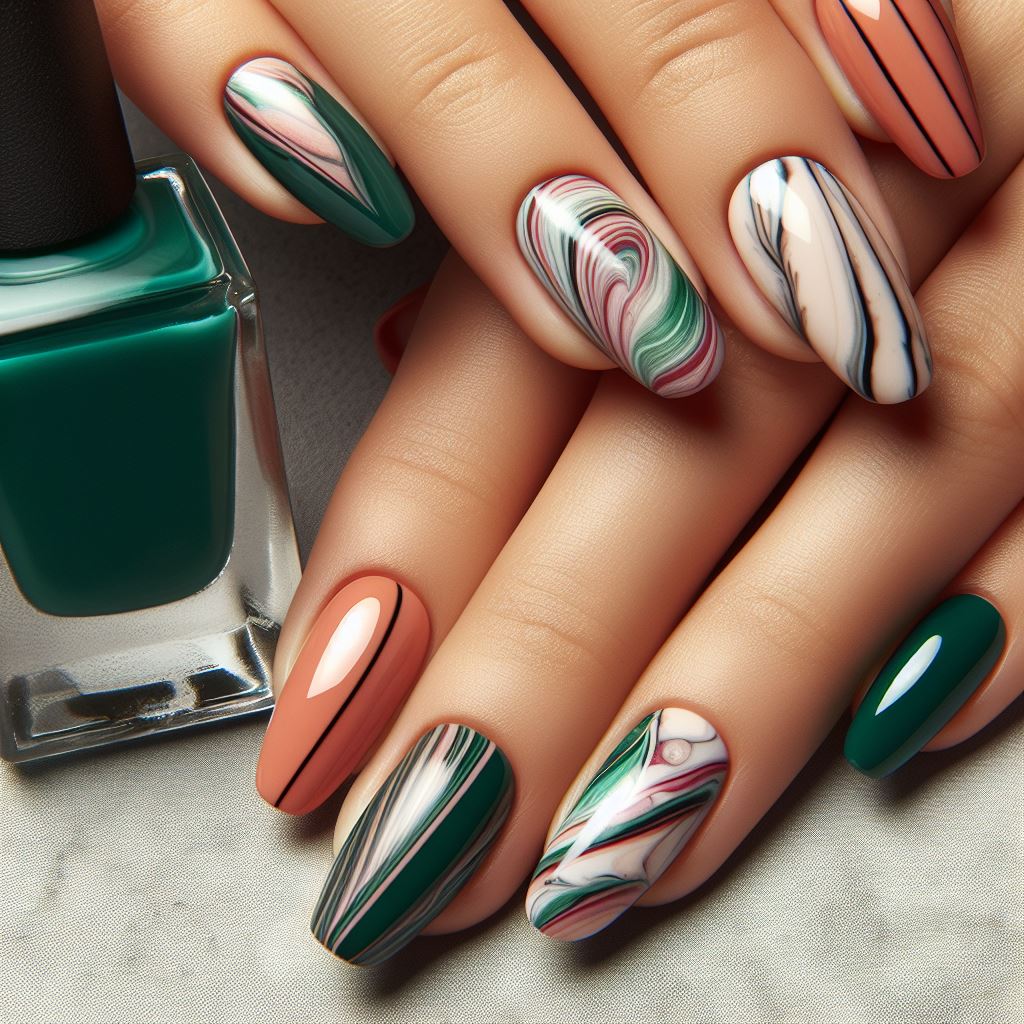
Take marble nails to the next level by incorporating pops of color! Using a neutral marble base, add bright nail polish stripes or marbleize with fun shades like emerald green, rich wine or neon orange. This makes marble suitable for any season – keep it icy in winter with blue and white marble or go vibrant in spring with coral and peach swirls.
You can marbleize glitter nail polish for a festive, sparkly take. Or, marble classic red nail polish for an edgy twist on holiday nails. Use striping tape to section off accent nails before applying color for clean lines. Top off your designs with a shiny top coat to smooth any ridges and protect the details.
When working with darker nail polish colors, apply a layer of clear base coat first to prevent staining. Always work quickly when swirling the polish and have paper towels handy to tidy up the edges.
Marble French Manicure Variations
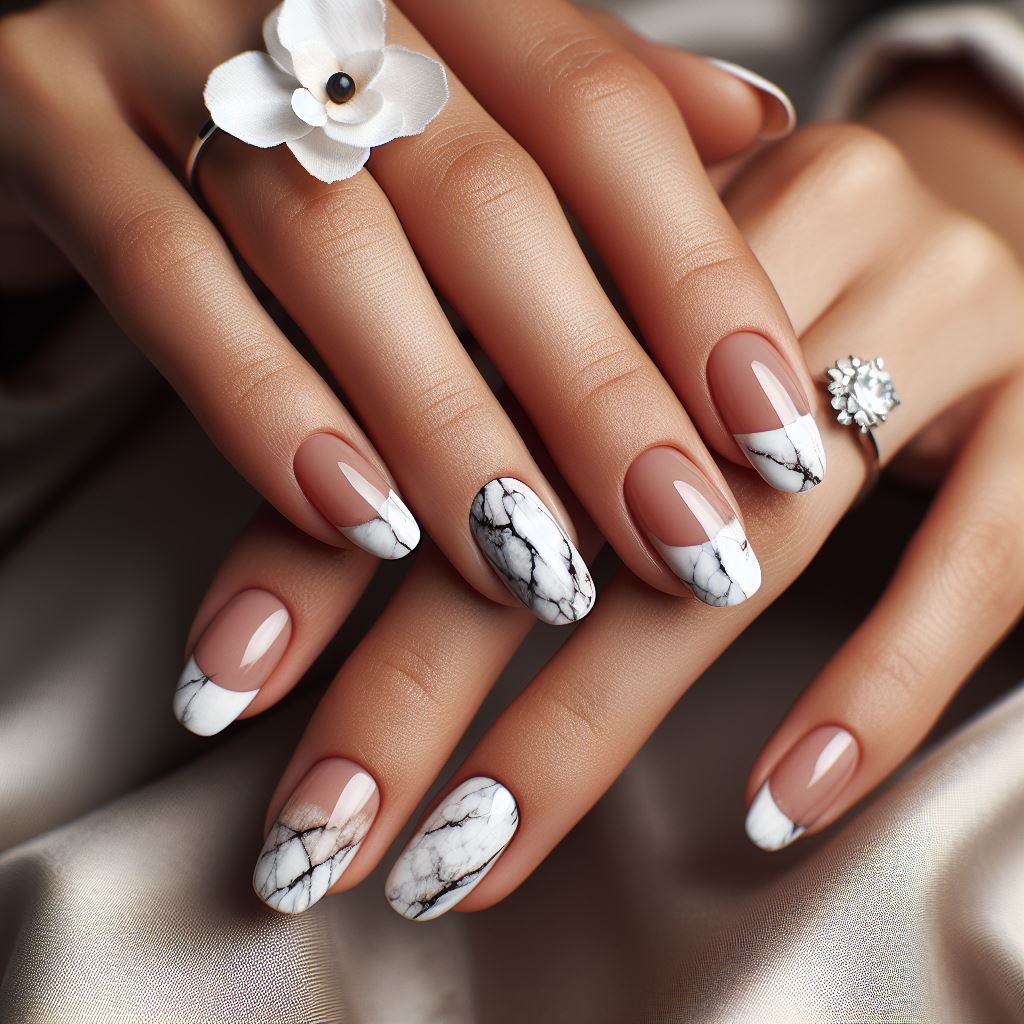

For a contemporary, unique take on a timeless classic, incorporate marbleized tips onto a French manicure base. After painting on the white base, use the aforementioned techniques to swirl gray and white polish across the tips of the nails. The marbleization integrates seamlessly with the French style for a modern hybrid look.
Or, switch it up by doing a marble French manicure dipped in color! Start by painting on a classic French tip. Next, apply masking tape in a straight line above the white tip. Paint on your base color, then remove the tape. This covers most of the nail in your base shade while revealing a straight French tip stripe. Finish by marbleizing the tip area.
The options are endless when incorporating marble technique into a French manicure! Play with different base colors and shades of white polish. Leave half the tip bare for a modern look. Switch from classic straight tips to rounded or diagonal shapes.
Marble Nail Art Tools and Tips
Recreating pro-level marble nails is easier than you think with the right tools and tips! Here is a quick overview of everything you need:
Tools
- Dotting tool, toothpick, skewer or bobby pin for swirling polish
- Striping/masking tape for straight lines
- Small paint brush for precise touch ups
- Base coat, top coat
Polish
- Dark color for base (black, gray, navy blue, dark green)
- White nail polish
- Clear polish or nail art thinner solution to dilute colors
- Optional: Additional bright shades
Tips & Tricks
- Work quickly when swirling polish
- Dilute polish with clear base coat or nail art thinner solution
- Angle the nail when swirling to allow pooled polish to run downward
- Swipe judiciously back and forth through main color pools to form veins
- Clean up skin or cuticles with brush dipped in acetone if needed
Comparing Marble Nail Art Kits
| Product | Includes | Rating | Price |
|---|---|---|---|
| Modelones Marble Gel Polish Kit | UVA/LED lamp, marble gel powders and liquids, tools | 4.5 / 5 | $40 |
| Makartt Marble Gel Polish Set | UVA/LED lamp, extensive marble powder shades, applicator | 4.7 / 5 | $65 |
| Olive & June The Mani System | UVA LED lamp, marble polish, clean up brush, filing tools | 4.8 / 5 | $80 |
FAQs About Getting the Marble Look
How do you clean up marble nails? Use an angled brush dipped in nail polish remover or acetone to gently tidy up the skin around the nails. Go slowly; cleaning up is the trickiest part of marble application. Applying Vaseline along the skin beforehand prevents staining.
Can you marble regular nail polish? Yes! Any nail polish can be marbleized. However, the effect is easiest to achieve using gel polish. Gel thicker formula makes it easier to swirl and blend for smooth veins on the first attempt. Applying regular polish over gel base/top coat lets you remove easily.
How long does a marble manicure last? With proper at home care, marathon-wear capability top coat and avoiding picking or peeling, a marble gel mani can last 2-4 weeks. Marble polish lasts up to 1 week before needing fill ins as the grow out becomes visible.
Incorporate dimensional, stylish marble nail art into your next manicure with these popular techniques, tools, and designs! The swirling painterly look blends classical inspiration with modern colors and patterns for an unforgettable statement nail effect.
Looking for more nail art inspiration? Browse our latest nail trends and DIY tutorials!

