Make Your Own Soap Saver Pouch
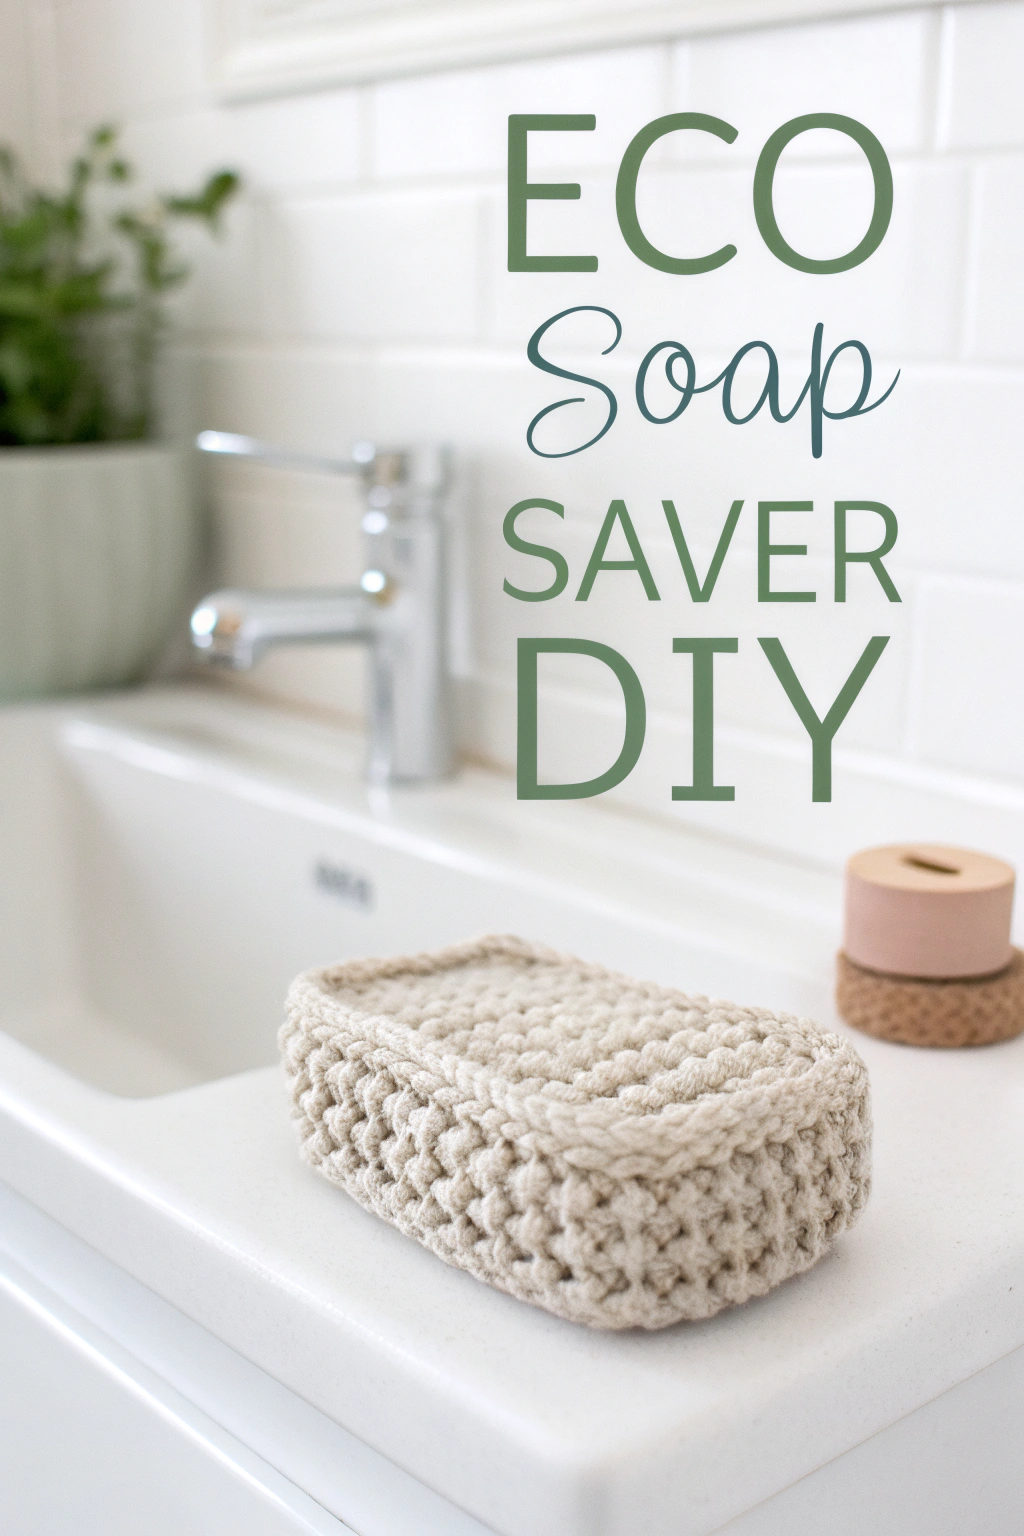
Don’t you just adore making practical things beautiful? Check out this lovely little Crocheted Soap Saver Pouch right by the sink in the photo. It’s cute, yes, but also incredibly useful – it helps your soap last way longer, uses up those tiny ends, and feels nice on your skin too! Thinking you might like to make one? It’s a wonderful project, truly simpler than it looks, and perfect if you’re new to crochet. Come on, let’s get our materials ready and learn how!
What You’ll Need
Here’s the list of essentials to get started:
- 🧶 Yarn: Worsted weight cotton yarn is perfect. Cotton is absorbent, durable, and machine washable. The pouch in the image uses a neutral beige/light tan yarn. One small ball is plenty.
- 🪝 Crochet Hook: A size H-8 (5.00 mm) hook usually works well with worsted weight cotton, but check your yarn label for recommendations.
- ✂️ Scissors: For snipping the yarn.
- 🪡 Yarn Needle (or Tapestry Needle): This has a large eye for threading yarn and a blunt tip, essential for weaving in ends neatly.
- 🧼 Bar of Soap: Keep one handy to check the size as you go!
Getting Started: Basic Stitches & Terms
Before we begin the pouch, let’s quickly go over the stitches. Don’t worry, we’ll take it step-by-step!
- ch: Chain stitch. This is the foundation of most crochet projects. You’ll make a loop (slip knot) on your hook, yarn over (wrap yarn around the hook), and pull the yarn through the loop. That’s one chain!
- sc: Single Crochet. This is a basic, sturdy stitch. Insert your hook into the indicated stitch, yarn over, pull up a loop (you’ll have two loops on your hook), yarn over again, and pull through both loops on the hook. That’s one single crochet. This stitch forms the dense, textured fabric you see on the soap saver in the image.
- sl st: Slip Stitch. This is used for joining and finishing. Insert your hook, yarn over, and pull the yarn through both the stitch and the loop on your hook in one motion.
- st(s): Stitch(es).
- Turning Chain: At the end of each row, you’ll make a small chain (usually just 1 ch for sc) and turn your work around to start the next row. This keeps your edges straight.
Building Your Soap Saver Pouch
This soap saver is constructed as a simple flat rectangle, which is then folded in half and seamed along the sides.
Step 1: The Foundation Chain
- Make a slip knot and place it on your hook.
- Chain stitches until the chain is slightly wider than your bar of soap. Let’s say you chain 13 stitches for a standard bar. (Count your chains carefully!) Tip: Make the chain just a tiny bit loose, as it makes working the first row easier.
Step 2: Working the Rows
- Row 1: Turn your chain over so you see the ‘back bumps’. Insert your hook into the second chain from the hook (skip the first chain right next to your hook – this acts as part of your turning height). Work 1 sc into this second chain. Continue working 1 sc into each chain across. You should have 12 sc stitches if you started with 13 chains. (Always one less sc than your starting chain count).
- Beginner Tip: Count your stitches at the end of each row! It’s the easiest way to keep your edges straight.
- Row 2: Chain 1 (this is your turning chain and doesn’t count as a stitch), and turn your work. Now, working into the stitches of Row 1, make 1 sc in the very first stitch and in each stitch across. You should still have 12 sc.
- Where to Insert the Hook: Make sure you insert your hook under both top loops of the stitch from the previous row unless a pattern tells you otherwise.
- Repeat Row 2: Keep repeating Row 2 – Ch 1, turn, work 1 sc in each stitch across. You’ll see the textured fabric develop, just like the one in the picture.
- Continue making rows until your rectangle is long enough to fold in half and comfortably cover your bar of soap. Lay your soap on one half of the rectangle; the rectangle should be long enough to fold over the soap completely, with maybe a tiny bit of extra room. Let’s estimate you’ll need about 26-30 rows for a standard bar.
Step 3: Assembling the Pouch
- Finishing the Rectangle: Once your rectangle is the desired length, do not chain 1 after your last row. Cut your yarn, leaving about a 6-8 inch tail. Yarn over and pull the tail completely through the loop on your hook to fasten off.
- Folding: Lay your rectangle flat. Fold it in half lengthwise, matching up the stitches of the first and last rows. The ‘right side’ (the side you prefer the look of) should be facing outwards. The pouch in the image has a uniform texture on the outside.
- Seaming the Sides:
- Thread your yarn needle with a new piece of yarn (or use the tail if it’s long enough and positioned conveniently).
- Starting at the bottom corner (the folded edge), begin seaming up one side. You can use a whip stitch (going through the outer loops of both layers) or carefully work sl st or sc stitches through both layers using your crochet hook. Using sc for seaming will give a slightly thicker, very secure edge.
- Work your chosen seam stitch evenly up the first side until you reach the top opening. Fasten off securely.
- Repeat the seaming process for the other side.
Step 4: Finishing Touches
- (Optional) Top Edging: The pouch in the image features a very neat top opening. To achieve this, join your yarn with a sl st anywhere along the top opening edge. Chain 1, and then work 1 sc evenly around the entire opening. Join with a sl st to the first sc. Fasten off. This tidies up the edge nicely.
- Weaving in Ends: Use your yarn needle to weave in all loose yarn tails securely into the stitches on the inside of the pouch. Trim any excess yarn.
Enjoy Your Handmade Soap Saver!
And there you have it! A wonderfully practical and eco-friendly soap saver pouch, fashioned by you. Pop your favourite bar soap inside (or collect small soap ends) and enjoy the gentle scrub and rich lather it helps produce. Making something useful like this brings such a sense of accomplishment, doesn’t it?
Feel proud of the lovely item you’ve put together! We’d love to see your finished soap savers – perhaps share a picture online and inspire someone else to pick up a hook! Happy Stitching!