Make Your First Crochet Cup Sleeve
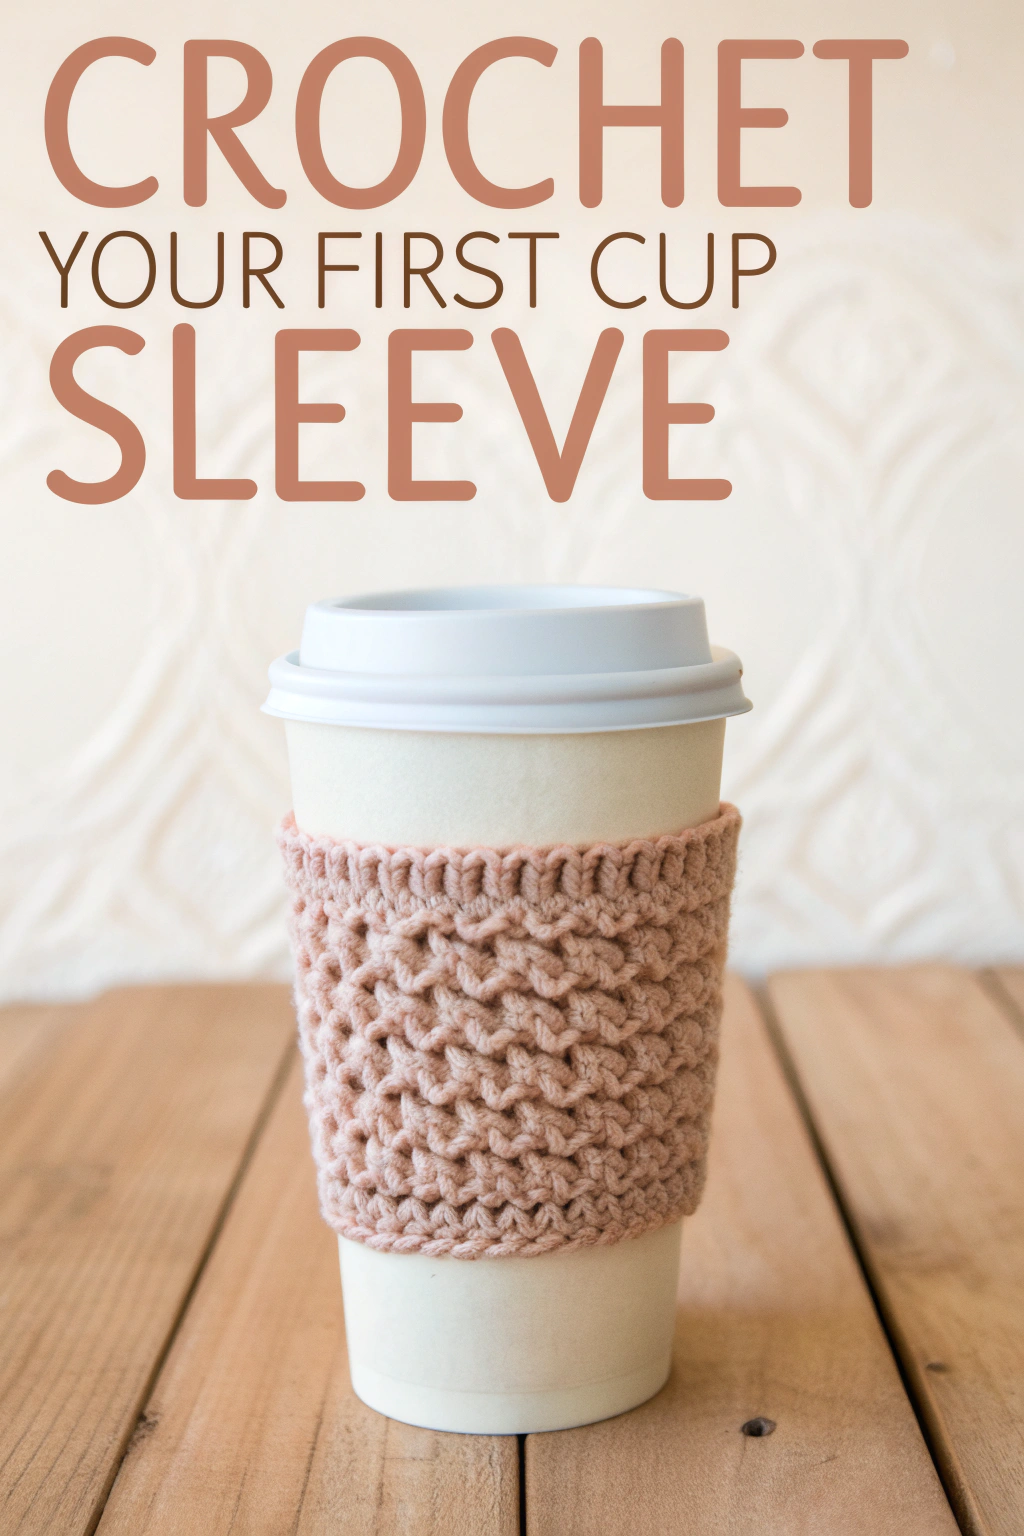
Ever wanted to add a handmade touch to your daily coffee or tea ritual? Imagine wrapping your cup in a warm, textured sleeve that you fashioned yourself! This project is a wonderful way to dip your toes into the world of crochet. This guide will walk you through assembling your very first crochet cup sleeve, just like the lovely dusty rose one pictured. It has a beautiful, tactile weave pattern that’s surprisingly straightforward once you get the hang of it. Let’s gather our supplies and begin this fun little adventure together!
What You’ll Need
Before we start stitching, let’s get our tools ready:
- 🧶 Worsted Weight Yarn: About 30-50 yards. The yarn in the image has a soft, dusty rose color. Choose any color you love! Cotton yarn works well for absorbency, but acrylic or wool blends are great too.
- 🪝 Crochet Hook: A size H/8 (5.00 mm) hook is a good starting point for worsted weight yarn, but check your yarn label for recommendations.
- ✂️ Scissors: For snipping the yarn.
- 🧵 Yarn Needle (or Tapestry Needle): This has a large eye and blunt tip, perfect for weaving in yarn ends neatly.
Getting Started: The Basics
If you’re brand new, welcome! We’ll go over the essential starting steps.
Making a Slip Knot
This is how most crochet projects begin.
- Make a loop with your yarn, crossing the working end (attached to the ball) over the tail end.
- Push your hook through the loop.
- Catch the working yarn with your hook and pull it back through the loop.
- Pull both yarn ends gently to tighten the knot onto your hook. It should be snug but able to slide.
The Chain Stitch (ch)
This forms the foundation.
- With the slip knot on your hook, wrap the yarn around your hook from back to front (yarn over or yo).
- Use the hook to pull that yarn through the loop already on your hook. That’s one chain stitch!
- Repeat this motion to make more chain stitches. They look like little interlocking ‘V’s.
Joining in the Round with a Slip Stitch (sl st)
To make a circle for our sleeve:
- After making the required number of chains, bring the ends together, being careful not to twist the chain.
- Insert your hook into the very first chain stitch you made (the one next to the slip knot).
- Yarn over, and pull the yarn through both the stitch and the loop currently on your hook in one smooth motion. This joins the chain into a ring.
Assembling Your Cup Sleeve: Step-by-Step
We’ll build this sleeve round by round. Remember to take your time!
Measure Your Cup: Before starting, wrap your foundation chain around the bottom part of your usual takeaway cup. It should fit snugly but not too tightly. Adjust the starting chain number if needed. For a standard cup, around 28-32 chains is common. Let’s proceed assuming 30 chains for this example.
Foundation:
- Make a slip knot.
- Chain 30 (or your adjusted number).
- Join with a slip stitch to the first chain to form a ring. Make sure it’s not twisted!
Round 1: Building the Base
- Chain 1 (This doesn’t count as a stitch, it just brings the yarn up to height).
- Work 1 Half Double Crochet (hdc) stitch into the same stitch as the join.
- How to hdc: Yarn over, insert hook into the next stitch, yarn over, pull up a loop (3 loops on hook). Yarn over again, pull through all three loops on the hook.
- Work 1 hdc in each chain stitch all the way around. (You should have 30 hdc total if you started with 30 chains).
- Join the round by working a slip stitch into the top of the first hdc you made (not the starting ch 1).
Round 2: Introducing the Texture This round establishes the distinct woven pattern visible in the image, which uses alternating Front Post Double Crochet (FPdc) and Back Post Double Crochet (BPdc) stitches. These sound complex, but it’s just about where you insert your hook!
- Chain 2 (This counts as your first Double Crochet (dc) here. A dc is taller than an hdc: Yarn over, insert hook, yarn over, pull up loop (3 loops), yarn over, pull through first two loops, yarn over, pull through last two loops).
- Work 1 FPdc around the post of the next hdc from the round below.
- How to FPdc: Yarn over. Insert your hook from front to back, going around the vertical post of the designated stitch from the previous round, and bring the hook back out to the front. Yarn over, pull up a loop (3 loops on hook). Finish the stitch like a regular dc (yarn over, pull through 2 loops, yarn over, pull through remaining 2 loops). This makes the stitch pop forward.
- Work 1 FPdc around the post of the next hdc from Round 1.
- Work 1 BPdc around the post of the next hdc from Round 1.
- How to BPdc: Yarn over. Insert your hook from back to front, going around the vertical post of the designated stitch from the previous round, and bring the hook back out to the back. Yarn over, pull up a loop (3 loops on hook). Finish the stitch like a regular dc. This makes the stitch recede backward.
- Work 1 BPdc around the post of the next hdc from Round 1.
- Repeat the pattern
[2 FPdc, 2 BPdc]around the entire round. You’ll work around the post of each hdc from Round 1. - Join with a slip stitch to the top of the starting Chain 2.
Round 3: Continuing the Texture Now, you’ll work the post stitches around the post stitches from the previous round, maintaining the pattern.
- Chain 2 (Counts as first dc).
- Work 1 FPdc around the post of the next FPdc from Round 2.
- Work 1 FPdc around the post of the next FPdc from Round 2. (You’re working FPdc around FPdc).
- Work 1 BPdc around the post of the next BPdc from Round 2.
- Work 1 BPdc around the post of the next BPdc from Round 2. (You’re working BPdc around BPdc).
- Repeat the pattern
[2 FPdc, 2 BPdc]around the entire round, matching the stitches below (FPdc around FPdc, BPdc around BPdc). - Join with a slip stitch to the top of the starting Chain 2.
Rounds 4 – 7 (or until desired height):
- Repeat Round 3. Continue building the textured pattern until the sleeve is tall enough to comfortably hold your cup, likely around 7-8 rounds total, matching the height seen in the photo.
Round 8: Finishing Edge The image shows a neat, simple top edge. We’ll use single crochet for this.
- Chain 1 (Does not count as a stitch).
- Work 1 Single Crochet (sc) into the same stitch as the join.
- How to sc: Insert hook into stitch, yarn over, pull up a loop (2 loops on hook). Yarn over, pull through both loops on the hook.
- Work 1 sc in the top of each stitch around.
- Join with a slip stitch to the top of the first sc.
Finishing Touches
- Fasten Off: Cut the yarn, leaving about a 6-inch tail. Yarn over and pull the tail completely through the loop on your hook. Pull it tight to secure.
- Weave in Ends: Thread the starting tail onto your yarn needle. Weave it back and forth through the inside stitches of the sleeve for an inch or two. Snip any remaining excess yarn close to the fabric. Repeat this for the ending tail. Be careful not to pull too tightly, which could pucker the fabric.
Your Cozy Cup Companion is Ready!
Slide your beautiful, handcrafted sleeve onto your favorite takeaway cup. Feel the satisfying texture and take pride in the lovely piece you brought into existence with your own two hands and a hook! Isn’t it wonderful how simple loops of yarn can become something so practical and pretty?
Experiment with different yarn colors and maybe even try adjusting the stitch pattern slightly once you feel more confident. We’d love to see your finished cup sleeves! Share a picture online and tag us, or just enjoy the warm feeling (literally!) of your accomplishment. Happy Stitching!