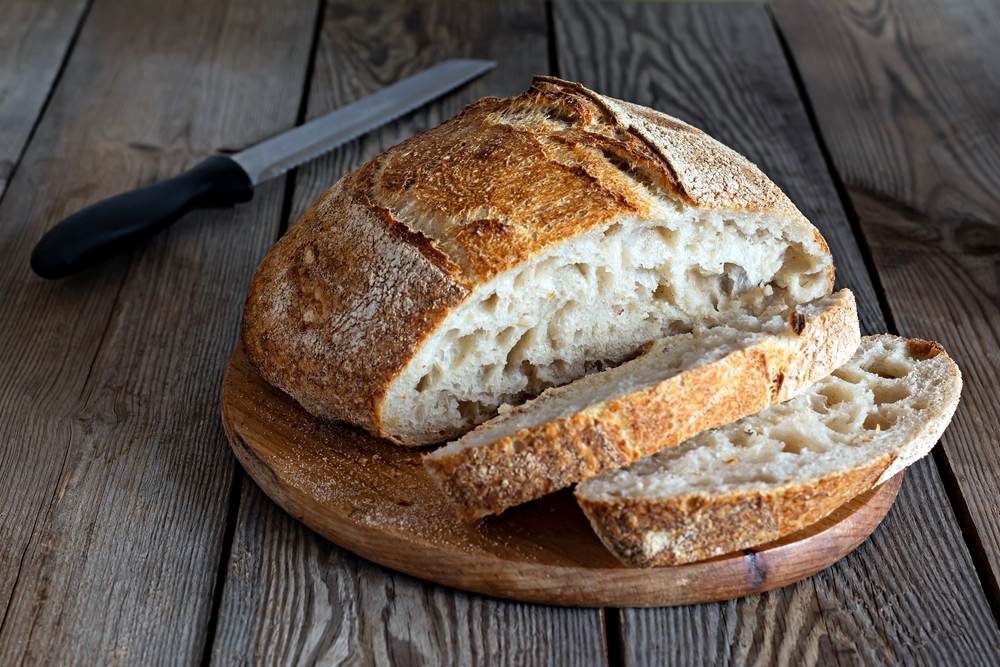
How to Make Your Own Bread Without a Bread Machine
Have you ever thought about making your own bread at home? Imagine the smell of freshly baked bread filling your kitchen, the satisfaction of creating something wholesome and delicious with your own hands. Making bread at home can be incredibly rewarding, not to mention healthier and more cost-effective than buying it from the store. In this guide, we’ll take you through the step-by-step process of making your own bread without a bread machine. Whether you’re a novice baker or a seasoned pro, this guide will help you create the perfect loaf every time.
Why Make Bread at Home?
Health Benefits
When you make bread at home, you have complete control over the ingredients. Store-bought bread often contains preservatives and additives to extend its shelf life, which aren’t necessary for homemade bread. By choosing high-quality ingredients, you can ensure your bread is nutritious and free from unwanted chemicals. Plus, homemade bread tends to have fewer sugars and unhealthy fats compared to commercial varieties.
Cost-Effective
Homemade bread is not only healthier but also more economical. The basic ingredients for bread – flour, yeast, water, and salt – are inexpensive. Once you have these staples, you can make multiple loaves of bread for a fraction of the cost of store-bought bread. Plus, you can customize your bread with additional ingredients you might already have at home, like seeds or nuts.
Personal Satisfaction
There’s something incredibly satisfying about baking your own bread. The process is therapeutic, and the end result is a tangible, delicious reward. Homemade bread also allows for endless customization, so you can experiment with different flours, add-ins, and flavors to suit your taste.
Essential Ingredients for Bread Making
Flour Types
The type of flour you use will significantly impact the texture and flavor of your bread. Here are some common types:
- All-purpose flour: Versatile and commonly used in many recipes.
- Bread flour: Higher in protein, which helps create a chewier texture.
- Whole wheat flour: Adds a nutty flavor and is more nutritious due to the inclusion of bran and germ.
Yeast
Yeast is what makes the dough rise and gives bread its light, airy texture. You can use:
- Active dry yeast: Needs to be dissolved in water before use.
- Instant yeast: Can be mixed directly with dry ingredients.
Water
Water is essential for activating the yeast and hydrating the flour. The temperature of the water should be warm, around 110°F (45°C), to help the yeast activate properly.
Salt
Salt not only enhances the flavor of the bread but also controls the fermentation process and strengthens the dough.
Optional Ingredients
- Sugar: Helps feed the yeast and adds sweetness.
- Olive oil or butter: Adds moisture and flavor.
Necessary Tools and Equipment
Before you start, gather the necessary tools to make the process smooth:
- Mixing bowl
- Measuring cups and spoons
- Mixing spoon or dough whisk
- Clean towel or plastic wrap
- Baking sheet or loaf pan
- Kitchen scale (optional)
Step-by-Step Bread Making Process
Step 1: Mixing the Ingredients
Start by combining your dry ingredients in a large mixing bowl. Here’s a basic recipe to get you started:
- 3 cups (360g) bread flour
- 1 packet (2 ¼ tsp) active dry yeast
- 1 ½ tsp salt
- 1 ¼ cups (300ml) warm water
- In a large bowl, mix the flour, yeast, and salt.
- Gradually add the warm water while stirring. The dough should start to come together and form a shaggy mass.
Step 2: Kneading the Dough
Kneading is crucial for developing the gluten structure, which gives bread its texture.
- Turn the dough out onto a lightly floured surface.
- Knead by pressing the dough with the heel of your hand, folding it over, and repeating the process. Continue for about 8-10 minutes, until the dough is smooth and elastic.
Step 3: First Rise
- Place the dough in a lightly oiled bowl and cover it with a clean towel or plastic wrap.
- Let it rise in a warm, draft-free place for 1-2 hours, or until it has doubled in size.
Step 4: Shaping the Dough
After the first rise, it’s time to shape the dough.
- Gently deflate the dough by pressing down on it.
- Shape it into a loaf by folding the sides into the center and rolling it up tightly.
- Place the shaped dough on a baking sheet or in a loaf pan.
Step 5: Second Rise
- Cover the shaped dough with a towel or plastic wrap.
- Let it rise again for 30-60 minutes, or until it has doubled in size.
Step 6: Baking
- Preheat your oven to 375°F (190°C).
- Bake the bread for 25-30 minutes, or until the crust is golden brown and the bread sounds hollow when tapped on the bottom.
Step 7: Cooling and Storing
- Let the bread cool on a wire rack for at least 30 minutes before slicing.
- Store the bread in a paper bag or bread box to keep it fresh. You can also freeze it for longer storage.
Common Mistakes and Troubleshooting
Dense Bread
Dense bread can be caused by insufficient kneading, not enough rising time, or too much flour. Ensure you knead the dough well and allow enough time for the dough to rise fully.
Bread Doesn’t Rise
If your bread doesn’t rise, your yeast might be old or the water you used might have been too hot or too cold. Always check the expiration date on your yeast and ensure the water is warm but not too hot.
Burnt Crust
A burnt crust can be a result of an oven that’s too hot or placing the bread too close to the heat source. Try lowering the oven temperature slightly and placing the bread in the middle of the oven.
Dry or Crumbly Bread
Dry or crumbly bread can be caused by not enough water or over-baking. Ensure you add enough water to the dough and keep an eye on the baking time.
Variations and Advanced Tips
Adding Seeds and Nuts
For extra texture and flavor, consider adding seeds or nuts to your dough. Popular choices include sunflower seeds, flaxseeds, and chopped walnuts. Mix them into the dough after the initial mixing stage.
Using Different Flours
Experiment with different types of flour to create unique flavors and textures. Rye flour, spelt flour, and oat flour can all add interesting dimensions to your bread.
Flavor Enhancements
- Herbs and Spices: Add dried herbs like rosemary, thyme, or oregano, or spices like cinnamon and nutmeg.
- Cheese and Garlic: Incorporate grated cheese or minced garlic for a savory twist.
Sourdough Starter Basics
Creating a sourdough starter is a more advanced technique but can add a wonderful flavor to your bread. To make a starter, mix equal parts flour and water and let it sit out at room temperature, feeding it daily with more flour and water until it becomes bubbly and active.
FAQs About Homemade Bread
How Long Does Homemade Bread Last?
Homemade bread typically lasts 2-3 days at room temperature. It doesn’t contain preservatives, so it can go stale quicker than store-bought bread.
Can I Freeze Homemade Bread?
Yes, you can freeze homemade bread. Slice it before freezing so you can easily take out just what you need.
How Do I Keep Bread Fresh?
Store bread in a paper bag or bread box at room temperature. Avoid plastic bags as they can make the bread soggy.
What If I Don’t Have Yeast?
If you don’t have yeast, you can make a quick bread using baking powder or baking soda as a leavening agent, or try making a sourdough starter as an alternative.
Conclusion
Making your own bread at home without a bread machine is a fulfilling and enjoyable process. By following these steps, you can create delicious, healthy bread that your family will love. Don’t be afraid to experiment with different ingredients and techniques to find what works best for you. Happy baking!
Try making your own bread today and share your experiences in the comments below. We’d love to hear about your baking adventures! Don’t forget to subscribe to our blog for more baking tips and recipes.