How to Make Ice Cubes Clear
Picture this: You’re about to serve a meticulously crafted cocktail to your guests. The flavors are perfectly balanced, the glassware is exquisite, but as you drop in the ice cubes, you notice they’re cloudy and full of imperfections. Don’t let subpar ice ruin your drink presentation! In this comprehensive guide, we’ll explore the art and science of making crystal-clear ice cubes that will elevate your beverages to new heights.
The Science Behind Clear Ice
Before we dive into the methods, let’s understand why regular ice cubes are cloudy. When water freezes, it forms a crystalline structure. As this structure grows, it pushes out impurities and air bubbles. In a standard ice tray, water freezes from all directions, trapping these impurities and air bubbles in the center, resulting in that characteristic cloudy appearance.
The key to clear ice lies in a process called directional freezing. By controlling the direction in which water freezes, we can push all the impurities and air bubbles to one side, leaving the rest of the ice crystal-clear.
Methods for Making Clear Ice Cubes
The Cooler Method
This method is popular among cocktail enthusiasts for its simplicity and effectiveness.
You’ll need:
- A small cooler that fits in your freezer
- Distilled or filtered water
- A serrated knife or ice pick
Steps:
- Fill the cooler with distilled water, leaving about 1-2 inches at the top.
- Place the cooler in the freezer, leaving the lid off.
- Wait 24-48 hours, depending on your freezer’s temperature.
- Remove the cooler and let it sit at room temperature for 5-10 minutes.
- Flip the cooler over and remove the block of ice.
- Use the serrated knife or ice pick to cut the clear portion into cubes.
Pros: Produces large quantities of clear ice Cons: Requires more freezer space and time
The Boiled Water Method
While not as effective as directional freezing, this method can improve clarity significantly.
Steps:
- Boil distilled water twice, allowing it to cool slightly between boilings.
- Pour the water into an ice tray or mold.
- Freeze as usual.
Tip: For best results, use silicone molds with small openings at the top. This helps direct the freezing process somewhat.
The Insulated Mold Method
This DIY approach mimics commercial clear ice makers.
You’ll need:
- A small, insulated container (like a coffee mug)
- A slightly smaller container that fits inside
- Distilled water
Steps:
- Place the smaller container inside the insulated one.
- Fill the space between with water.
- Freeze for 24 hours.
- Remove and separate the clear ice from any cloudy portions.
Pro Tip: Experiment with different container shapes for unique ice forms!
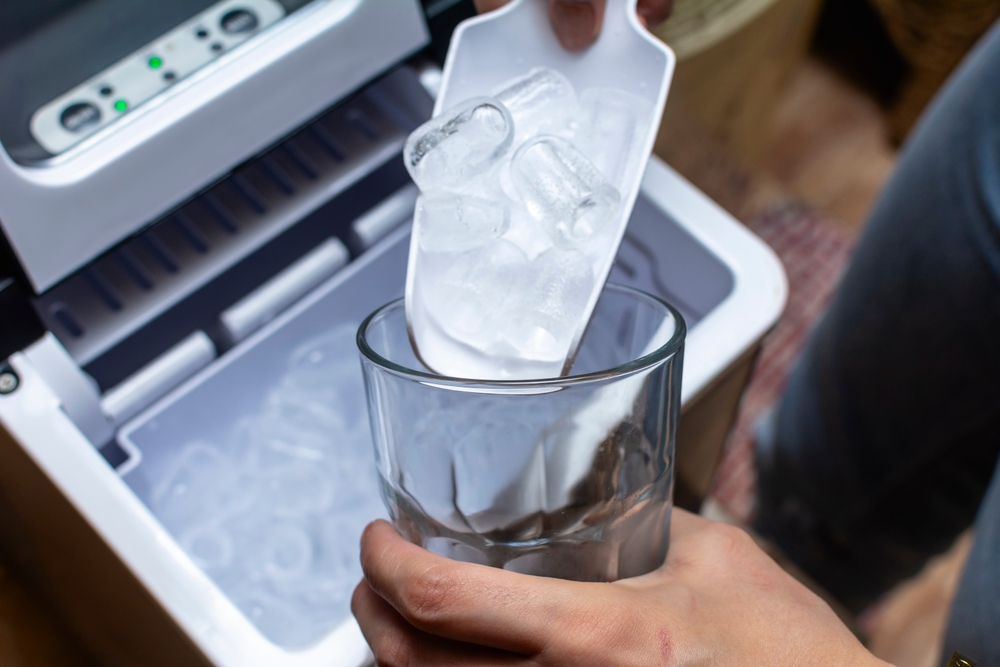
Commercial Clear Ice Makers
For those serious about clear ice, investing in a dedicated machine might be worthwhile. Look for features like:
- Directional freezing technology
- Multiple ice shape options
- Easy-to-clean design
While these can be pricey, they offer convenience and consistent results.
Tips for Optimal Results
- Use distilled or filtered water: Minimize impurities that can affect clarity.
- Control freezer temperature: A consistent, not-too-cold temperature (around 0°F or -18°C) works best.
- Handle with care: Use clean tools and gloves to prevent fingerprints and scratches.
Creative Uses for Clear Ice Cubes
Clear ice isn’t just for drinks! Consider these creative applications:
- Food photography props
- Elegant centerpieces for events
- Artistic ice sculptures for special occasions
Mixologist Maria Rodriguez says, “Clear ice is a game-changer in cocktail presentation. It’s like the difference between a cotton and silk shirt – both do the job, but one elevates the entire experience.”
Troubleshooting Common Issues
- Partial cloudiness: Ensure complete directional freezing by adjusting insulation or freezing time.
- Cracks or imperfections: Slow the freezing process slightly by raising the freezer temperature a bit.
- Climate challenges: In humid environments, work quickly to prevent condensation on your clear ice.
The Environmental Impact
While pursuing perfect ice, consider the environmental costs:
- Minimize water waste by using leftover cloudy portions in other applications.
- Opt for energy-efficient freezing methods or equipment.
- Consider the lifecycle of your tools and machines – durability matters!
Conclusion
Creating clear ice cubes at home is an achievable art that can significantly enhance your drinking experience. Whether you’re a cocktail aficionado, a home entertainer, or simply someone who appreciates the finer details, mastering clear ice production is a valuable skill.
Remember, the journey to perfect ice is as much about the process as the result. Experiment with different methods, share your successes (and failures!) with fellow enthusiasts, and most importantly, enjoy the crystal-clear fruits of your labor in your next perfectly crafted beverage.
FAQs
- Q: How long does clear ice last compared to regular ice? A: Clear ice generally melts more slowly due to its density, often lasting 2-3 times longer than cloudy ice.
- Q: Can I use tap water to make clear ice? A: While possible, tap water often contains minerals and impurities that can affect clarity. Distilled or filtered water yields better results.
- Q: Is clear ice safe to consume? A: Absolutely! Clear ice is simply purified water in solid form.
- Q: How do commercial bars produce clear ice in large quantities? A: Many use specialized machines that employ directional freezing on a larger scale.
- Q: Can I flavor my clear ice? A: Yes, but be cautious – some additives may affect clarity. Experiment with subtle flavors like herbs or citrus zest.