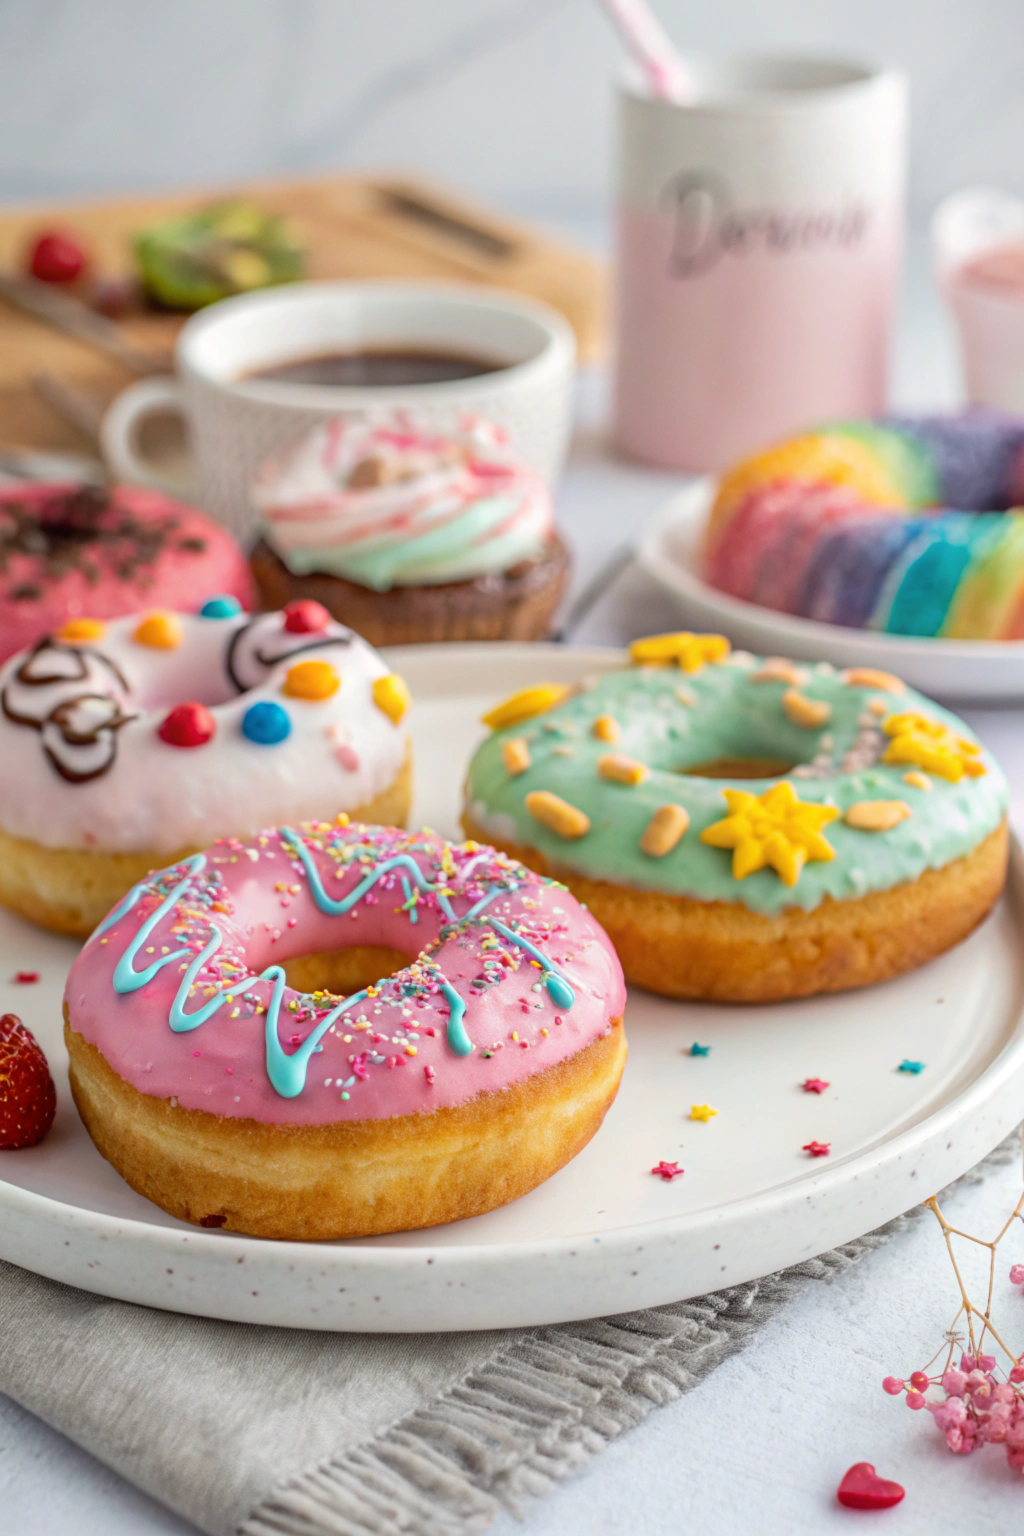
Creating picture-perfect donuts isn’t just for professional bakeries anymore. With this comprehensive guide, you’ll learn how to make and decorate stunning donuts that are sure to brighten up your breakfast table and social media feed. From perfectly fluffy bases to creative toppings, we’ll cover everything you need to know.
The Perfect Donut Base: Getting Started
Essential Ingredients
- 3 cups all-purpose flour
- 1 cup whole milk (lukewarm)
- 2¼ teaspoons active dry yeast
- ¼ cup granulated sugar
- 3 tablespoons unsalted butter (melted)
- 2 large eggs
- 1 teaspoon salt
- Vegetable oil for frying
Equipment You’ll Need
- Stand mixer with dough hook (or large mixing bowl)
- Rolling pin
- 3-inch donut cutter
- Thermometer for frying
- Cooling racks
- Piping bags
- Various decorating tools
Step-by-Step Donut Making Process
1. Making the Dough
- Activate the yeast by combining it with warm milk and a pinch of sugar
- Mix dry ingredients in a separate bowl
- Combine wet and dry ingredients, knead until smooth
- Let rise for 1 hour or until doubled in size
2. Shaping and Cutting
- Roll dough to ½-inch thickness
- Cut with donut cutter
- Let shaped donuts rise for 30 minutes
3. Frying to Perfection
- Heat oil to 350°F (175°C)
- Fry 1-2 minutes per side until golden
- Drain on paper towels
Creating Instagram-Worthy Decorations
Basic Glazes
Classic Pink Glaze:
- 2 cups powdered sugar
- ¼ cup milk
- Pink food coloring
- 1 teaspoon alcohol free vanilla extract
Mint Green Glaze:
- 2 cups powdered sugar
- ¼ cup milk
- Mint extract
- Green food coloring
Decorating Techniques
1. Base Coating
- Dip donuts at a 45-degree angle
- Let excess drip off
- Place on cooling rack to set
2. Creative Toppings
- Sprinkles (add while glaze is wet)
- Candy pieces
- Drizzled contrasting colors
- Edible stars and hearts
- Cookie crumbs
3. Advanced Designs
- Marbling effects using multiple colors
- Piped patterns
- Themed decorations for holidays
- Character designs
Pro Tips for Perfect Results
- Temperature Control
- Keep oil at consistent temperature
- Let donuts cool before decorating
- Work with room temperature ingredients
- Decoration Tips
- Use squeeze bottles for precise lines
- Create templates for complex designs
- Keep a “test donut” for practice
- Photography Tips
- Use natural lighting
- Style with complementary props
- Choose clean, simple backgrounds
Storage and Freshness
- Best served same day
- Store unglazed donuts in airtight container
- Freeze undecorated donuts for up to 2 months
Troubleshooting Common Issues
Problem: Tough Donuts
Solution: Don’t overwork the dough, maintain proper oil temperature
Problem: Messy Decorations
Solution: Let base glaze set completely before adding details
Problem: Uneven Rising
Solution: Ensure consistent temperature during proofing
Conclusion
Creating beautiful, Instagram-worthy donuts at home is absolutely achievable with practice and patience. Start with simple designs and gradually work your way up to more complex decorations. Remember, even professional bakers started somewhere! Don’t forget to share your creations using #HomemadeDonutArt.
Ready to start your donut-making journey? Gather your ingredients, prepare your workspace, and let your creativity shine. Happy baking!

