How to Deep Clean Your BBQ Grill: Get Ready for the Grilling Season
If you’re a barbecue enthusiast, you know that a well-maintained grill is essential for a successful grilling season. Over time, grime, grease, and food residue can accumulate on your BBQ grill, affecting its performance and the taste of your food. To ensure your grill is in top shape and ready for the grilling season, regular deep cleaning is necessary. In this article, we will guide you through the process of deep cleaning your BBQ grill, step by step.
As the grilling season approaches, it’s important to ensure that your BBQ grill is clean and ready to deliver delicious and perfectly cooked meals. Regular cleaning not only improves the taste of your food but also extends the lifespan of your grill. By following a few simple steps, you can deep clean your BBQ grill and have it performing at its best.
Why Deep Clean Your BBQ Grill?
Deep cleaning your BBQ grill has several benefits. Firstly, it removes grease, food residue, and carbon buildup, which can affect the flavor of your food. A clean grill also prevents flare-ups and reduces the risk of food contamination. Additionally, regular deep cleaning helps maintain the efficiency and longevity of your grill by preventing rust and corrosion.
Safety Precautions
Before you begin cleaning your BBQ grill, it’s important to take some safety precautions. Make sure the grill is turned off and disconnected from the power source. Allow it to cool down completely before starting the cleaning process. Wear protective gloves and eyewear to avoid any injuries. Also, ensure that you are working in a well-ventilated area to avoid inhaling any cleaning fumes.
Materials and Tools Required
To deep clean your BBQ grill, you will need the following materials and tools:
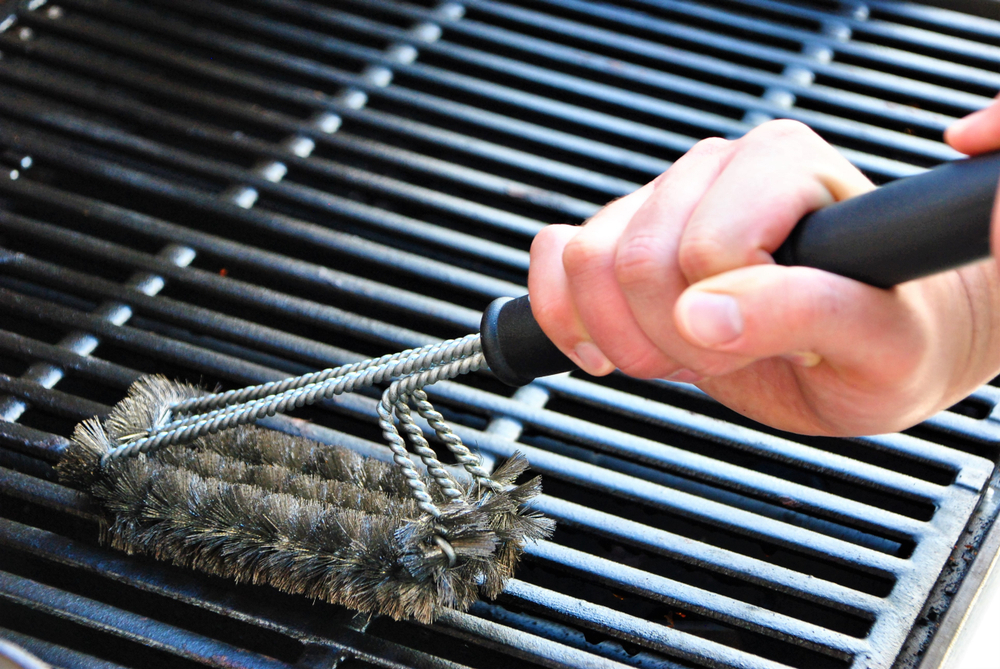
- Grill brush or scraper
- Dish soap or grill cleaner
- Bucket of warm water
- Microfiber cloth or sponge
- Wire brush
- Aluminum foil
- Paper towels
- Vinegar
- Baking soda
- Gloves
Gather these items before you begin cleaning to ensure a smooth and efficient process.
Step 1: Preparing the Grill
Start by removing any leftover charcoal or ash from the grill. Use a grill brush or scraper to remove debris from the cooking grates and the interior of the grill. Dispose of the ash and debris in a safe manner. Next, detach the propane tank or disconnect the natural gas line if your grill is gas-powered.
Step 2: Removing the Grates and Drip Pans
Carefully remove the cooking grates and drip pans from the grill. These components are likely to have built-up grease and food residue. Place them in a sink or large container filled with warm soapy water. Allow them to soak for a few minutes to loosen the grime.
Step 3: Cleaning the Grates and Drip Pans
After soaking, use a grill brush or sponge to scrub the grates and drip pans. Pay close attention to any stubborn residue and scrub until clean. For tough grease stains, use a wire brush or aluminum foil to scrub them away. Rinse the grates and drip pans thoroughly with water and set them aside to dry.
Step 4: Cleaning the Burners
If you have a gas grill, the burners may need cleaning. Remove the burners from the grill and inspect them for any blockages or corrosion. Use a wire brush to gently clean the burner ports and remove any debris. Wipe the burners with a cloth soaked in vinegar to remove grease and buildup. Once clean, allow them to dry completely before reassembling.
Step 5: Cleaning the Exterior
To clean the exterior of your grill, prepare a solution of warm soapy water. Dip a microfiber cloth or sponge into the soapy water and wipe down the grill’s exterior surfaces. Pay attention to any stubborn stains and use a mild abrasive cleaner or baking soda paste to remove them. Rinse the exterior with clean water and dry it thoroughly.
Step 6: Reassembling the Grill
Once all the components are clean and dry, it’s time to reassemble the grill. Put the grates and drip pans back into their respective places. Reattach the burners if you removed them. Ensure that everything is properly aligned and securely in place.
Maintenance Tips for a Clean Grill
To keep your grill in top condition throughout the grilling season, consider these maintenance tips:
- Clean your grill after each use to prevent the buildup of grease and food residue.
- Preheat the grill for a few minutes before cooking to burn off any remaining debris.
- Use a grill cover to protect your grill from the elements when not in use.
- Regularly check for gas leaks by applying a soapy water solution to the gas connections.
- Store your grill in a dry and sheltered area during the off-season.
By following these maintenance tips, you can enjoy a clean and well-functioning grill for years to come.
Conclusion
Deep cleaning your BBQ grill is an essential task to ensure optimal performance and delicious food. By following the step-by-step process outlined in this article, you can deep clean your grill and get it ready for the grilling season. Remember to prioritize safety, gather the necessary materials, and maintain your grill regularly to prolong its lifespan and enjoy amazing barbecues.
FAQs
Q: How often should I deep clean my BBQ grill?
A: It is recommended to deep clean your BBQ grill at least once or twice a year, depending on usage. Regular cleaning after each use is also important.
Q: Can I use oven cleaner to clean my grill?
A: No, it is not advisable to use oven cleaner on your grill as it may leave behind harmful residues. Stick to grill-specific cleaners or soapy water.
Q: Can I clean my grill grates in the dishwasher?
A: It is not recommended to clean grill grates in the dishwasher as the high heat and detergents can damage them. Hand washing is the best method.
Q: How do I remove rust from my grill grates?
A: To remove rust from grill grates, scrub them with a wire brush or crumpled aluminum foil. For tough rust, use a mixture of vinegar and baking soda.
Q: Is it necessary to oil the grill grates after cleaning?
A: Yes, after cleaning and drying the grates, it’s a good practice to lightly oil them to prevent rust and food from sticking.