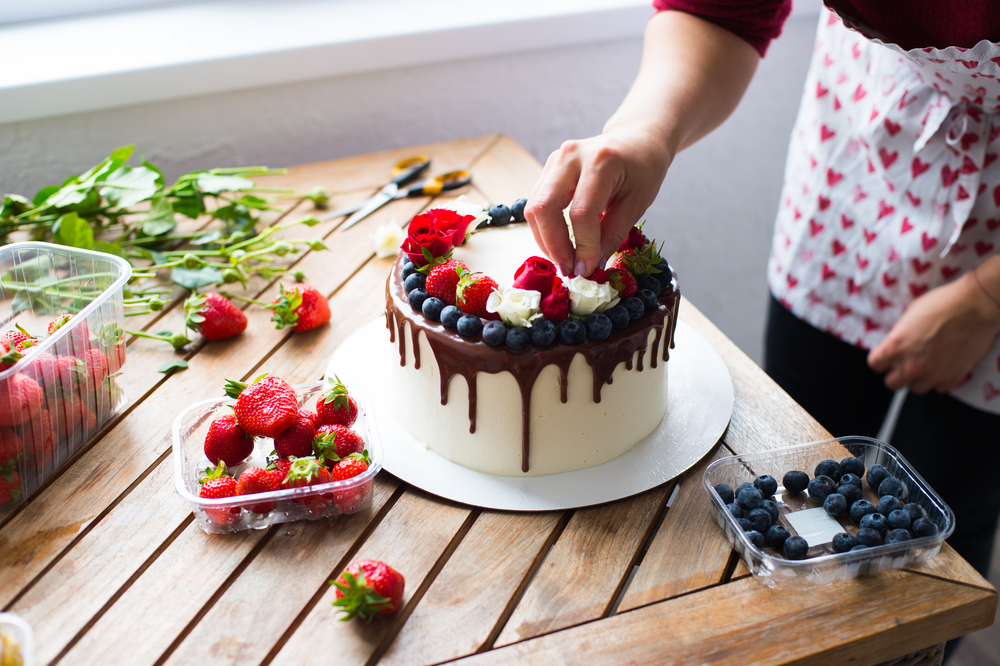
How to Create a Stunning Cake Decoration with Fondant
Creating a stunning cake decoration with fondant can elevate your baking skills to a whole new level. Fondant is a versatile and pliable icing that allows you to bring your creative ideas to life. In this article, we will guide you through the process of creating a beautiful cake decoration using fondant. From preparing the cake to adding intricate details, we will cover every step to help you create a cake that will leave everyone in awe.
Getting Started with Fondant
Gathering the Necessary Tools and Ingredients
Before diving into the cake decoration process, gather the following tools and ingredients:
- Fondant (store-bought or homemade)
- Rolling pin
- Fondant smoother
- Cake turntable
- Fondant cutters and molds
- Edible food colors
- Paintbrushes
- Edible pearls, glitters, or paint for embellishments
Preparing the Cake for Fondant
To ensure a smooth fondant application, make sure your cake is properly prepared. Level the cake layers, trim any uneven edges, and apply a crumb coat of buttercream icing to create a smooth surface for the fondant.
Kneading and Rolling the Fondant
Working with Store-Bought Fondant
If you’re using store-bought fondant, follow these steps:
- Knead the fondant until it becomes soft and pliable.
- Dust your working surface with powdered sugar or cornstarch to prevent sticking.
- Roll out the fondant into a thin, even layer using a rolling pin.
- Lift the rolled fondant gently and drape it over the cake.
Making Homemade Fondant
For those who prefer homemade fondant, here’s a simple recipe:
Ingredients:
- 1 package (16 ounces) mini marshmallows
- 2 to 3 tablespoons water
- 2 pounds powdered sugar
- Vegetable shortening
Instructions:
- In a microwave-safe bowl, melt the marshmallows with water in 30-second intervals, stirring in between.
- Gradually add powdered sugar to the melted marshmallows, mixing until a dough forms.
- Coat your hands with vegetable shortening and knead the fondant until smooth and elastic.
- Roll out the homemade fondant using the same process as with store-bought fondant.
Applying Fondant to the Cake
Covering the Cake with Rolled Fondant
- Place the rolled fondant on the cake and gently smooth it over the surface, starting from the top and working your way down the sides.
- Use a fondant smoother to eliminate any wrinkles or air bubbles.
- Trim off excess fondant at the bottom of the cake using a sharp knife.
Smoothing the Fondant
To achieve a flawless finish:
- Run a fondant smoother over the surface of the cake, applying gentle pressure to smooth out any imperfections.
- If necessary, use a small brush dipped in water to fix any cracks or tears in the fondant.
Adding Decorative Elements
Using Fondant Cutters and Molds
- Roll out a small portion of fondant using a rolling pin.
- Press fondant cutters or molds into the rolled fondant to create desired shapes and patterns.
- Carefully lift the cut-out fondant decorations and place them on the cake.
Creating 3D Fondant Figures
- Sculpt the fondant into the desired shape using your hands.
- Add details using fondant tools or toothpicks.
- Allow the figures to dry and harden before placing them on the cake.
Painting and Airbrushing Fondant
Using Edible Food Colors
- Dilute edible food colors with a small amount of water or alcohol to create a paint-like consistency.
- Use a clean paintbrush to apply the colors to the fondant, adding shading, highlights, or intricate designs.
Airbrushing Techniques for a Stunning Finish
- Fill an airbrush with edible food colors.
- Spray the colors onto the fondant, gradually building up layers for depth and dimension.
- Experiment with stencils and masking techniques to create unique patterns and effects.
Adding Finishing Touches
Texturing the Fondant
- Use texture mats, rolling pins, or embossing tools to create interesting textures on the fondant surface.
- Apply gentle pressure and roll over the fondant to transfer the pattern.
Embellishing with Edible Pearls, Glitters, or Paint
- Brush a small amount of edible glue onto the fondant.
- Carefully place edible pearls, glitters, or paint to add sparkle and elegance to your cake.
Storing and Transporting Fondant-Covered Cakes
Proper Storage Techniques
To keep your fondant-covered cake fresh:
- Store it in a cool, dry place away from direct sunlight.
- Avoid refrigerating the cake, as condensation can ruin the fondant.
Ensuring Safe Transportation
If you need to transport a fondant-covered cake:
- Place the cake on a sturdy cake board.
- Secure the cake board onto a non-slip mat or the base of a cake box to prevent shifting.
- Gently cover the cake with a large, overturned box to protect it during transportation.
Conclusion
Creating a stunning cake decoration with fondant requires patience, creativity, and attention to detail. By following the step-by-step process outlined in this article, you can turn an ordinary cake into a masterpiece. Remember to unleash your imagination and experiment with different techniques to add your personal touch to the design. So go ahead, gather your fondant and tools, and embark on a delightful journey of cake decorating!
FAQs
Q: Can I use fondant on any type of cake?
A: Fondant can be used on various types of cakes, including butter cakes, sponge cakes, and even cupcakes. However, it is important to ensure that your cake has a firm and stable structure to support the weight of the fondant.
Q: How far in advance can I decorate a cake with fondant?
A: Fondant-covered cakes can be decorated a few days in advance. Just make sure to store them properly to maintain freshness.
Q: Can I refrigerate a cake with fondant?
A: It’s generally best to avoid refrigerating fondant-covered cakes, as condensation can cause the fondant to become sticky and lose its smooth texture. If refrigeration is necessary, allow the cake to come to room temperature before serving.
Q: Can I reuse fondant decorations?
A: Yes, fondant decorations can be reused if they are handled and stored properly. Wrap them tightly in plastic wrap or store them in an airtight container to prevent them from drying out.
Q: How long does fondant take to dry and harden?
A: The drying time of fondant can vary depending on the thickness and humidity. On average, fondant decorations may take anywhere from a few hours to a few days to dry completely.