How to Clean and Polish Your Car’s Headlights
Are you tired of squinting through foggy headlights on your nightly drives? Do you find yourself wishing your car could shine like it did when you first drove it off the lot? You’re not alone. Cloudy, yellowed headlights are more than just an eyesore – they’re a safety hazard waiting to happen. But fear not! This comprehensive guide will walk you through the process of cleaning and polishing your car’s headlights, restoring them to their former glory and keeping you safe on the road.
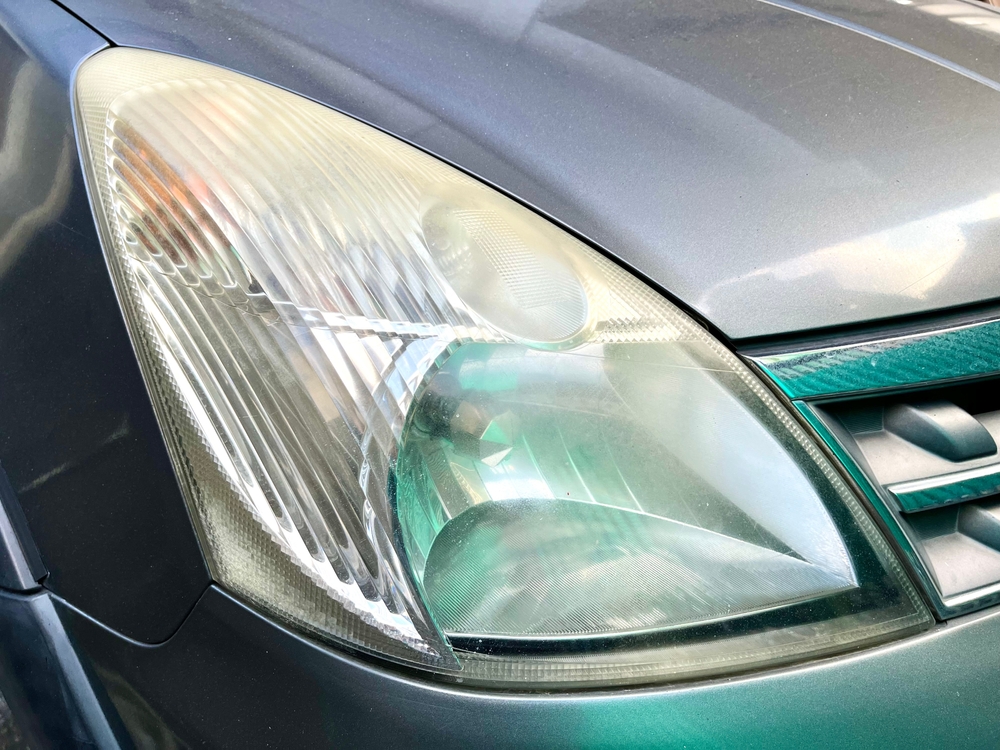
Before we dive into the nitty-gritty of headlight restoration, let’s shed some light on why your car’s eyes get cloudy in the first place.
The Culprits Behind Cloudy Headlights
- UV Radiation: Just like your skin, your car’s headlights are susceptible to sun damage. Over time, ultraviolet rays break down the protective coating on your headlights, leading to oxidation.
- Oxidation: When the headlight’s surface is exposed to oxygen, it undergoes a chemical reaction that causes the plastic to break down and appear yellowed or foggy.
- Road Debris and Environmental Factors: Every mile you drive, your headlights face a barrage of dirt, dust, and small rocks. Add in some acid rain or salt spray from coastal drives, and you’ve got a recipe for headlight deterioration.
Signs Your Headlights Need Some TLC
- Visible yellowing or clouding
- Decreased visibility while driving at night
- Light appearing dimmer than usual
- Uneven or patchy appearance on the headlight surface
The Safety Factor
It’s not just about looks – degraded headlights can reduce your visibility by up to 50%! This drastically increases your risk of accidents, especially during nighttime driving or adverse weather conditions. Clean, clear headlights are essential for your safety and the safety of others on the road.
Preparing for the Cleaning Process
Ready to bring your headlights back to life? Let’s gather our materials and get set up for success.
Materials Needed
- Cleaning solutions:
- Car soap
- Isopropyl alcohol (for degreasing)
- Specialized headlight cleaner (optional but recommended)
- Sandpaper:
- 1000-grit
- 2000-grit
- 3000-grit
- Polishing compounds:
- Rubbing compound
- Polishing compound
- Microfiber cloths: At least 3-4 clean cloths
- UV-resistant clear coat: To protect your newly polished headlights
- Additional tools:
- Masking tape
- Spray bottle
- Electric drill with polishing attachment (optional)
Safety First!
Before you begin, remember:
- Work in a well-ventilated area
- Wear gloves to protect your hands from chemicals
- Use eye protection to guard against flying debris
- Keep children and pets away from your work area
Time and Difficulty
This process typically takes 2-3 hours for both headlights. While it’s considered a moderate DIY task, even beginners can achieve great results with patience and attention to detail.
Step-by-Step Cleaning Process
Now that we’re prepped and ready, let’s dive into the restoration process.
1. Initial Cleaning and Preparation
- Wash your headlights thoroughly with car soap and warm water.
- Dry completely with a microfiber cloth.
- Use masking tape to protect the surrounding paint and trim.
- Clean the surface with isopropyl alcohol to remove any remaining oils or residues.
2. Wet Sanding Technique
Wet sanding is crucial for removing the degraded layer of plastic and preparing the surface for polishing.
- Start with 1000-grit sandpaper:
- Dip the sandpaper in a mixture of water and a few drops of car soap.
- Sand in straight, horizontal motions across the headlight.
- Keep the surface wet throughout the process.
- Sand for about 5-10 minutes, or until the surface feels uniformly rough.
- Move to 2000-grit sandpaper:
- Repeat the process, this time sanding in vertical motions.
- This step helps remove the scratches left by the 1000-grit paper.
- Finish with 3000-grit sandpaper:
- Sand in circular motions to further smooth out the surface.
- After this step, your headlight should look evenly frosted.
- Rinse thoroughly and dry with a clean microfiber cloth.
3. Polishing the Headlights
Now it’s time to bring back that shine!
- Apply a small amount of rubbing compound to a clean microfiber cloth or polishing pad.
- Work the compound into the headlight using circular motions.
- Apply firm pressure and continue polishing for 5-7 minutes per headlight.
- Wipe away excess compound with a clean section of the cloth.
- Repeat the process with the finer polishing compound for an even smoother finish.
Pro tip: For best results, use an electric drill with a polishing attachment. This will save time and energy while providing a more even polish.
4. Applying UV-Resistant Clear Coat
The final step is crucial for long-lasting results.
- Clean the headlight surface once more with isopropyl alcohol.
- In a well-ventilated area, apply a thin, even layer of UV-resistant clear coat.
- Allow it to dry completely (usually about 10-15 minutes).
- Apply a second coat for added protection.
- Let the clear coat cure for at least 1 hour before exposing the headlights to water or the elements.
Alternative Cleaning Methods
While our DIY method offers professional-grade results, there are other options available:
Store-Bought Headlight Restoration Kits
These kits often include all the necessary materials and can be a good option for those short on time or confidence. However, they may not be as effective for severely degraded headlights.
Professional Headlight Restoration Services
Many auto detailing shops offer headlight restoration services. While more expensive, they guarantee results and can be a good option if you’re not comfortable with DIY methods.
DIY vs. Professional: A Comparison
| Factor | DIY | Professional |
|---|---|---|
| Cost | $20-$50 | $50-$200 |
| Time Investment | 2-3 hours | None (1-2 hours service time) |
| Results | Very good to excellent | Excellent |
| Longevity | 1-2 years with proper care | 1-3 years |
| Skill Required | Moderate | None |
Maintaining Clean Headlights
Now that your headlights are crystal clear, let’s keep them that way!
Regular Cleaning Tips
- Wash your headlights whenever you wash your car.
- Use a UV-protectant spray every few months to prevent oxidation.
- Avoid parking in direct sunlight when possible.
Preventive Measures
- Consider applying a protective film to your headlights.
- Use a car cover when parking for extended periods outdoors.
Maintenance Schedule
For optimal results, plan to polish your headlights every 12-18 months, depending on your climate and driving conditions.
Troubleshooting Common Issues
Severely Degraded Headlights
If your headlights don’t improve after following these steps, they may be too far gone. In this case, replacement might be your best option.
Uneven Cleaning Results
If you notice patches or uneven areas after cleaning, repeat the sanding process, paying extra attention to problem areas.
When to Consider Replacement
If your headlights are cracked, leaking, or have extensive internal damage, it’s time to invest in new ones. Safety should always be your top priority.
The Impact of Clean Headlights
Improved Visibility and Safety
Clean headlights can increase your nighttime visibility by up to 140 feet. That extra reaction time could be the difference between a close call and a collision.
Enhanced Vehicle Aesthetics
Nothing dates a car quite like foggy headlights. Restored headlights can take years off your vehicle’s appearance and make you fall in love with your car all over again.
Potential Increase in Resale Value
When it comes time to sell, clean headlights signal a well-maintained vehicle, potentially increasing your car’s resale value.
Conclusion
Cleaning and polishing your car’s headlights is more than just a cosmetic fix – it’s an investment in your safety and your vehicle’s longevity. With a little effort and the right techniques, you can restore your headlights to their former glory, ensuring clear vision on the road ahead.
Remember, consistency is key. Regular maintenance will keep your headlights shining bright for years to come. So why wait? Grab your supplies, set aside an afternoon, and give your car the clear-eyed makeover it deserves. Your future self (and fellow drivers) will thank you!
Frequently Asked Questions
Q: Can I use toothpaste to clean my headlights?
A: While toothpaste can provide a temporary improvement due to its mild abrasiveness, it’s not a long-term solution and lacks the UV protection needed to prevent rapid re-oxidation.
Q: How long does the cleaning effect last?
A: With proper care and the application of a UV-resistant clear coat, your headlights should stay clear for 1-2 years before needing another deep clean.
Q: Is it legal to remove the factory coating on headlights?
A: In most areas, it’s legal to restore your headlights as long as they maintain their original function and don’t cause excessive glare. However, it’s always best to check your local regulations.
Q: Can this process damage my headlights?
A: When done correctly, this process is safe and effective. However, excessive sanding or using too coarse a grit can potentially damage the headlight. Always start with the finest grit necessary and work your way up if needed.
Q: What if my headlights are beyond cleaning?
A: If your headlights are severely damaged, cracked, or leaking, it’s best to replace them entirely to ensure optimal safety and performance.
Remember, clear headlights are not just about aesthetics – they’re about safety. By following this guide, you’re not only improving your car’s appearance but also ensuring a safer driving experience for you and everyone on the road. Happy cleaning!