Golden Baked Cheesecake Delight
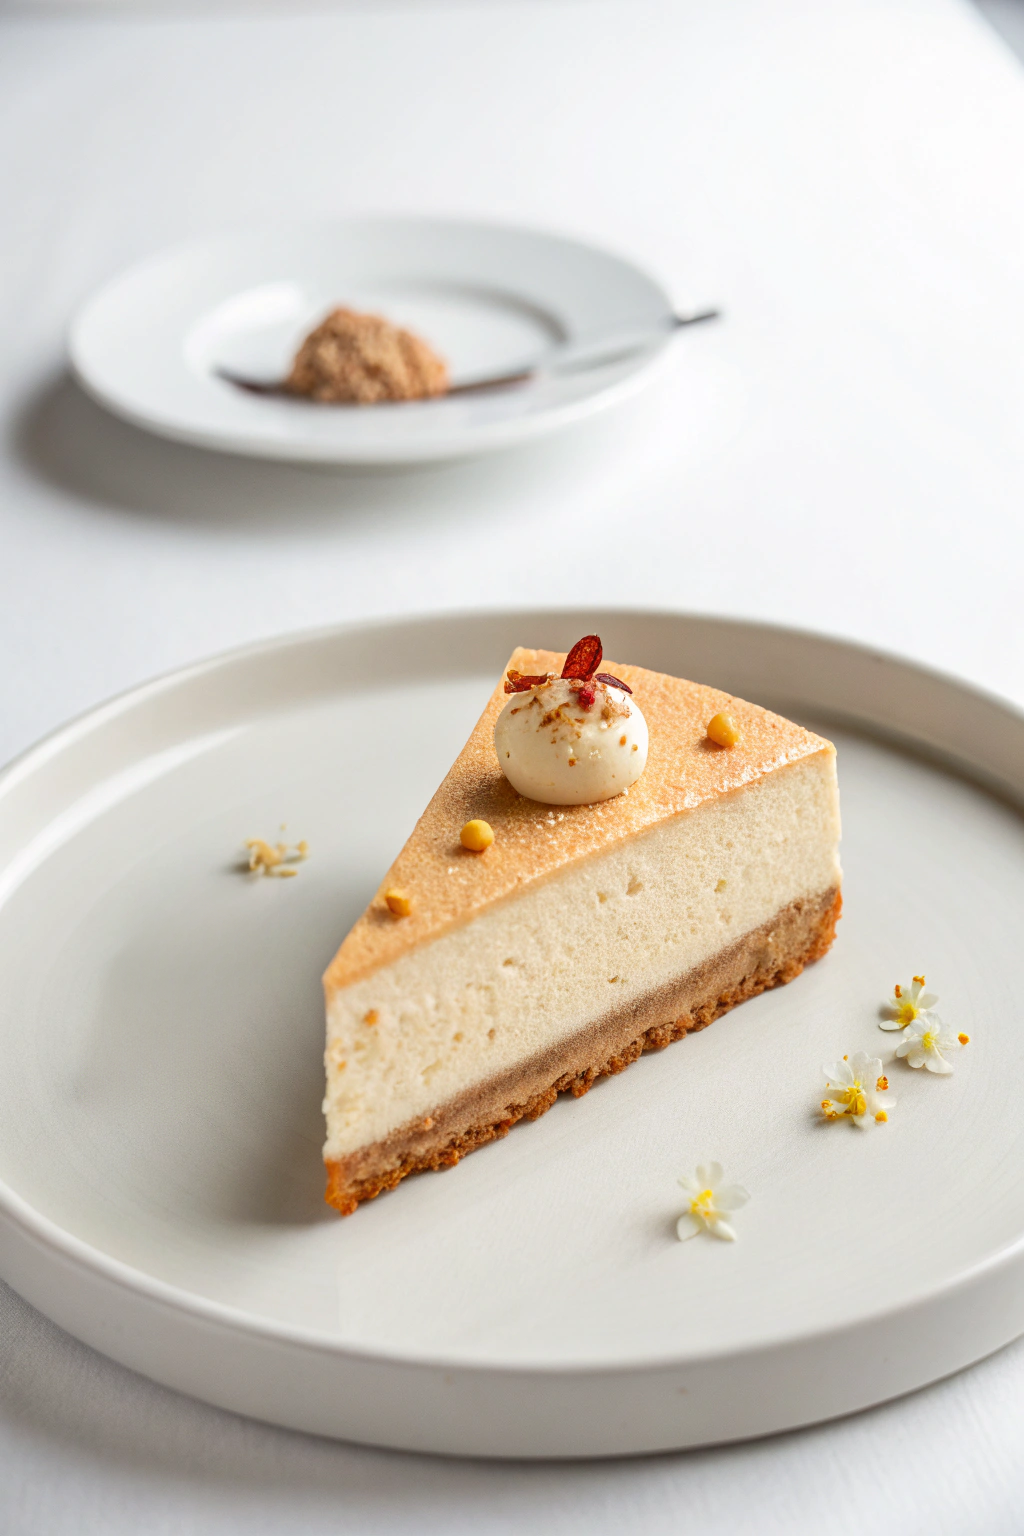
Discover the satisfaction of presenting a truly elegant dessert. This recipe guides beginners through preparing a stunning baked cheesecake, identical to the one pictured, featuring a smooth texture, a crisp biscuit base, and delicate garnishments. With clear steps and explanations, anyone can achieve this beautiful result at home, ensuring all components adhere to halal dietary guidelines.
Preparing Your Kitchen
Success begins with having the right elements ready. Gather the necessary ingredients and equipment before starting the process.
Halal Ingredients Needed
- 🍪 200g Halal Digestive Biscuits (or similar plain sweet biscuits)
- 🧈 100g Halal Unsalted Butter, melted
- 🧀 600g Halal Full-Fat Cream Cheese, at room temperature
- 🍚 150g Caster Sugar
- 🥚 3 Large Halal Eggs, at room temperature
- 🥄 1 tsp alcohol free Vanilla Extract
- 🍋 1 tbsp Lemon Juice (optional, for brightness)
- 🥛 100ml Halal Heavy Cream (Double Cream), at room temperature
- ✨ For the Garnish (as pictured):
- 🍦 Small amount of Halal Sweetened Whipped Cream or Cream Cheese Frosting (for the white sphere)
- 🌶️ Thin Slivers of Dried Red Fruit (like Cranberry) or Food-Safe Dried Red Chili Threads
- 🟡 Tiny Yellow Crisp Spheres (like puffed quinoa or tiny corn kernels)
- 🌸 Small Edible White Flowers (ensure they are food-grade)
Essential Kitchen Tools
- 🥧 20cm (8-inch) Springform Tin
- 🥣 Large Mixing Bowl
- 🥄 Wooden Spoon or Spatula
- ⚡ Electric Mixer (Handheld or Stand Mixer)
- ⚖️ Kitchen Scales
- 📄 Baking Parchment Paper
- 🍳 Large Roasting Tin (for water bath)
- 🌡️ Kettle (for boiling water)
- 🍴 Small Spoon (for garnish sphere)
Assembling the Cheesecake Masterpiece
Follow these steps methodically for a flawless outcome. Patience during baking and cooling is key.
Step 1: Prepare the Biscuit Base
- Line the bottom of the 20cm springform tin with baking parchment. Lightly grease the sides of the tin with a little butter.
- Place the digestive biscuits into a food processor and pulse until they form fine crumbs. Alternatively, put them in a sturdy plastic bag and bash them gently with a rolling pin. The goal is an even, sandy texture.
- Transfer the biscuit crumbs to a bowl. Pour the melted butter over the crumbs and mix thoroughly with a fork or spoon until all the crumbs are evenly moistened.
- Tip the buttery crumbs into the prepared springform tin. Press the crumbs down firmly and evenly across the base using the back of a spoon or the flat bottom of a glass. Ensure the base is compact and level. This firm base is visible in the image as the distinct brown layer.
- Place the tin in the refrigerator to chill and firm up while preparing the filling (at least 15 minutes).
Step 2: Develop the Cream Cheese Filling
- Preheat the oven to 160°C (140°C Fan / Gas Mark 3). Boil a kettle full of water for the water bath later.
- Ensure the cream cheese is genuinely at room temperature. This is crucial for a smooth, lump-free filling. Place the softened cream cheese into a large mixing bowl.
- Using an electric mixer on a low speed, beat the cream cheese gently until it is smooth and pliable. Avoid over-beating at this stage. Scrape down the sides of the bowl with a spatula.
- Gradually add the caster sugar while mixing on low speed until just combined. Again, scrape the bowl.
- Add the eggs one at a time, mixing gently on low speed after each addition until just incorporated. Overmixing incorporates too much air, which can lead to cracks during baking. Stop as soon as the yellow yolk disappears into the batter.
- Gently stir in the vanilla extract, optional lemon juice, and the room temperature heavy cream using a spatula. Mix only until the batter is uniform in consistency. The final batter should be thick, smooth, and pale yellow, which bakes into the light beige filling seen in the photograph.
Step 3: Baking with a Water Bath
- Retrieve the chilled biscuit base from the refrigerator. Pour the cream cheese filling carefully over the base, smoothing the top gently with the spatula.
- Prepare the water bath (bain-marie). This technique involves baking the cheesecake surrounded by hot water, promoting gentle, even cooking and preventing cracks. Wrap the outside of the springform tin securely in a large sheet of heavy-duty aluminum foil, ensuring no water can seep in. Repeat with a second layer if needed for security.
- Place the foil-wrapped tin into the large roasting tin. Carefully pour the freshly boiled water from the kettle into the roasting tin, around the cheesecake tin, until it comes about halfway up the sides of the springform tin. Be very careful not to splash water onto the cheesecake batter.
- Transfer the entire setup (roasting tin with cheesecake and water) into the preheated oven.
- Bake for 50-60 minutes. The cheesecake is ready when the edges are set, and the center has a slight wobble (it shouldn’t be liquid, just gently jiggly). The top surface will gain the subtle golden hue visible in the image during this process.
- Turn off the oven. Leave the oven door slightly ajar (prop it open with a wooden spoon) and let the cheesecake cool down slowly inside the oven for at least 1 hour. This gradual cooling also helps prevent cracking.
Step 4: Chilling and Setting
- Carefully remove the cheesecake (still in its tin) from the water bath and remove the foil wrapping. Let it cool completely on a wire rack at room temperature.
- Once cool, cover the top loosely with plastic wrap (don’t let it touch the surface) and transfer the cheesecake to the refrigerator. Chill for at least 6 hours, or preferably overnight, until completely firm.
Step 5: Adding the Finishing Touches
- Once fully chilled and firm, carefully release the springform tin’s side clamp and remove the outer ring. If desired, gently slide the cheesecake off the base onto a serving plate, or serve directly from the base.
- Using a small spoon (or two spoons for a more defined shape, known as a quenelle), scoop a neat, smooth sphere or oval of the sweetened whipped cream or cream cheese frosting. Place this white sphere slightly off-center on top of the cheesecake slice, as shown in the image.
- Artfully arrange the thin slivers of dried red fruit/chili threads directly onto the white sphere.
- Dot a few of the tiny yellow crisp spheres near the white garnish on the cheesecake surface.
- Arrange 2-3 small, clean edible white flowers decoratively on the serving plate beside the slice, mirroring the presentation in the photograph.
- Slice the cheesecake using a large, sharp knife dipped in hot water and wiped clean between each cut for neat slices like the one pictured.
Sharing the Sweet Success
Presenting this beautifully prepared cheesecake offers a moment of genuine accomplishment. The smooth filling, crisp base, and elegant garnish combine for a delightful experience. Enjoy the process and the delicious results. Feel welcome to share pictures of the finished cheesecake – witnessing home-baking triumphs is always wonderful.