Foolproof Halal Cheesecake Recipe
Cheesecake, with its creamy texture and delightful taste, is a beloved dessert enjoyed worldwide. Now, imagine being able to effortlessly make this classic treat in your own kitchen, ensuring it’s perfectly halal and utterly delicious. This guide will gently walk you through each step of preparing a wonderful halal cheesecake, even if you’ve never baked before. Get ready to experience the satisfaction of making a truly special dessert from scratch!
Ingredients You’ll Need
Before starting, gather all the necessary ingredients. Having everything measured and ready will make the process smooth and enjoyable.
- 🍪 Biscuits (Digestive Biscuits or Graham Crackers): 250g. These will form the base of your cheesecake. Ensure they are halal-certified or check the ingredients to confirm they are halal.
- 🧈 Melted Butter (Unsalted): 100g. Butter binds the biscuit crumbs together to make the crust. Use halal-certified butter.
- 🧀 Cream Cheese: 500g. This is the star ingredient, giving cheesecake its creamy texture. Full-fat cream cheese works best for a rich flavor. Make sure it is halal.
- 🥛 Granulated Sugar: 150g. Sugar adds sweetness. Regular white sugar is perfect.
- 🥚 Eggs: 2 large. Eggs help to set the cheesecake and add richness. Use fresh, large-sized eggs.
- 🍋 Lemon Juice: 2 tablespoons. Fresh lemon juice balances the sweetness and adds a subtle tang.
- 🍦 Vanilla Extract: 1 teaspoon. Vanilla extract enhances the overall flavor. Ensure it is alcohol-free or halal-certified.
- 🥛 Sour Cream: 200g. Sour cream adds moisture and a slight tang, contributing to the cheesecake’s texture. Use halal sour cream.
Kitchen Equipment to Assemble
Having the right tools makes baking much easier and more enjoyable. For this recipe, you will need:
- 🥣 Mixing Bowls: You will need a couple of bowls of different sizes for mixing ingredients.
- 🥄 Measuring Spoons: For accurately measuring small quantities like vanilla extract and lemon juice.
- ⚖️ Kitchen Scale or Measuring Cups: To measure the biscuits, butter, sugar, cream cheese, and sour cream. A kitchen scale provides the most accurate measurements, especially for baking. If using measuring cups, ensure they are standard measuring cups for baking.
- 🥄 Spatula or Wooden Spoon: For mixing ingredients together.
- 🧽 Baking Pan (Springform Pan): A 9-inch springform pan is ideal for cheesecakes. The sides of a springform pan can be removed, making it easy to take out the cheesecake without damaging it. If you don’t have a springform pan, a regular 9-inch cake pan can be used, but it might be a little trickier to remove the cheesecake.
- ♨️ Oven: For baking the cheesecake.
- 🥣 Food Processor (Optional): A food processor makes crushing the biscuits very easy. If you don’t have one, you can crush them in a zip-top bag with a rolling pin or the base of a glass.
- 🥄 Rolling Pin (If not using food processor): To crush biscuits if not using a food processor.
- 🥣 Zip-top Bag (If not using food processor): To crush biscuits if not using a food processor.
- 🥄 Whisk or Electric Mixer (Optional): While you can mix by hand, an electric mixer (hand mixer or stand mixer) makes mixing cream cheese smoother and faster, especially for beginners. A whisk can be used if you don’t have a mixer, but it will require a bit more arm work.
Let’s Learn Basic Kitchen Techniques
Before starting the recipe, it’s helpful to understand a few basic kitchen actions. These are simple and you’ll quickly get comfortable with them.
Melting Butter: This means changing solid butter into a liquid form by heating it. The easiest way to melt butter is in the microwave. Place the butter in a microwave-safe bowl and heat it in short bursts (like 20-30 seconds at a time) until it’s completely melted. Watch it carefully so it doesn’t splatter. You can also melt butter in a saucepan over low heat on the stovetop, stirring occasionally.
Crushing Biscuits: This is making biscuits into fine crumbs. If you’re using a food processor, simply put the biscuits in and pulse until they become fine crumbs. If you are crushing them by hand, place the biscuits in a zip-top bag, seal the bag, and then use a rolling pin or the flat bottom of a glass to roll over them until they are crushed into fine crumbs.
Mixing: This means combining ingredients together. For this recipe, you’ll be mixing the biscuit crumbs with melted butter, and then mixing the cheesecake filling ingredients. Mixing can be done with a spoon, spatula, whisk, or an electric mixer. When mixing, you want to combine the ingredients until they are just combined, meaning they are evenly distributed and there are no large lumps. Be careful not to overmix, especially when it comes to the cheesecake filling, as overmixing can make the cheesecake tough.
Preheating the Oven: Before baking, the oven needs to reach the correct temperature. “Preheating” means turning on the oven and setting it to the temperature specified in the recipe (in this case, 160°C or 320°F) and letting it heat up before putting the food in. Most ovens have an indicator light that turns off when the oven has reached the set temperature. It’s important to preheat the oven because putting food into a cold oven can affect the baking time and results.
Baking: This is cooking food in the oven using dry heat. For cheesecake, baking is done at a moderate temperature for a specific time. Baking times can vary slightly depending on the oven, so it’s important to check for doneness as described in the recipe.
Cooling: After baking, most desserts need to cool down. Cooling allows the dessert to set properly and also makes it safe to handle and eat. For cheesecake, cooling is essential for it to achieve the right texture. It usually involves letting it cool at room temperature first, and then chilling it in the refrigerator.
Step-by-Step Instructions to Make Cheesecake
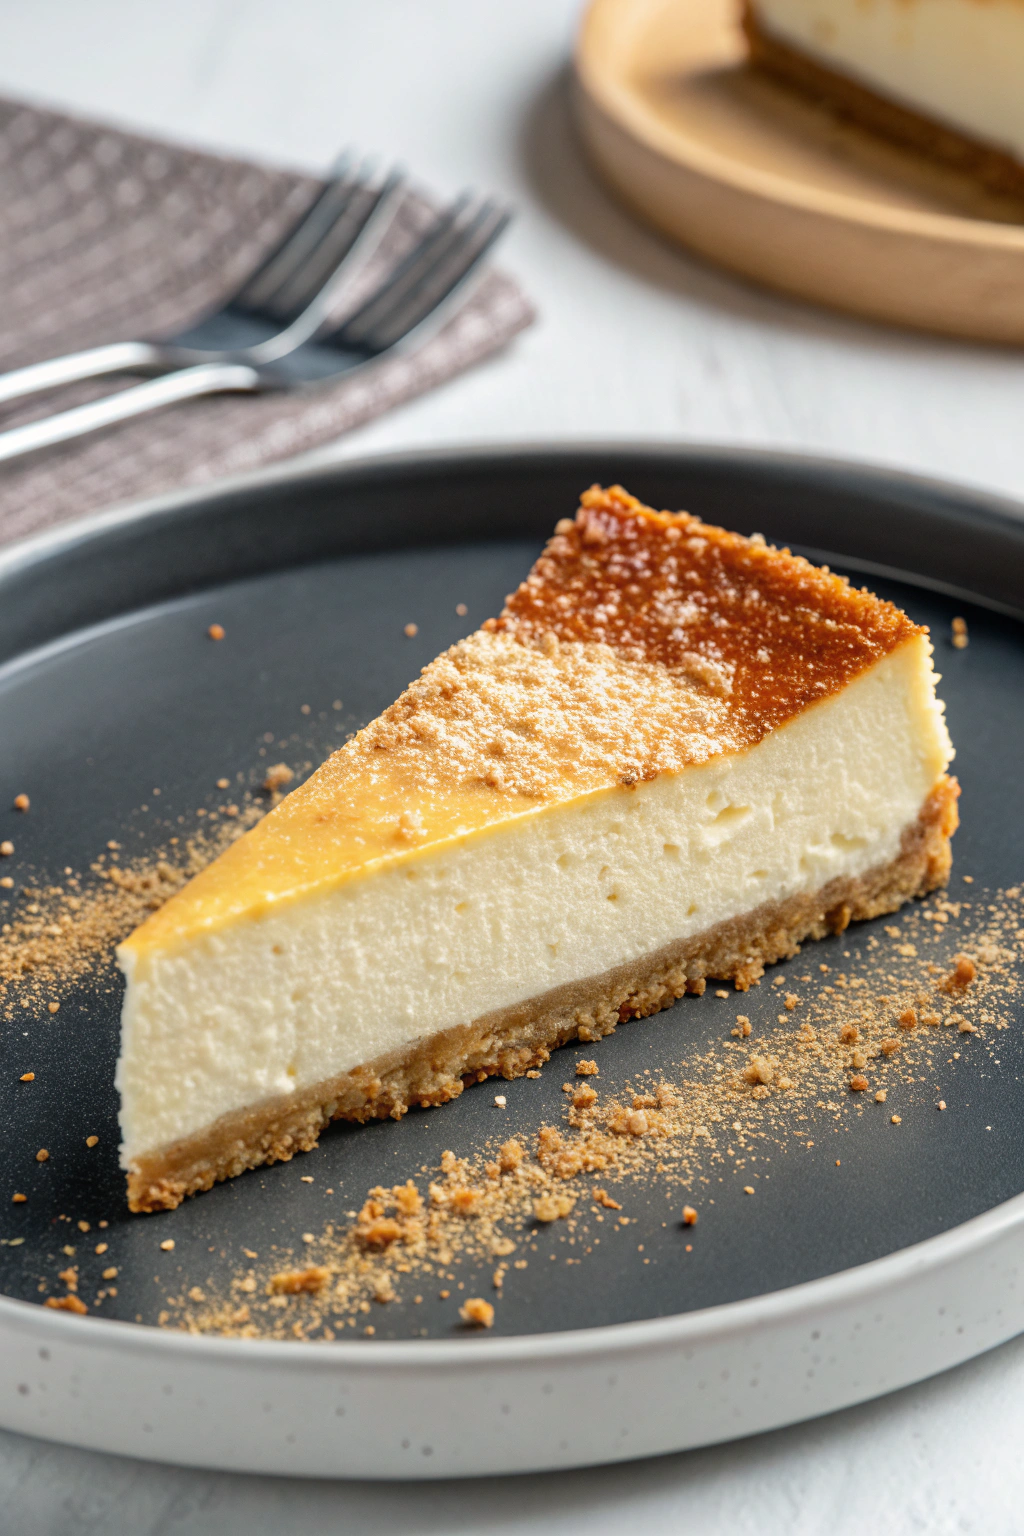
Now, let’s put everything together and make this delicious cheesecake! Refer to the image to see the finished slice and how yours should look as you progress.
Step 1: Making the Biscuit Crust
Step 1: First, prepare the biscuit base. Take your biscuits and crush them into fine crumbs. You can use a food processor for this, or place them in a zip-top bag and crush them with a rolling pin. The goal is to have even, fine crumbs, as seen in the image where the base looks smooth and compact.
Step 2: Once the biscuits are crushed, put them in a mixing bowl. Pour the melted butter over the biscuit crumbs.
Step 3: Mix the melted butter and biscuit crumbs together well using a spatula or spoon. Make sure all the crumbs are moistened with butter. This mixture will be the crust of your cheesecake.
Step 4: Take your springform pan. Press the biscuit crumb mixture evenly into the bottom of the pan. Use your fingers or the back of a spoon to press it down firmly and smoothly. This will form a solid base for the cheesecake filling. Refer to the image; the crust should be a uniform layer.
Step 5: Place the pan with the biscuit crust in the refrigerator while you prepare the filling. This will help the crust to set and become firm.
Step 2: Preparing the Cheesecake Filling
Step 1: In a large mixing bowl, put the cream cheese. It’s important to use softened cream cheese. Softened cream cheese is easier to mix and will result in a smoother filling. To soften cream cheese, leave it out at room temperature for about 30 minutes to an hour before you start, or follow package instructions for softening.
Step 2: Add the sugar to the softened cream cheese in the bowl.
Step 3: Using an electric mixer or a whisk, mix the cream cheese and sugar together until they are smooth and creamy. If using an electric mixer, start on low speed and gradually increase to medium speed to avoid sugar from flying out. Mix until there are no lumps and the mixture is light and fluffy. You can see in the image that the cheesecake filling is very smooth.
Step 4: Add the eggs, one at a time, to the cream cheese mixture. Mix well after adding each egg until just combined. Be careful not to overmix at this stage. Overmixing after adding eggs can make the cheesecake tough.
Step 5: Pour in the lemon juice and vanilla extract into the mixture.
Step 6: Add the sour cream to the bowl.
Step 7: Gently mix everything together until just combined and the filling is smooth. Again, avoid overmixing. The filling should be creamy and lump-free.
Step 3: Baking the Cheesecake
Step 1: Preheat your oven to 160°C (320°F). Make sure the oven is fully preheated before you put the cheesecake in to bake.
Step 2: Take the springform pan with the biscuit crust from the refrigerator.
Step 3: Pour the cheesecake filling over the biscuit crust in the pan. Spread it evenly with a spatula to ensure a level surface.
Step 4: Place the springform pan in the preheated oven.
Step 5: Bake for about 50-60 minutes. Baking time can vary slightly depending on your oven. The cheesecake is ready when the edges are set and the center is still slightly jiggly. It should look lightly golden on top, similar to the cheesecake in the image.
Step 6: Turn off the oven and leave the cheesecake inside the oven with the door slightly ajar for about an hour. This gradual cooling helps to prevent cracks on the surface of the cheesecake. This is a helpful tip for achieving a smooth top like the one you see in the image.
Step 4: Cooling and Setting the Cheesecake
Step 1: After an hour in the oven with the door ajar, take the cheesecake out of the oven.
Step 2: Let the cheesecake cool completely at room temperature on a wire rack. This will take a few hours.
Step 3: Once the cheesecake is completely cooled to room temperature, cover the pan with plastic wrap or foil and refrigerate it for at least 4 hours, or preferably overnight. Refrigeration is crucial for the cheesecake to set properly and develop its signature texture. Chilling overnight is recommended for the best results.
Step 5: Serving Your Cheesecake
Step 1: Once the cheesecake is thoroughly chilled, carefully remove it from the springform pan. To do this, unlatch the side of the springform pan and gently lift the sides away from the cheesecake.
Step 2: Place the cheesecake on a serving plate.
Step 3: You can serve the cheesecake as it is, or you can add toppings if you like. Some popular toppings include fresh fruit, whipped cream, chocolate sauce, or a dusting of biscuit crumbs, as seen sprinkled around the slice in the image.
Step 4: Slice the cheesecake using a sharp knife. For clean slices, you can dip the knife in warm water and wipe it clean between slices.
Step 5: Enjoy your delicious homemade halal cheesecake!