Elegant Layered Zebra-Topped Cake
Today we’re thrilled to share one of our absolute favorite recipes with you – this stunning Zebra-Topped Layer Cake that’s guaranteed to impress your friends and family. This beautiful dessert combines the best of both worlds with its vanilla and chocolate layers, all topped with an eye-catching zebra pattern that’s actually much easier to make than it looks!
Whether you’re celebrating a special occasion or just want to treat yourself to something delicious, this cake is perfect for bakers of all skill levels. We’ve broken down each step to make it super approachable, even if you’re new to baking. The contrast between the light and dark layers, combined with that gorgeous zebra-striped frosting, creates a dessert that’s as beautiful as it is delicious.
We can’t wait to see your own versions of this showstopper cake. Let’s get baking, friends!
Halal Ingredients You’ll Need
For the Cake:
- 2 cups all-purpose flour – The foundation of our cake
- 2 teaspoons baking powder – For that perfect rise
- 1 pinch of salt – To balance the sweetness
- 1 cup granulated sugar – For sweetness and structure
- 1/2 cup (1 stick) unsalted butter, softened – For richness and texture
- 2 large eggs – For binding and stability
- 1 cup milk – For moisture and tenderness
- 1 teaspoon alcohol free vanilla extract – For flavor enhancement
- 1/4 cup unsweetened cocoa powder – For our chocolate elements
- 2 tablespoons hot water – To bloom the cocoa powder
For the Icing:
- 2 cups powdered sugar – For smooth, silky frosting
- 1/4 cup (1/2 stick) unsalted butter, softened – For creamy texture
- 3-4 tablespoons milk – For adjusting consistency
- 1 teaspoon alcohol free vanilla extract – For flavor depth
- Chocolate sprinkles (halal certified) – For decoration
- Melted chocolate or chocolate icing – For creating our zebra pattern
Kitchen Tools You’ll Need
- Large mixing bowls
- Measuring spoons and cups
- Spatula or wooden spoon
- Whisk
- 9-inch round cake pan
- Parchment paper (optional)
- Oven
- Toothpick or skewer
- Wire cooling rack
- Butter knife or offset spatula
- Piping bag or plastic bag with corner snipped
Let’s Get Started: Making Your Zebra Cake
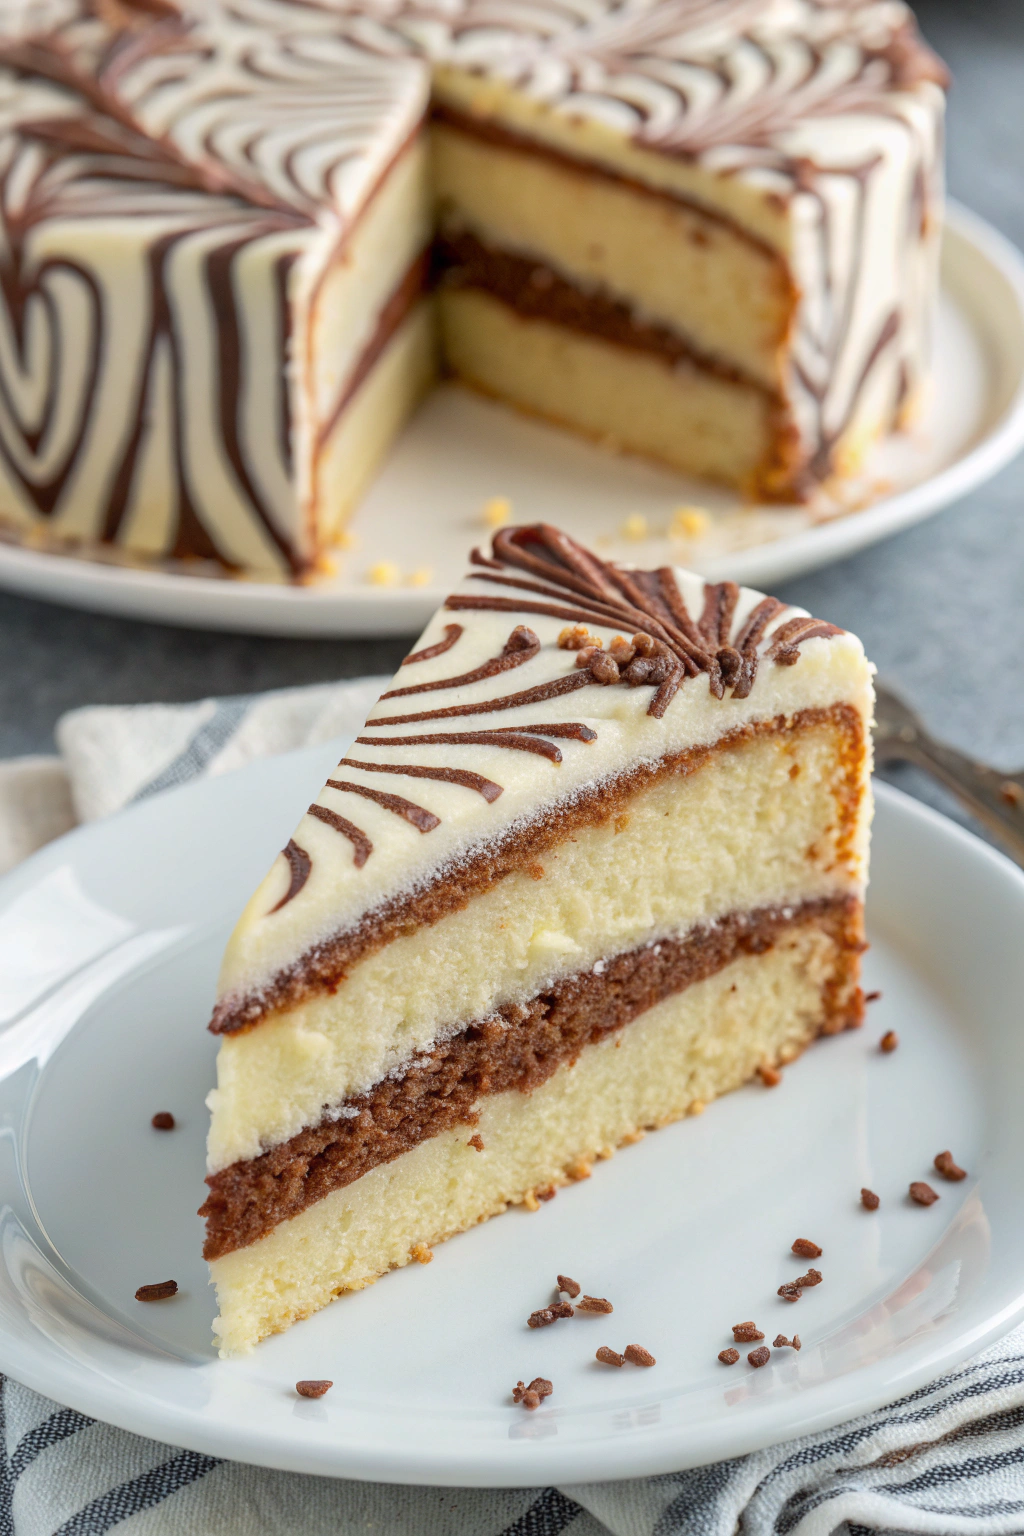
Notice the elegant zebra stripes adorning the top and the tempting layers within. This guide will show you how to achieve this stunning visual effect through simple techniques perfect for bakers of all levels.
Step 1: Preparing the Vanilla Cake Batter
Preheat your oven to 350°F (175°C). While it’s heating, prepare your 9-inch round cake pan by greasing it lightly with butter or cooking spray. For extra assurance, line the bottom with parchment paper.
In a large bowl, whisk together the flour, baking powder, and salt until well combined. This ensures even distribution of leavening agents throughout the batter.
In a separate bowl, cream together the softened butter and sugar until light and fluffy. This incorporates air into the mixture, creating a tender crumb in your finished cake.
Add the eggs one at a time, mixing thoroughly after each addition. Stir in the vanilla extract to enhance the flavor profile.
Gradually incorporate the dry ingredients into the wet mixture, alternating with the milk. Begin and end with the dry ingredients. Mix until just combined—overmixing can lead to a tough cake texture. Your batter should be smooth and pale yellow.
Step 2: Making the Chocolate Cake Batter
In a small bowl, combine the cocoa powder and hot water, stirring until smooth. This “blooming” process intensifies the chocolate flavor.
Transfer half of the vanilla batter to a separate bowl. Fold in the cocoa mixture gently until fully incorporated. You now have equal portions of vanilla and chocolate batter.
Step 3: Assembling the Zebra Pattern
Now for the fun part! Using two spoons, place two spoonfuls of vanilla batter in the center of your prepared pan. Directly on top, add two spoonfuls of chocolate batter. Continue this alternating pattern, always placing each new addition in the center of the previous one.
As you continue layering, the batter will naturally spread outward, creating a marbled effect within the cake. This technique creates beautiful internal patterns while setting the stage for our decorative top.
Step 4: Baking the Cake
Gently tap the filled cake pan against your counter a few times to release any air bubbles. Place in the preheated oven and bake for 30-35 minutes, or until a toothpick inserted into the center comes out clean.
Allow the cake to cool in the pan for about 10 minutes before carefully inverting onto a wire rack to cool completely. Proper cooling prevents moisture condensation that could make your icing soggy.
Step 5: Preparing the Icing
While the cake cools, prepare your icing. In a mixing bowl, combine the powdered sugar and softened butter, creaming until smooth. Gradually add milk, one tablespoon at a time, until you achieve a smooth, spreadable consistency. Incorporate the vanilla extract for flavor.
Step 6: Icing the Cake and Creating Zebra Decorations
Once completely cooled, place your cake on a serving plate or cake stand. Using a butter knife or offset spatula, spread the white icing evenly across the top and sides of the cake. Ensure a smooth, even layer—this will be the canvas for your zebra design.
For the signature zebra pattern, melt your chocolate until smooth but not too hot. Transfer to a piping bag or plastic bag with a tiny corner snipped off. Carefully drizzle lines of chocolate across the top of the white icing, moving back and forth to create the zebra-like pattern shown in the image.
For the finishing touch, use remaining melted chocolate to pipe small decorative swirls or accents on top of the zebra stripes. Sprinkle chocolate crumbs around the base of the cake and on the plate for an elegant presentation that mirrors the image.
Step 7: Enjoy Your Homemade Zebra Cake!
Congratulations! You’ve crafted a stunning Zebra Cake that’s as beautiful as it is delicious. This recipe is designed to be approachable for bakers of all skill levels, making it perfect for special occasions or everyday treats.
Observe the inviting appearance of your masterpiece—the striking zebra pattern atop creamy frosting, the delicate chocolate accents, and the enticing layers within. Share your culinary work with loved ones and enjoy the well-deserved compliments!
Don’t forget to take photos of your masterpiece and share them with us. Each baker adds their unique touch, and we’d love to see your interpretation of this elegant dessert. Happy baking!