Easy Halal Chocolate Fudge Cake
Get ready to bake a truly delightful Halal Chocolate Fudge Cake right in your own kitchen! This recipe is perfect for beginner bakers and promises a rich, moist, and utterly delicious chocolate experience. Imagine the joy of presenting a beautifully frosted, homemade cake to your family and friends – and knowing every ingredient is halal! Let’s embark on this baking adventure together.
Halal Ingredients You’ll Need
Before starting, gather all the necessary ingredients. Having everything measured and ready makes the baking process smooth and enjoyable.
- 🌾 2 cups all-purpose flour (ensure it’s halal-certified if you are very strict)
- 🍫 ¾ cup unsweetened cocoa powder (halal-certified)
- 🍬 1 ½ cups granulated sugar
- 🥄 1 ½ teaspoons baking soda
- 🥄 ¾ teaspoon baking powder
- 🧂 ¾ teaspoon salt
- 🥛 1 cup buttermilk (halal-certified or homemade using halal milk and lemon juice/vinegar)
- 🥚 2 large eggs (halal)
- 🫒 ½ cup vegetable oil (halal)
- 🥄 2 teaspoons vanilla extract (halal, alcohol-free)
- ☕ 1 cup freshly brewed hot coffee
For the Chocolate Fudge Frosting:
- 🧈 1 cup (2 sticks) unsalted butter, softened (halal)
- 🍫 ¾ cup unsweetened cocoa powder (halal-certified)
- ⬜ 3 cups powdered sugar
- 🥛 ½ cup milk (halal)
- 🥄 1 teaspoon vanilla extract (halal, alcohol-free)
Kitchen Equipment
Make sure you have these essential tools ready. Baking becomes much easier when you are well-equipped.
- 🥣 Large mixing bowls
- 🥄 Measuring cups and spoons
- 🥄 Whisk
- 🥄 Spatula
- 🍰 9-inch round cake pans (two)
- ♨️ Oven
- 📄 Parchment paper (optional, but helpful)
- 🎂 Wire rack for cooling
- 🔪 Butter knife or offset spatula for frosting
Let’s Learn Basic Kitchen Techniques
If you’re new to baking, don’t worry! This recipe uses simple techniques. Let’s understand a few key terms before we begin.
Preheating the Oven: This means turning on the oven to the correct temperature before you put the cake in. Think of it like warming up a pan before cooking – it ensures the cake bakes evenly from the start. For this recipe, the oven needs to be at 350°F (175°C). Most ovens have a dial or buttons to set the temperature.
Greasing and Flouring Pans: This prevents the cake from sticking to the pan, so it comes out cleanly after baking. “Greasing” means coating the inside of the pan with a thin layer of butter or oil. “Flouring” is lightly dusting the greased pan with flour. This double step is important for easy cake removal.
Mixing Ingredients: “Mixing” simply means combining ingredients together. Sometimes recipes say “cream butter and sugar,” which means mixing softened butter and sugar together until they become light and fluffy. This can be done with a whisk or a spatula. “Sifting dry ingredients” means passing dry ingredients like flour and cocoa powder through a sifter or fine-mesh sieve. This removes lumps and makes them lighter, which helps in making a smooth cake batter. “Folding” is a gentle mixing technique used to combine delicate ingredients without deflating air from the batter. It involves using a spatula to gently turn ingredients over and incorporate them.
Melting Chocolate: For the frosting, we’ll need to melt chocolate. This is usually done gently over low heat or in the microwave in short intervals. The goal is to melt it smoothly without burning.
Frosting a Cake: “Frosting” means covering the cake with a creamy layer, usually made of sugar, butter, and flavorings. This is not just for looks – frosting adds moisture and flavor to the cake. It’s applied using a butter knife or a special frosting spatula.
Step-by-Step Instructions to Make Chocolate Fudge Cake
Now, let’s get to the fun part – making the cake! Follow these steps carefully, and you’ll be amazed at what you can bake.
Step 1: Prepare the Cake Batter
- Preheat the oven to 350°F (175°C). This is the first and most crucial step. Refer to your oven’s manual if you’re unsure how to set the temperature.
- Grease and flour two 9-inch round cake pans. Take a little butter or oil and spread it evenly inside the bottom and sides of each cake pan. Then, sprinkle a spoonful of flour into each pan and tap the pan gently to coat the greased surfaces with a thin layer of flour. Make sure to tap out any excess flour. This prevents sticking. You can also line the bottoms of the pans with parchment paper for extra insurance – cut circles of parchment paper to fit the bottom of each pan before greasing.
- In a large mixing bowl, whisk together the dry ingredients: flour, cocoa powder, sugar, baking soda, baking powder, and salt. “Whisking” means using a whisk to mix them together until they are well combined. This ensures that the baking powder and baking soda are evenly distributed throughout the flour mixture. Refer to the image to see the color of cocoa powder you’ll be using, it gives the cake its rich chocolate hue.
- In another large mixing bowl, whisk together the wet ingredients: buttermilk, eggs, oil, and vanilla extract. Make sure the eggs are well beaten into the mixture.
- Gradually add the wet ingredients to the dry ingredients. Pour the wet ingredients into the bowl with the dry ingredients. Using a spatula, gently mix them together until just combined. Do not overmix. Overmixing can make the cake tough.
- Carefully stir in the hot coffee. The hot coffee enhances the chocolate flavor. Gently pour the hot coffee into the batter and stir until everything is just combined and the batter is smooth. The batter will be quite liquid – this is normal.
Step 2: Bake the Cake
- Pour the batter evenly into the prepared cake pans. Divide the batter equally between the two greased and floured cake pans. You can use a measuring cup to ensure even portions.
- Bake for 30-35 minutes, or until a toothpick inserted into the center comes out clean. “Toothpick test” is a simple way to check if a cake is done. Insert a toothpick into the center of one of the cakes. If it comes out clean, with no wet batter sticking to it, the cake is baked through. If there’s wet batter, bake for a few more minutes and test again. Baking times can vary slightly depending on ovens, so it’s always best to check for doneness.
- Let the cakes cool in the pans for 10 minutes before inverting them onto a wire rack to cool completely. “Inverting” means carefully turning the cake pans upside down onto the wire rack. Letting them cool in the pans for a short time first helps them set slightly before you try to remove them, preventing breakage. Make sure the cakes are completely cool before frosting. Frosting a warm cake will cause it to melt.
Step 3: Make the Chocolate Fudge Frosting
- In a large mixing bowl, beat the softened butter until creamy. Softened butter is butter that is at room temperature and easy to mix. Use a spatula or whisk to beat it until it’s smooth and creamy.
- Gradually add the cocoa powder and powdered sugar, alternating with milk, and beat until smooth and creamy. Add the cocoa powder and powdered sugar a little at a time, mixing well after each addition. Alternate adding a bit of milk to help combine everything smoothly. “Beat” means to mix vigorously until the frosting is light and fluffy.
- Stir in the vanilla extract. Add the vanilla extract and mix it into the frosting.
Step 4: Assemble and Frost the Cake
- Once the cakes are completely cool, level the tops if necessary. If the tops of the cakes are domed or uneven, you can use a long serrated knife to gently trim them to make them flat. This is optional but helps in stacking and frosting neatly.
- Place one cake layer on a serving plate or cake stand.
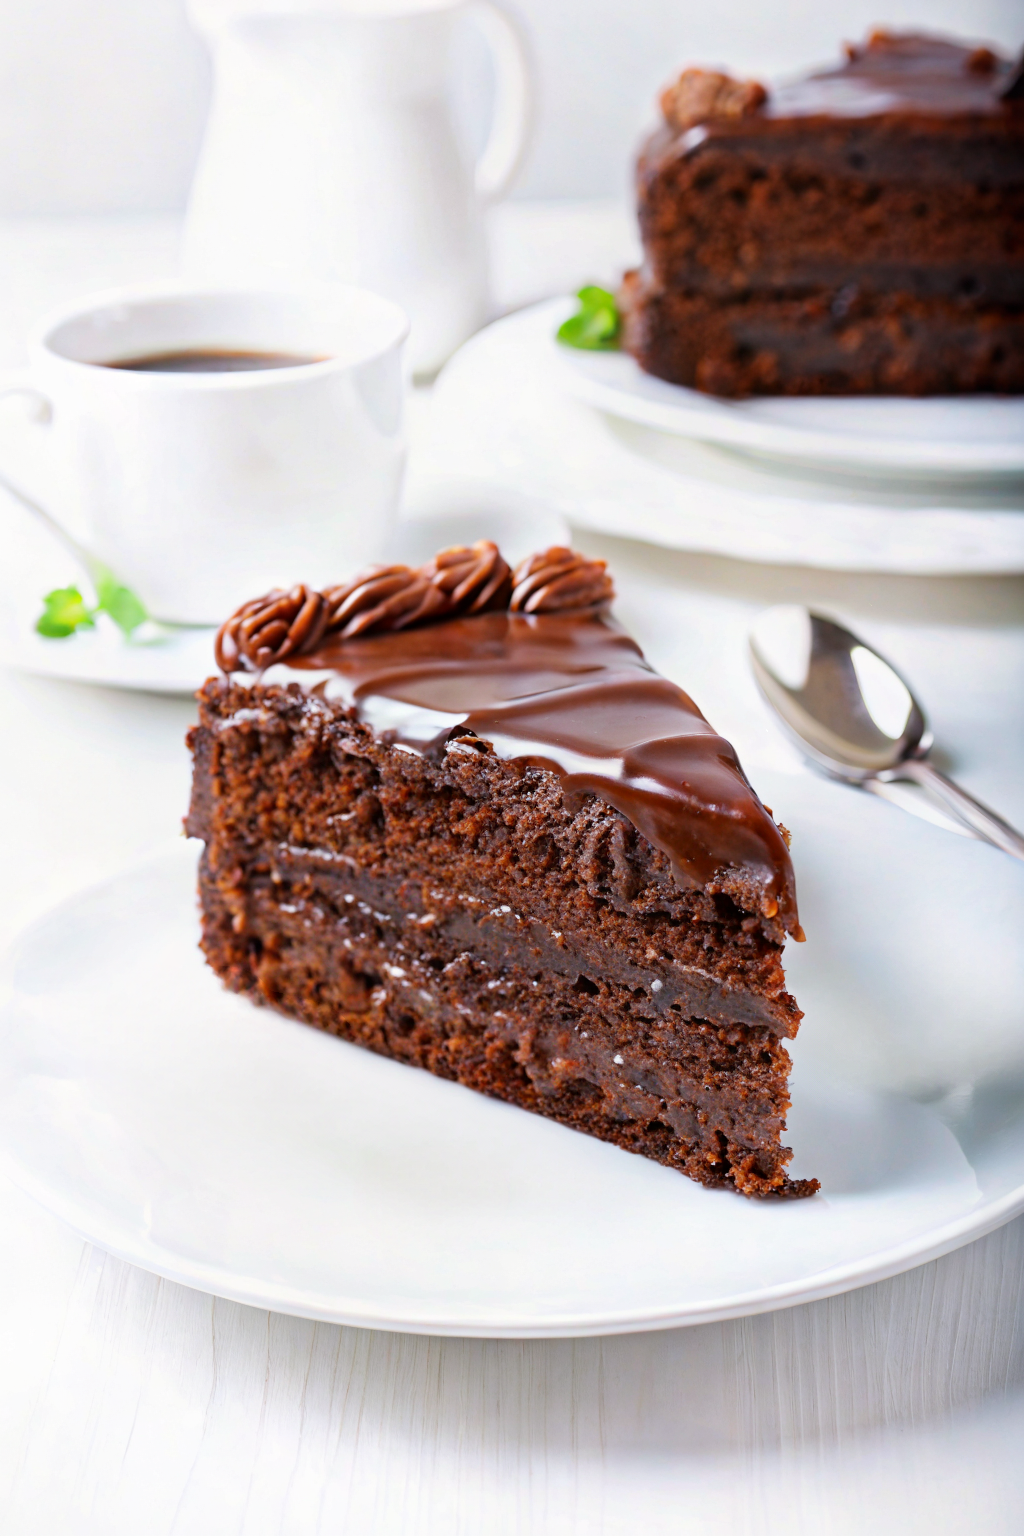
- Spread a generous amount of chocolate fudge frosting evenly over the top of the first cake layer. Refer to the image to see how generously the cake is frosted.
- Carefully place the second cake layer on top of the frosting.
- Frost the entire cake with the remaining chocolate fudge frosting. Start by frosting the top, then the sides. You can make it smooth or create swirls with your spatula or knife for a decorative look. The image shows a smooth, glossy frosting.
- Decorate as desired. The cake in the image has simple piped frosting on top. You can replicate this by putting some frosting into a piping bag fitted with a decorative tip and piping swirls or rosettes on the edge of the cake. Or, you can keep it simple and just enjoy the smooth frosted look.
Tips for Baking Success
- Measure ingredients accurately. Baking is a science, so precise measurements are important, especially for beginners. Use measuring cups and spoons properly.
- Don’t overmix the batter. Overmixing develops the gluten in the flour, which can make the cake tough. Mix until just combined.
- Make sure your baking powder and baking soda are fresh. Old baking powder and baking soda may not work as effectively, causing the cake to not rise properly.
- Let the cakes cool completely before frosting. This is crucial! Frosting a warm cake will melt and slide off.
- If the frosting is too thick, add a little more milk, one tablespoon at a time. If it’s too thin, add a little more powdered sugar.
Enjoy Your Homemade Chocolate Fudge Cake!
Congratulations! You’ve just made a delicious Halal Chocolate Fudge Cake from scratch. Baking is a rewarding experience, and there’s nothing quite like the taste of homemade cake. This recipe is designed to be easy and enjoyable for beginner bakers. The rich chocolate flavor and moist texture are sure to impress.
Share your baking success with family and friends! This cake is perfect for celebrations, gatherings, or simply a sweet treat any day of the week. We encourage you to try this recipe and experience the joy of making your own baked goods. Enjoy every delicious bite of your homemade cake!