Easy Halal Cheesy Garlic Bread
Get ready to bake the most comforting and delicious treat! This recipe will guide even the newest cooks to create perfect halal cheesy garlic bread right at home. Imagine warm, crusty bread infused with rich garlic butter and topped with melted, bubbly cheese. This is a simple recipe that brings big smiles and is perfect for a snack, appetizer, or side dish. Let’s begin this exciting baking journey together!
Halal Ingredients You’ll Need:
Here is everything needed to make delicious halal cheesy garlic bread. Ensure all ingredients are certified halal or from halal-compliant sources.
- 🥖 1 loaf of French bread or baguette (about 12-16 inches long). This type of bread is long and thin, perfect for slicing and topping.
- 🧈 1/2 cup (1 stick) of unsalted butter. Butter adds richness and flavor. Make sure it is unsalted to control the saltiness of the garlic bread.
- 🧄 4 cloves of garlic. Garlic is the star of this recipe, providing that wonderful savory flavor.
- 🌿 1/4 cup fresh parsley. Parsley adds a fresh, herby flavor and a pop of color.
- 🧀 1 cup shredded mozzarella cheese. Mozzarella melts beautifully and gives that classic cheesy pull. You can use other halal-certified cheeses that melt well, like cheddar or Monterey Jack, if preferred.
- 🧂 1/4 teaspoon salt. Salt enhances the flavors of all the ingredients.
- 🌶️ 1/8 teaspoon black pepper. Black pepper adds a subtle warmth and spice.
Kitchen Equipment:
These are the simple tools needed to make this recipe. Most kitchens already have these items.
- 🔪 Bread knife. A bread knife is a long knife with a serrated (saw-like) edge, perfect for slicing bread without squashing it.
- 🥄 Measuring spoons. These are used to measure small amounts of ingredients like salt and pepper.
- 🥣 Small bowl. A small bowl is needed to mix the garlic butter.
- 🥄 Mixing spoon or fork. Used for stirring the garlic butter ingredients together.
- 🧄 Garlic press (optional). A garlic press is a tool that crushes garlic cloves quickly and easily. If you don’t have one, a knife will work just fine.
- 🔪 Chef’s knife or kitchen knife. Used for chopping parsley and mincing garlic if not using a garlic press.
- 🔪 Cutting board. Protects your countertop while cutting bread and herbs.
- 🥄 Butter knife or spatula. For spreading the garlic butter onto the bread.
- 📏 Measuring cup. For measuring butter and cheese.
- 🔥 Baking sheet. A flat metal pan used for baking in the oven.
- parchment paper (optional). Parchment paper is oven-safe paper that prevents food from sticking to the baking sheet and makes cleanup easier.
Let’s Learn Basic Kitchen Techniques:
Before starting, it is helpful to understand a few simple cooking terms. Don’t worry, they are very easy to learn!
Melt Butter: To melt butter means to heat it until it turns from a solid to a liquid. This can be done in a microwave or in a small saucepan on the stovetop over low heat. It is important to melt butter gently so it does not burn.
Mince Garlic: To mince garlic means to chop it into very small pieces. This releases the garlic’s flavor. You can use a garlic press or a knife. To mince with a knife, first peel the garlic clove. Then, using a knife, chop it finely by rocking the knife back and forth over the garlic until it is in very small pieces.
Shred Cheese: Shredding cheese means to grate it into small pieces. Pre-shredded cheese can be purchased, or a block of cheese can be shredded using a cheese grater. Shredded cheese melts more quickly and evenly.
Preheat Oven: To preheat the oven means to turn the oven on to the correct temperature and let it heat up before putting food inside. This ensures the oven is hot enough when the food goes in, which is important for even cooking and baking. For this recipe, the oven needs to be heated to 350°F (175°C).
Chop Parsley: To chop parsley means to cut it into small pieces. First, wash and dry the parsley. Gather the parsley sprigs together and use a knife to cut across them, making small pieces.
Step-by-Step Instructions for Delicious Cheesy Garlic Bread:
Follow these easy steps to create amazing cheesy garlic bread. Refer to the image to see how the finished garlic bread should look at different stages.
Step 1: Prepare the Bread
- Take the loaf of French bread or baguette.
- Using the bread knife, carefully slice the bread lengthwise (long ways) down the middle. This will create two long halves.
- Place both bread halves, cut-side up, on the baking sheet. If using parchment paper, place it on the baking sheet first, then put the bread on top. Refer to the image to see how the bread slices look.
Step 2: Make the Garlic Butter
- Place the 1/2 cup (1 stick) of unsalted butter in the small bowl.
- Melt the butter. This can be done in the microwave for about 30-45 seconds on medium power, or in a small saucepan over low heat on the stovetop. Be careful not to overheat or burn the butter; it should be just melted.
- Peel the 4 cloves of garlic.
- Mince the garlic very finely using a garlic press or a knife.
- Add the minced garlic to the melted butter in the bowl.
- Add 1/4 teaspoon of salt and 1/8 teaspoon of black pepper to the bowl.
- Using the mixing spoon or fork, stir all the ingredients in the bowl together until they are well combined. The garlic should be evenly distributed in the melted butter. This is your garlic butter mixture.
Step 3: Spread the Garlic Butter
- Take the garlic butter mixture.
- Using the butter knife or spatula, spread the garlic butter evenly over the cut sides of both bread halves. Make sure to cover the entire surface of the bread with the garlic butter for maximum flavor. You can see in the image that the garlic butter is generously spread across the bread.
Step 4: Add the Cheese
- Take the 1 cup of shredded mozzarella cheese.
- Sprinkle the shredded mozzarella cheese evenly over the garlic butter on both bread halves. Make sure to cover the bread nicely with cheese, as shown in the image. The amount of cheese can be adjusted to preference, but using about 1 cup creates a good cheesy layer.
Step 5: Bake to Golden Perfection
- Preheat the oven to 350°F (175°C). This means turning your oven on and setting the temperature. Wait for the oven to reach this temperature before putting the bread inside.
- Place the baking sheet with the prepared cheesy garlic bread in the preheated oven.
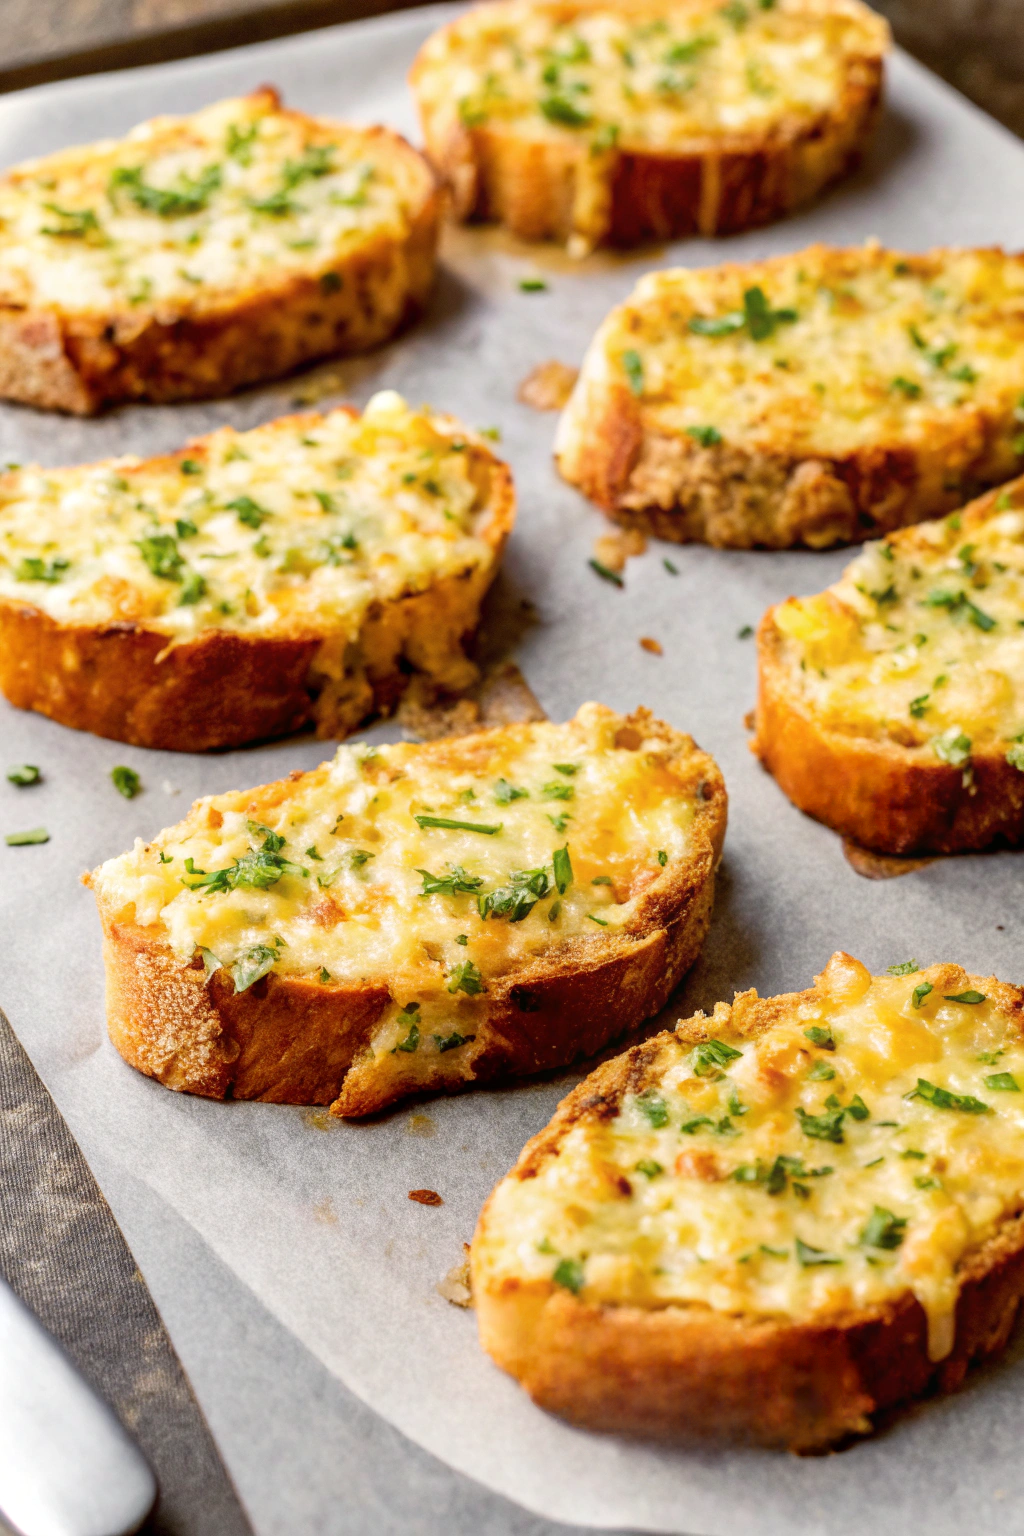
- Bake for 10-12 minutes, or until the cheese is melted, bubbly, and lightly golden brown, and the bread edges are also golden and crispy. Keep an eye on it, as oven temperatures can vary. Observe in the image how the cheese is melted and slightly golden, and the bread has a nice golden brown color.
- Once the cheesy garlic bread is golden brown and bubbly, carefully remove the baking sheet from the oven using oven mitts (protective gloves for hot items).
Step 6: Garnish and Serve
- While the garlic bread is baking, wash and dry the fresh parsley.
- Chop the fresh parsley finely.
- Once the cheesy garlic bread is out of the oven, sprinkle the chopped fresh parsley evenly over the top for garnish. This adds freshness and visual appeal, as seen in the image.
- Let the cheesy garlic bread cool for a minute or two before slicing and serving.
- Using the bread knife or a pizza cutter, slice each bread half into smaller, individual pieces.
- Serve warm and enjoy the wonderful flavors of your homemade halal cheesy garlic bread!
Tips for Perfect Cheesy Garlic Bread:
- Fresh Garlic is Key: Freshly minced garlic provides the best flavor. Garlic powder can be used in a pinch, but fresh garlic is highly recommended for this recipe.
- Don’t Burn the Butter: When melting butter, do it gently. Burnt butter can have a bitter taste.
- Evenly Spread Garlic Butter: Make sure to spread the garlic butter evenly across the bread for consistent flavor in every bite.
- Adjust Cheese to Your Liking: If you love extra cheese, feel free to add more! Different types of halal-certified cheeses can also be used for variety.
- Watch it Bake: Keep an eye on the garlic bread while it’s baking to prevent burning, especially if your oven tends to run hot. The cheese should be melted and golden, not overly browned or burnt.
- Serve Immediately: Cheesy garlic bread is best enjoyed warm and fresh from the oven. The bread is crispier and the cheese is at its melty best when served right away.
Congratulations! You have just made delicious homemade halal cheesy garlic bread. It is easier than you thought, isn’t it? The aroma of garlic and cheese baking in the oven is simply irresistible. This recipe is perfect for sharing with family and friends, and it is sure to become a new favorite.
Now it is your turn to try this recipe at home. Enjoy the process of creating something delicious in your own kitchen. Do not hesitate to share your cheesy garlic bread creations with others. Happy baking and bon appétit!