How to Create a DIY Coffee Cup Holder for the Wall
Are you a coffee enthusiast looking to add a personal touch to your kitchen? Do you dream of a charming display for your favorite mugs? Look no further! In this comprehensive guide, we’ll walk you through creating your very own DIY coffee cup holder for the wall. This project not only saves space but also adds a unique, rustic flair to your home. Let’s dive in and transform your coffee corner into a Pinterest-worthy showcase!
I. Introduction
Imagine starting your day by reaching for your favorite mug, displayed proudly on a custom-made wall holder. A DIY coffee cup holder isn’t just a practical storage solution; it’s a statement piece that reflects your personality and love for coffee. This project offers several benefits:
- Saves valuable counter and cabinet space
- Showcases your mug collection beautifully
- Adds a personalized touch to your kitchen decor
- Provides easy access to your favorite cups
Whether you’re a seasoned DIY enthusiast or a beginner looking for a fun weekend project, this guide will help you create a stunning coffee cup holder that’s sure to impress.
II. Materials and Tools
Before we begin, let’s gather everything we need for this project. Having all your materials and tools ready will make the process smooth and enjoyable.
Required Materials:
- 1 wooden board (size depends on your preference and mug collection)
- Cup hooks (one for each mug you want to display)
- Wall mounting brackets
- Screws for mounting
- Wood stain or paint
- Sandpaper (medium and fine grit)
Necessary Tools:
- Drill with various drill bits
- Screwdriver
- Measuring tape
- Pencil
- Level
- Safety goggles
- Dust mask
Optional Materials for Customization:
- Decorative molding
- Stencils for patterns
- Chalk paint for a rustic look
- Clear varnish for extra protection
III. Planning Your Coffee Cup Holder
Before diving into construction, it’s crucial to plan your project carefully. This step will ensure that your final product fits perfectly in your space and meets your needs.
Determining the Size and Capacity
- Count the number of mugs you want to display.
- Measure the width of your mugs, including handles.
- Add about 2 inches between each mug for spacing.
- Calculate the total width needed for your holder.
For example, if you have 6 mugs, each 4 inches wide, you’ll need: (6 mugs × 4 inches) + (5 spaces × 2 inches) = 34 inches
Choosing a Suitable Wall Space
Look for a wall space that is:
- Easily accessible
- Close to your coffee maker or kitchen area
- Free from obstructions like cabinets or appliances
- Sturdy enough to support the weight of the holder and mugs
Considering Your Kitchen’s Style and Decor
Think about how your coffee cup holder will fit into your existing decor:
- Match the wood type or stain to your kitchen cabinets
- Consider a color that complements your wall paint
- Decide if you want a rustic, modern, or eclectic look
IV. Step-by-Step Construction Process
Now that we’ve planned our project, it’s time to bring it to life! Follow these steps carefully for the best results.
Preparing the Base Board
- Cut your wooden board to the calculated length.
- Sand the board thoroughly, starting with medium-grit sandpaper and finishing with fine-grit.
- Wipe away all dust with a tack cloth.
Cutting and Sanding the Wood
If you’re adding any decorative elements:
- Measure and mark where you’ll add these features.
- Use appropriate tools (e.g., a jigsaw for curves) to cut the wood.
- Sand all cut edges until smooth.
Drilling Holes for Cup Hooks
- Measure and mark where each cup hook will go, ensuring even spacing.
- Drill pilot holes for each hook to prevent the wood from splitting.
- Screw in the cup hooks by hand for a secure fit.
Attaching Hanging Hardware
- Flip the board over and position your wall mounting brackets.
- Mark the screw holes and drill pilot holes.
- Attach the brackets securely with screws.
Applying Finish or Paint
- If staining, apply wood conditioner first for even absorption.
- Apply your chosen stain or paint in thin, even coats.
- Allow each coat to dry completely before adding the next.
- Once dry, apply a clear sealant for added protection (optional).
V. Installation Guide
With your coffee cup holder complete, it’s time to install it on your chosen wall space.
Marking the Wall
- Use a pencil to mark where the top of your holder will sit.
- Use a level to ensure your marks are straight.
- Mark the positions for your mounting screws based on your bracket locations.
Drilling Pilot Holes
- Put on your safety goggles.
- Drill pilot holes into the wall at your marked points.
- If you’re not drilling into a stud, insert wall anchors for added support.
Securing the Holder to the Wall
- Line up your coffee cup holder with the drilled holes.
- Insert screws through the brackets into the wall.
- Tighten the screws securely, checking that the holder is level as you go.
Safety Considerations
- Ensure the holder is securely fastened and can support the weight of your mugs.
- Check that there are no sharp edges or splinters.
- Periodically inspect the holder and tighten any loose screws.
VI. Customization Ideas
Make your coffee cup holder truly unique with these customization ideas:
Paint Techniques and Color Schemes
- Try a distressed look by sanding edges after painting.
- Use chalk paint for a matte, vintage appearance.
- Create an ombre effect by blending multiple paint colors.
Adding Decorative Elements
- Attach vintage drawer pulls for added charm.
- Use wood burning tools to create patterns or write coffee-related quotes.
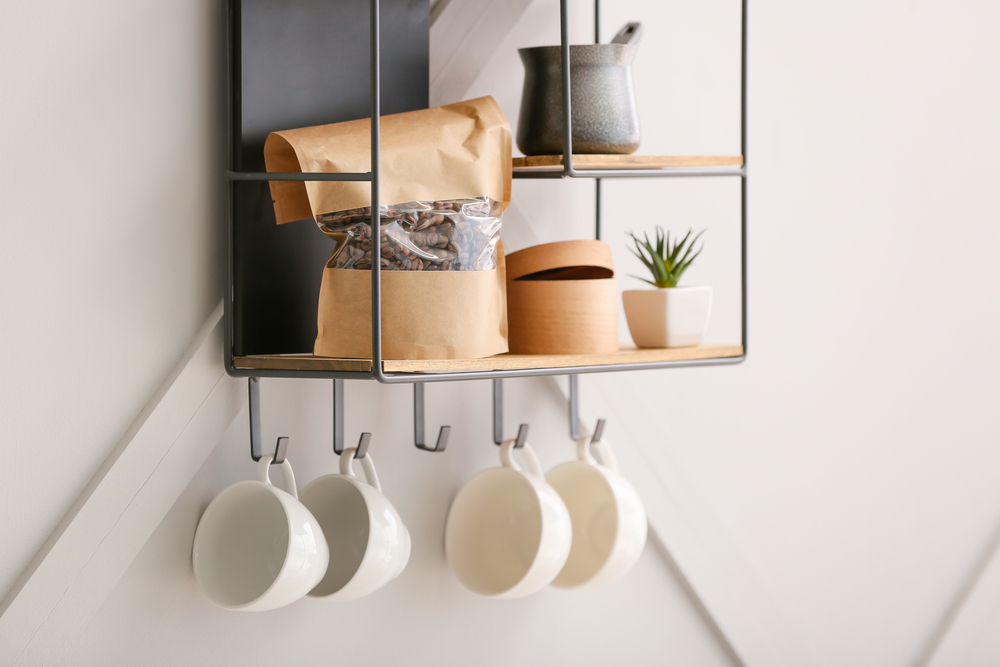
- Add a small shelf on top for displaying coffee beans or small plants.
Incorporating Additional Storage Features
- Install a row of hooks below for hanging measuring spoons.
- Attach a small basket to one end for storing tea bags or sugar packets.
- Add a chalkboard section for writing your daily coffee order.
VII. Styling Your Coffee Cup Display
Now that your holder is installed, it’s time to make it shine!
Arranging Cups Aesthetically
- Group cups by color or style for a cohesive look.
- Alternate cup sizes to create visual interest.
- Leave some hooks empty to avoid a cluttered appearance.
Coordinating with Kitchen Decor
- Choose mugs that complement your kitchen’s color scheme.
- Add small decorative items like a miniature plant or a framed coffee quote.
- Consider the overall balance of your kitchen when placing cups.
Seasonal Decoration Ideas
- Swap out mugs seasonally (e.g., festive mugs for holidays).
- Add small seasonal decorations like mini pumpkins in fall or holly sprigs in winter.
- Use color-coordinated mugs to match each season’s palette.
VIII. Maintenance and Care
Keep your coffee cup holder looking great with these maintenance tips:
Cleaning Tips
- Dust regularly with a soft, dry cloth.
- For deeper cleaning, use a slightly damp cloth and mild soap.
- Avoid harsh chemicals that could damage the finish.
Touch-up and Repair Advice
- Keep extra paint or stain for touch-ups.
- Tighten cup hooks periodically to ensure they’re secure.
- If the finish becomes scratched, lightly sand the area and reapply stain or paint.
IX. Cost Analysis
One of the great benefits of this DIY project is its cost-effectiveness. Let’s break it down:
Breakdown of Material Costs
- Wooden board: $10-$20
- Cup hooks: $5-$10
- Wall mounting brackets: $5-$10
- Paint or stain: $10-$15
- Miscellaneous (sandpaper, screws): $5-$10
Total estimated cost: $35-$65
Comparison with Store-Bought Options
Similar wall-mounted mug holders can retail for $50-$150+, making this DIY version a budget-friendly alternative. Plus, you get the satisfaction of creating something unique!
X. Troubleshooting Common Issues
Even with careful planning, you might encounter some challenges. Here’s how to address them:
Addressing Alignment Problems
- Use a level frequently during installation.
- If slightly off, loosen screws and adjust before re-tightening.
- For major misalignment, fill holes with wood filler and redrill in the correct position.
Fixing Loose Cup Hooks
- Remove the hook and fill the hole with a wooden toothpick and wood glue.
- Once dry, redrill a pilot hole and reinsert the hook.
Repairing Minor Damages
- For small chips, use wood filler that matches your finish.
- Sand smooth once dry and touch up with paint or stain.
- For deeper gouges, consider using wood putty before refinishing.
XI. Conclusion
Congratulations! You’ve now created a beautiful, functional DIY coffee cup holder for your wall. This project not only saves space but also adds a personal touch to your kitchen decor. Remember, the beauty of DIY is that each piece is unique – your coffee cup holder is a reflection of your style and craftsmanship.
We hope this guide has inspired you to start your DIY journey. Whether you’re a coffee lover or just enjoy personalized home decor, this project is sure to bring joy every time you reach for your favorite mug.
Don’t stop here – let your creativity flow! Consider making additional holders for different spaces or as thoughtful gifts for fellow coffee enthusiasts. And don’t forget to share your creations with us – we can’t wait to see what you come up with!
XII. FAQs
Q: How much weight can the coffee cup holder support? A: The weight capacity depends on the wood type, bracket strength, and wall material. Generally, a well-constructed holder can support 20-30 pounds, but always err on the side of caution.
Q: Can I use this holder for other items besides coffee cups? A: Absolutely! This versatile holder can display teacups, small plants, spice jars, or even jewelry.
Q: How do I prevent my mugs from slipping off the hooks? A: Choose cup hooks with a pronounced curve and ensure they’re screwed in tightly. For extra security, you can add a small dab of clear silicone to the hook’s tip.
Q: Can I make this holder without power tools? A: While power tools make the job easier, you can use a hand saw, manual screwdriver, and sandpaper. It will take more time and effort, but it’s doable!
Q: How do I choose the right wood for this project? A: Consider both aesthetics and durability. Pine is budget-friendly and easy to work with, while hardwoods like oak or maple offer more strength and a premium look.