Delightful Homemade Chocolate Eclair Pastries
Get ready to bake delicious Chocolate Eclair Pastries right in your own kitchen! This recipe is inspired by classic pastry techniques and is simplified to be perfect for beginner bakers. These elegant treats, topped with rich chocolate and a sprinkle of pistachios, are surprisingly easy to make and will impress everyone with their bakery-style taste. Let’s embark on this exciting baking journey together!
Halal Ingredients You’ll Need
Before starting, gather all the necessary ingredients. For this recipe, you will need:
- 🥣 Water: 1 cup
- 🧈 Unsalted Butter: 100 grams (about 7 tablespoons)
- 🍚 Granulated Sugar: 1 teaspoon
- 🧂 Salt: 1/4 teaspoon
- 🌾 All-Purpose Flour: 1 cup plus 2 tablespoons
- 🥚 Eggs: 4 large
- 🍦 Alcohol free Vanilla Extract: 1 teaspoon
- 🥛 Milk: 3 cups
- 🥚 Egg Yolk: 1 large
- 🌾 All-Purpose Flour (for cream): 3 tablespoons, leveled
- 🌽 Cornstarch: 2 tablespoons, leveled
- 🍚 Granulated Sugar (for cream): 6 tablespoons
- 🧈 Unsalted Butter (for cream): 1 tablespoon
- 🍦 Alcohol Free Vanilla Extract (for cream): 1 teaspoon
- ☁️ Heavy Cream: 1 cup (for whipped cream, optional – can be replaced with halal whipped topping for simplicity if desired)
- 🍫 Chocolate: 200 grams (bitter or milk, your preference)
- 🟢 Pistachios: A handful, finely chopped for garnish
Note: Ensure all ingredients are certified halal. For example, use halal-certified vanilla extract and chocolate.
Essential Kitchen Equipment
To make these delectable eclairs, you’ll need a few basic kitchen tools:
- Measuring cups and spoons
- Saucepan (medium-sized)
- Wooden spoon or spatula
- Mixing bowls (various sizes)
- Whisk
- Electric mixer or stand mixer (hand mixer works perfectly)
- Squeeze piping bag fitted with a round tip (or a sturdy zip-top bag)
- Baking sheet
- Parchment paper
- Oven
- Small saucepan or double boiler for melting chocolate
- Knife
- Spatula or icing knife
Let’s Prepare the Cream Filling
The luscious cream filling is a key component of these eclairs. It’s best to prepare this first so it has time to cool completely.
Step 1: Combine Ingredients in a Saucepan
In a medium-sized saucepan, combine the milk, egg yolk, flour, cornstarch, and sugar. Make sure to level the flour and cornstarch when measuring. Leveling means using a straight edge, like the back of a knife, to remove any excess flour or cornstarch from the measuring spoon or cup, ensuring an accurate measurement. Whisk these ingredients together until they are well combined and smooth. This step is crucial to prevent lumps in your cream.
Step 2: Cook the Cream Mixture
Place the saucepan over medium heat. Continuously stir the mixture with a whisk. Stirring constantly prevents the cream from sticking to the bottom of the pan and ensures even cooking. As you heat it, the mixture will start to thicken. Continue cooking and stirring until the cream becomes noticeably thick and starts to bubble gently. This usually takes about 5-7 minutes.
Step 3: Finish the Cream
Once the cream has thickened, remove the saucepan from the heat. Immediately add the butter and vanilla extract. Stir until the butter is completely melted and incorporated into the cream. This adds richness and flavor.
Step 4: Cool the Cream
Pour the hot cream into a clean bowl. To prevent a skin from forming on top of the cream as it cools, press a piece of plastic wrap directly onto the surface of the cream. Ensure the plastic wrap is touching the entire surface. Let the cream cool to room temperature, and then refrigerate it until it is completely chilled. Chilling is important for the cream to firm up and be easier to pipe into the eclairs.
Step 5: Whip the Cream (Optional)
If desired, for a lighter texture, once the pastry cream is cold, gently fold in whipped heavy cream or halal whipped topping. To whip heavy cream, use an electric mixer to beat cold heavy cream until stiff peaks form. Stiff peaks mean that when you lift the beaters, the whipped cream holds its shape and doesn’t immediately collapse. Gently fold this whipped cream into the chilled pastry cream to lighten it.
Time to Make the Eclair Pastry
Now, let’s move on to making the choux pastry, which is the base of our eclairs. This might seem a little tricky at first, but if you follow the steps carefully, you will be successful!
Step 1: Combine Water, Butter, Sugar, and Salt
In the same medium saucepan, combine the water, butter, sugar, and salt. Place the saucepan over medium heat. Heat until the butter is completely melted and the mixture comes to a rolling boil. A rolling boil means that the mixture is bubbling vigorously and cannot be stirred down.
Step 2: Add Flour
Once boiling, immediately remove the saucepan from the heat. Add all the flour at once. Using a wooden spoon or sturdy spatula, quickly stir the flour into the hot liquid. Stir vigorously and continuously until a smooth dough forms and pulls away from the sides of the pan. This process is important to cook the flour slightly and make a dough that will puff up properly in the oven.
Step 3: Cool the Dough Slightly
Continue to stir the dough for another minute or two over low heat to dry it out slightly. Then, remove the saucepan from the heat and let the dough cool slightly for about 5-10 minutes. It should be warm, not hot, before adding the eggs. This cooling step prevents the eggs from cooking when added to the dough.
Step 4: Add Eggs One at a Time
Once the dough is slightly cooled, it’s time to add the eggs. This is a crucial step and needs to be done correctly. Crack one egg into the dough and use an electric mixer or wooden spoon to mix it in completely until it is fully incorporated and the dough becomes smooth again. Repeat this process, adding one egg at a time, mixing well after each addition. It’s important to add the eggs one at a time to allow the dough to absorb each egg properly. The dough will seem to separate and then come back together as you mix.
Step 5: Check Dough Consistency
After adding all four eggs, the dough should be smooth, glossy, and have a thick, pipeable consistency. To check the consistency, lift a spoonful of dough. It should slowly fall off the spoon in a thick ribbon. If it’s too stiff, it might not puff up properly. If it’s too runny, it will spread too much. The consistency should be just right to hold its shape when piped.
Step 6: Pipe the Eclair Shapes
Preheat your oven to 180 degrees Celsius (350 degrees Fahrenheit) without fan. Line a baking sheet with parchment paper. Transfer the choux pastry dough into a piping bag fitted with a round tip. If you don’t have a piping bag, you can use a sturdy zip-top plastic bag and snip off a corner. Pipe the dough onto the parchment-lined baking sheet in long, finger-like shapes, about 1 inch wide and 4-5 inches long, as seen in the image. Leave some space between each eclair to allow for expansion during baking.
Step 7: Bake the Eclairs
Bake in the preheated oven for 40-45 minutes, or until the eclairs are golden brown and puffed up. Important: Do not open the oven door during the first 30 minutes of baking. Opening the oven door too early can cause the eclairs to deflate. After 40-45 minutes, turn off the oven and leave the eclairs inside with the oven door slightly ajar for another 30 minutes to allow them to dry out completely and prevent them from collapsing when cooled. This is a critical step for achieving light and airy eclairs.
Step 8: Cool the Eclairs
Remove the baked eclairs from the oven and let them cool completely on a wire rack. Make sure they are fully cooled before filling and glazing.
Assemble and Glaze the Eclairs
Once the eclairs are baked and completely cooled, and the cream filling is chilled, it’s time to assemble and decorate these delicious pastries.
Step 1: Fill the Eclairs
Prepare the chilled cream filling. If you used whipped cream, gently fold it in now. You can fill the eclairs in two ways:
- Splitting: Using a serrated knife, carefully slice each eclair lengthwise, almost all the way through, creating a top and bottom half, as shown in the image.
- Piping Holes: Alternatively, you can use a piping tip to poke small holes in the bottom of each eclair and pipe the cream filling in through these holes. While not shown in the image, this is another common method.
If splitting, spoon or pipe a generous amount of cream filling into the bottom half of each eclair. Then, place the top half back on top of the filling. If using piping holes, pipe the cream until the eclair feels full.
Step 2: Make the Chocolate Glaze
While the inspiration recipe text mentions melting chocolate, to achieve the smooth, glossy glaze seen in the image, it’s best to make a simple chocolate glaze. In a small saucepan or double boiler, melt the chocolate over low heat. If using a saucepan directly, be very careful not to burn the chocolate. Stir constantly until the chocolate is smooth and completely melted. You can add a tablespoon of milk or cream to the chocolate while melting for a smoother glaze, if desired.
Step 3: Glaze the Eclairs
Dip the top of each filled eclair into the melted chocolate glaze. Let the excess glaze drip off. You can also use a spatula or spoon to spread the chocolate glaze evenly over the tops of the eclairs.
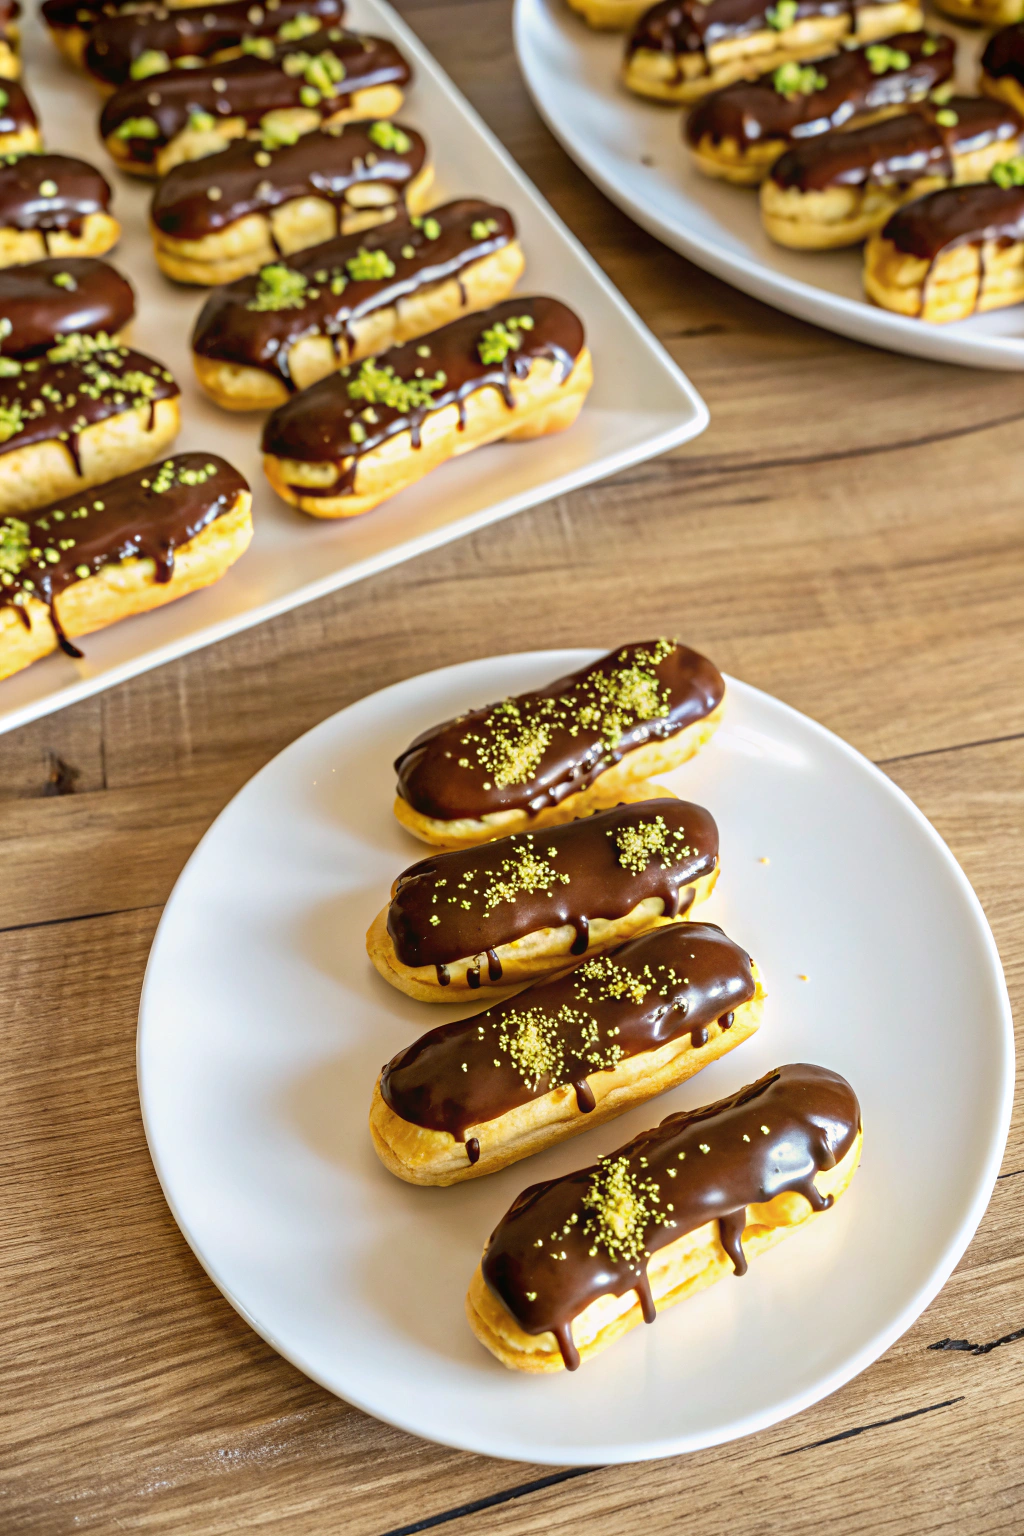
Step 4: Garnish with Pistachios
Immediately after glazing, sprinkle the tops of the chocolate-covered eclairs with finely chopped pistachios, as seen in the image. The pistachios add a lovely color contrast and a delightful nutty flavor.
Step 5: Chill and Serve
Place the glazed and garnished eclairs on a serving plate or tray. Refrigerate them for at least 30 minutes to allow the glaze to set and the filling to firm up further. Chilling also enhances the overall taste and texture.
Enjoy Your Homemade Eclair Pastries!
Congratulations! You have successfully made delicious homemade Chocolate Eclair Pastries. These elegant treats are perfect for any special occasion or simply to enjoy with a cup of tea or coffee. Making these pastries at home is a rewarding experience, and you can be proud of your baking achievement.
Share your beautifully made eclairs with family and friends, and encourage them to try this recipe too! Enjoy the delightful taste and the satisfaction of making something so delicious from scratch. Happy baking!