Delicious Halal Fried Chicken
Get ready to prepare some wonderfully crispy and juicy Halal Fried Chicken right in your own kitchen! This guide will walk you through every step, making it simple even if you are new to cooking. Following these instructions will help you put together a meal that brings warmth and satisfaction, much like the beautiful plate shown in the image.
Welcome to Making Crispy Chicken!
Making fried chicken might seem challenging, but it’s quite achievable with a little guidance. This recipe focuses on preparing delicious chicken with a perfectly crunchy coating. Halal means the chicken is sourced and prepared according to Islamic guidelines, ensuring it’s permissible for consumption. Preparing food at home is a rewarding experience, offering a special way to nourish yourself and your loved ones. Look at the image – notice the golden, textured crust on the chicken pieces? That’s the goal!
Ingredients You’ll Need
Gather these simple, halal-certified ingredients before starting. Always double-check packaging for halal certification if you’re unsure.
 8 pieces of bone-in, skin-on chicken (ensure it’s certified halal – thighs and drumsticks work well, like those seen in the image)
 2 cups buttermilk (or milk with 2 tablespoons of lemon juice or white vinegar added, let sit for 5 minutes)
 1 tablespoon paprika
 1 tablespoon garlic powder
 1 tablespoon onion powder
 2 teaspoons salt (plus more for seasoning after frying)
 1 teaspoon black pepper
 ½ teaspoon dried thyme (optional)
- ½ teaspoon cayenne pepper (optional, for a little heat)
 3 cups all-purpose flour
 ½ cup cornstarch (this helps make the coating extra crispy!)
 Vegetable oil for frying (about 4-6 cups, enough for deep frying)
- Fresh parsley, chopped (for garnish, as seen sprinkled on the chicken in the image)
Kitchen Tools for Success
Having the right tools makes the process smoother. You likely have most of these already:
- Large bowl (for marinating)
- Shallow dish or baking pan (for the flour mixture)
- Tongs (for handling the hot chicken)
- Deep, heavy-bottomed pot or Dutch oven (for frying)
- Wire rack placed over a baking sheet (for draining the chicken)
- Meat thermometer (highly recommended for checking doneness) or a wooden spoon
- Measuring cups and spoons
Preparing Your Chicken
Proper preparation is key to flavorful and safe chicken.
The Flavorful Marinade
A marinade is a seasoned liquid that chicken soaks in. This adds flavor deep inside and helps make the chicken tender.
- In the large bowl, combine the buttermilk, paprika, garlic powder, onion powder, 1 teaspoon of salt, black pepper, dried thyme (if using), and cayenne pepper (if using). Whisk everything together until it’s well mixed.
- Add the chicken pieces to the buttermilk mixture. Make sure each piece is fully coated.
- Cover the bowl tightly with plastic wrap or a lid.
- Place the bowl in the refrigerator for at least 2 hours, or preferably overnight for the best flavor. This soaking time lets the chicken absorb all those delicious seasonings.
Making the Crispy Coating
This double-coating method helps achieve that wonderfully crunchy exterior visible in the image.
Dry Dredge Ingredients
“Dredging” means coating wet food, like our marinated chicken, in a dry mixture, usually flour.
- In your shallow dish or baking pan, whisk together the 3 cups of all-purpose flour, the ½ cup of cornstarch, the remaining 1 teaspoon of salt, and another ½ teaspoon of black pepper. Make sure there are no lumps.
Double Dredging Technique
This technique involves coating the chicken twice for maximum crispiness.
- Take one piece of chicken out of the marinade, letting any excess buttermilk drip off. Don’t shake it completely dry; some moisture helps the flour stick.
- Place the chicken piece into the flour mixture. Turn it over several times, pressing the flour gently onto the chicken to coat it completely.
- Briefly dip the flour-coated chicken back into the buttermilk marinade. Just a quick dip is needed.
- Immediately place the chicken back into the flour mixture for its second coating. Again, turn it and press the flour mixture all over the chicken, ensuring a thick, even coat. Look closely at the chicken in the image – you can almost see the texture of a good coating.
- Place the double-coated chicken piece onto a clean plate or tray. Repeat this process with all the remaining chicken pieces.
- Let the coated chicken rest at room temperature for about 15-20 minutes before frying. This helps the coating stick better during frying.
Frying the Chicken to Perfection
Deep frying means cooking food fully submerged in hot oil. Safety first – hot oil can splash, so be careful.
Getting the Oil Ready
- Pour the vegetable oil into your deep, heavy-bottomed pot or Dutch oven. You need enough oil so the chicken pieces can float without touching the bottom – usually about 3 inches deep.
- Heat the oil over medium-high heat. The ideal temperature for frying chicken is 325-350°F (165-175°C).
- If you have a thermometer, use it to check the temperature. If not, you can test if the oil is ready by dipping the handle of a wooden spoon into it. If small, steady bubbles form around the wood, the oil is likely hot enough. If it bubbles violently, the oil is too hot; reduce the heat slightly. If nothing happens, it’s not hot enough yet.
The Frying Process
Work in batches; don’t overcrowd the pot, as this lowers the oil temperature and makes the chicken greasy instead of crispy.
- Carefully, using tongs, lower 3-4 pieces of coated chicken into the hot oil. Lower them away from you to avoid splashes. The oil should bubble actively around the chicken.
- Fry the chicken for about 12-18 minutes per batch, depending on the size of the pieces. Turn the pieces occasionally with tongs to ensure they brown evenly on all sides. Aim for that deep golden-brown color you see in the provided image.
- Adjust the heat as needed to keep the oil temperature steady. If the chicken browns too quickly, lower the heat slightly. If it’s not browning enough, increase the heat slightly.
Ensuring Chicken is Cooked Through
It’s very important that chicken is fully cooked for safety.
- The most reliable way to check is with a meat thermometer. Insert it into the thickest part of a chicken piece, avoiding the bone. It should register 165°F (74°C).
- If you don’t have a thermometer, carefully remove a piece and cut into the thickest part. The juices should run clear (not pink), and the meat should be white and opaque all the way through, with no pinkness near the bone.
- Once cooked, use tongs to carefully lift the chicken out of the hot oil, letting excess oil drip back into the pot.
- Place the cooked chicken pieces on the wire rack set over a baking sheet. This allows air to circulate, keeping the bottom crust crispy instead of getting soggy. Sprinkle lightly with a little more salt immediately, if desired.
- Repeat the frying process with the remaining chicken pieces, making sure the oil temperature returns to the target range before adding the next batch.
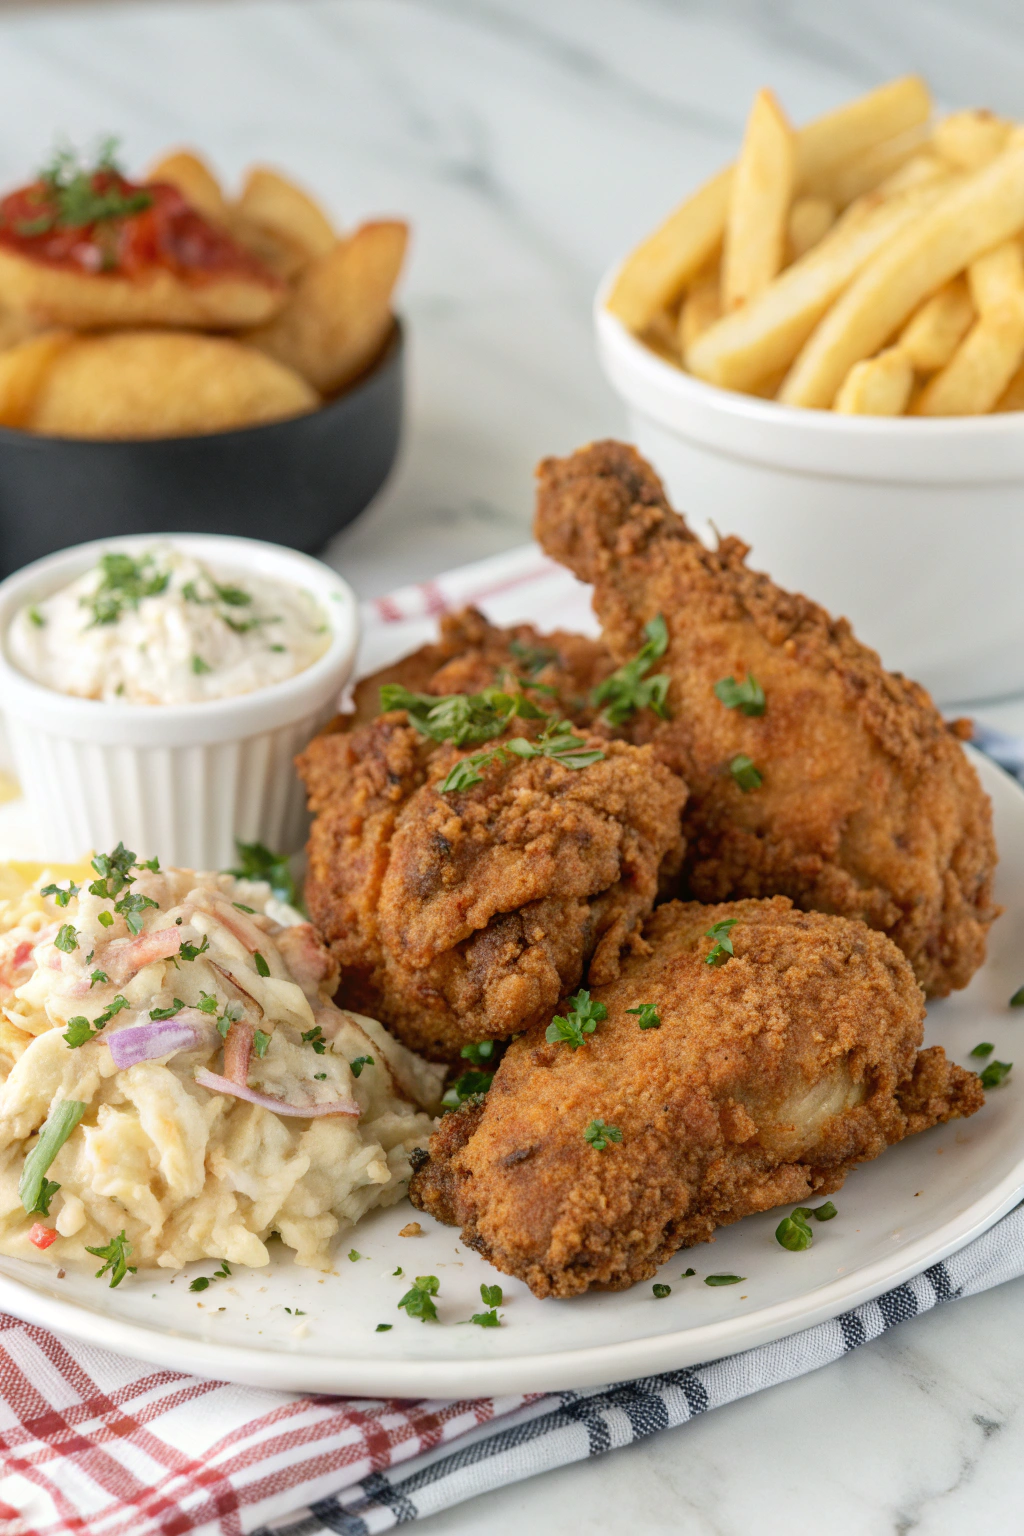
Serving Your Golden Chicken
Your delicious Fried Chicken is ready! Notice in the image how it’s served on a plate alongside creamy coleslaw, a dipping sauce (perhaps a homemade ranch or garlic sauce), and fries or potato wedges. These sides complement the chicken beautifully. Garnish the chicken with some fresh chopped parsley, just like in the picture, for a touch of color and freshness.
Enjoy Your Homemade Meal!
Take pride in the wonderful meal you have prepared. Sharing homemade food is a delightful experience. This crispy, juicy fried chicken is perfect for family dinners or special gatherings. Feel encouraged to try this recipe, enjoy the process of cooking, and share the delicious results with others. Happy cooking!