Delicious Halal Black Forest Cake
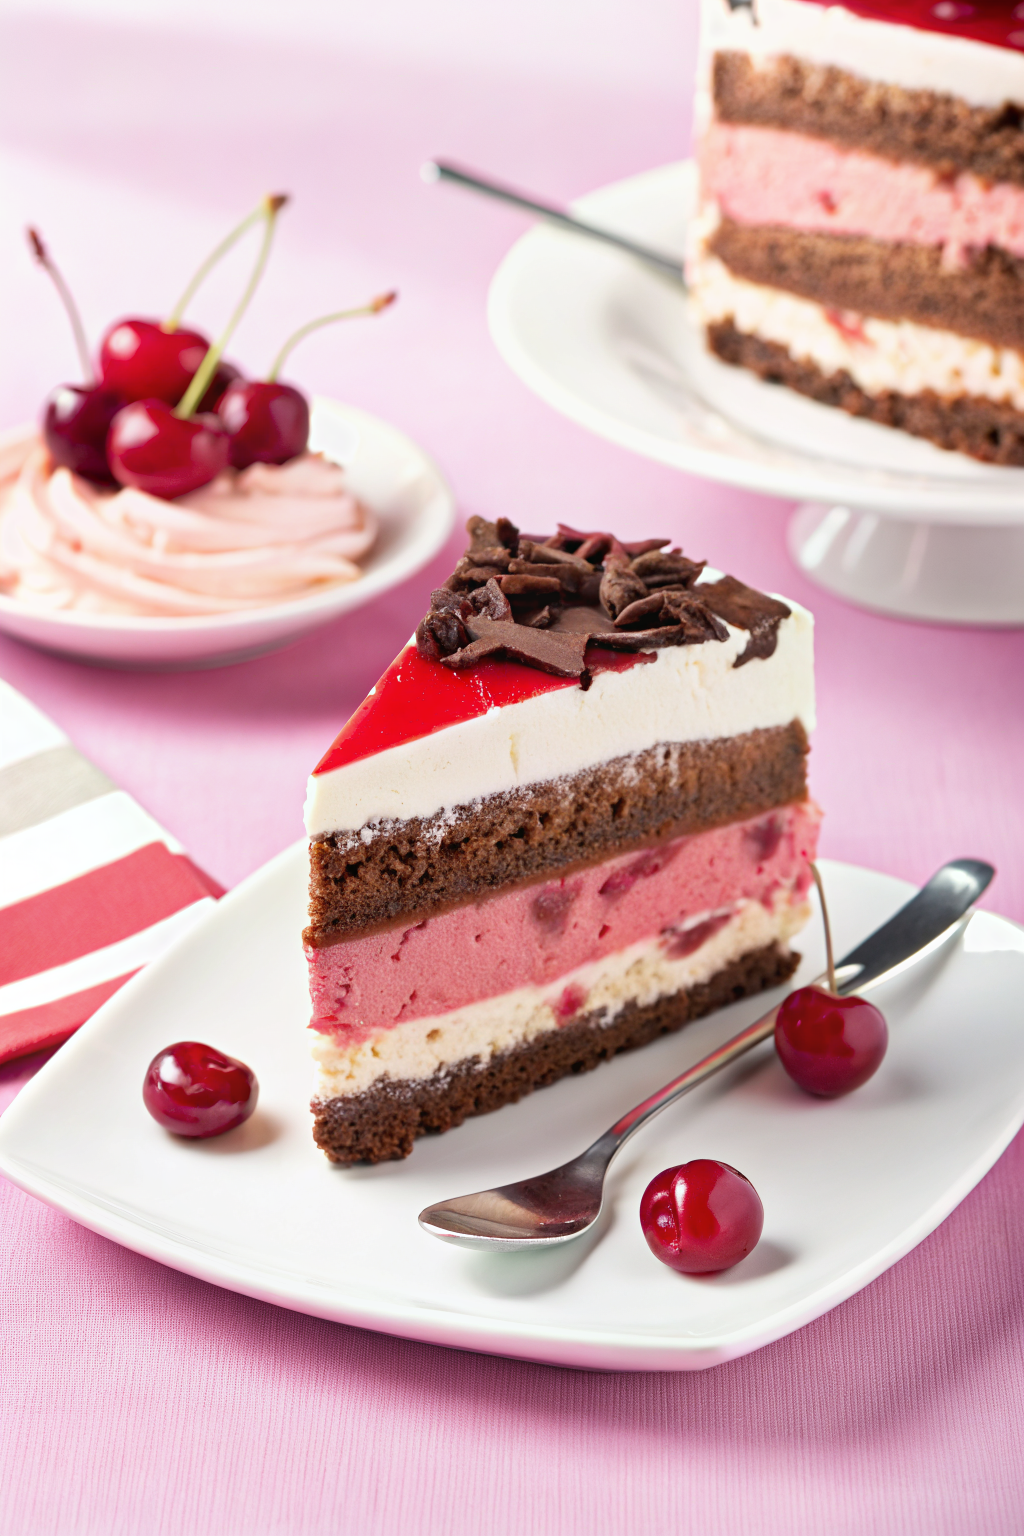
Get ready to bake a truly delightful treat – a Halal Black Forest Cake that’s perfect for any occasion! This recipe guides beginner bakers through each simple step to put together a stunning and flavorful dessert, similar to the elegant cake pictured. Imagine layers of moist chocolate cake, sweet cherry filling, and light whipped cream, all beautifully topped with chocolate shavings and juicy cherries. For an extra touch of visual appeal, like the cake in the image, we’ll even explore adding a simple red glaze. This homemade cake is not only delicious but also crafted with halal ingredients, ensuring everyone can enjoy a slice. Let’s start this exciting baking adventure!
Halal Ingredients You’ll Need
Before starting, gather all the necessary ingredients. This recipe uses common pantry items and is designed to be easy to follow, even if it’s your first time baking.
- 🍫 For the Chocolate Cake:
- 1 and 1/2 cups all-purpose flour (plain flour)
- 3/4 cup unsweetened cocoa powder
- 1 and 1/2 teaspoons baking powder
- 3/4 teaspoon baking soda
- 1/2 teaspoon salt
- 1 cup granulated sugar
- 1/2 cup vegetable oil
- 1 cup buttermilk (or 1 cup milk + 1 tablespoon lemon juice, let it sit for 5 minutes)
- 2 large eggs
- 2 teaspoons alcohol free vanilla extract
- 1 cup freshly brewed hot coffee
- 🍒 For the Cherry Filling:
- 2 cans (14 ounces each) pitted cherry pie filling (ensure halal certified)
- 2 tablespoons cornstarch
- 1/4 cup water
- 🥛 For the Halal Whipped Cream:
- 2 cups heavy cream, chilled (ensure halal certified)
- 1/4 cup powdered sugar
- 1 teaspoon alcohol free vanilla extract
- 2 teaspoons halal gelatin powder or agar-agar powder (for stabilizer – optional, see notes below)
- 2 tablespoons cold water (if using gelatin or agar-agar)
- ✨ Optional Red Glaze (for visual enhancement):
- 1/2 cup cherry juice or water
- 2 tablespoons sugar
- 1 tablespoon cornstarch
- A few drops of red food coloring (halal, optional)
- 🍫 For Decoration:
- Chocolate shavings or grated chocolate (halal)
- Fresh cherries (for garnish, as seen in the image)
Important Note on Halal Gelatin/Agar-Agar: Traditional gelatin is often derived from non-halal sources. To ensure this recipe is halal, use halal-certified gelatin or agar-agar powder as a vegetarian/halal alternative stabilizer for the whipped cream. If using, follow the instructions below to prepare it. If you prefer not to use a stabilizer, the whipped cream will still be delicious but might soften faster, especially in warmer temperatures.
Kitchen Equipment You’ll Need
Having the right tools makes baking much smoother and more enjoyable. Here’s what you will need for this recipe:
- 🥣 Mixing Bowls: You’ll need a few different sizes for mixing ingredients.
- 🥄 Measuring Cups and Spoons: Accurate measurements are key in baking.
- 🥄 Whisk: For combining dry ingredients and mixing wet ingredients.
- 🥄 Spatula: For scraping bowls and folding batter.
- 🎂 Two 9-inch Round Cake Pans: These are the standard size for layer cakes.
- 🔥 Oven: For baking the cake layers.
- 📄 Parchment Paper: To line the cake pans and prevent sticking.
- 🎂 Cake Stand or Serving Plate: To assemble and display your beautiful cake.
- 🔪 Knife or Cake Leveler (optional): To level the cake layers for even stacking.
- 🥄 Piping Bag and Tip (optional): For decorating the cake with whipped cream, if desired.
- 🥄 Spoon or Offset Spatula: For frosting the cake.
- 🥣 Small Saucepan (for optional glaze): If you choose to make the red glaze.
Let’s Learn Basic Kitchen Techniques
Before starting the recipe, it’s helpful to understand a few basic baking terms and techniques. These are simple and easy to grasp, even for absolute beginners.
Preheat the oven: This means to turn on the oven to the correct temperature before you put the cake in to bake. This ensures the oven is hot enough when the cake goes in, which is important for proper baking. For this recipe, the oven needs to be heated to 350°F (175°C).
Grease and flour cake pans: This is done to prevent the cake from sticking to the pan. “Grease” means to coat the inside of the pan with a thin layer of butter, shortening, or cooking spray. “Flour” means to sprinkle a light coating of flour over the greased surface. Tapping out any excess flour ensures a clean cake release. Using parchment paper liners in addition to greasing and flouring provides extra insurance against sticking.
Sifting dry ingredients: Sifting involves passing dry ingredients like flour, cocoa powder, baking powder, and baking soda through a fine-mesh sieve or sifter. This removes any lumps and makes the ingredients lighter and easier to incorporate into the batter, resulting in a smoother cake. If you don’t have a sifter, you can whisk the dry ingredients together thoroughly instead.
Creaming butter and sugar: This step, common in many cake recipes, involves mixing softened butter and sugar together until the mixture becomes light, fluffy, and pale in color. This process incorporates air into the batter, which helps make the cake light and tender. In this recipe, however, we are using oil instead of butter, so we will simply whisk the sugar and oil together.
Folding ingredients: “Folding” is a gentle way to mix delicate ingredients, like whipped cream or in this case, buttermilk and coffee into batter without deflating it. Use a spatula to gently cut down through the mixture, across the bottom of the bowl, and up the side, turning the bowl as you go. The motion is like folding one ingredient into another. This helps to keep the batter light and airy.
Baking until a toothpick comes out clean: This is a common way to check if a cake is done baking. Insert a wooden toothpick or a thin skewer into the center of the cake. If it comes out clean, or with just a few moist crumbs attached, the cake is done. If it comes out with wet batter, the cake needs to bake longer.
Cooling completely: Cakes need to cool completely before frosting. This prevents the frosting from melting and makes the cake easier to handle and frost. Usually, cakes are cooled in their pans for a short time and then inverted onto a wire rack to cool fully.
Step-by-Step Guide to Making Halal Black Forest Cake
Now, let’s put everything together and bake this beautiful Halal Black Forest Cake! Follow these steps carefully, and don’t worry if you’re new to baking – this recipe is designed to be beginner-friendly. While the cake in the image might showcase a more elaborate, professionally styled Black Forest Cake, this recipe provides a simplified, delicious, and achievable version for home bakers.
Step 1: Make the Chocolate Cake Layers
- Preheat the oven: Set the oven to 350°F (175°C). Make sure the oven rack is in the center position for even baking.
- Prepare cake pans: Grease and flour two 9-inch round cake pans. For extra insurance against sticking, line the bottoms of the pans with parchment paper rounds. This makes removing the cakes after baking much easier.
- Sift dry ingredients: In a medium-sized mixing bowl, sift together the flour, cocoa powder, baking powder, baking soda, and salt. If you don’t have a sifter, whisk these ingredients together very well to combine and remove any lumps. Set aside.
- Combine wet ingredients: In a large mixing bowl, whisk together the sugar and vegetable oil until combined. Add the buttermilk (or milk and lemon juice mixture), eggs, and vanilla extract. Whisk until everything is well mixed and smooth.
- Combine wet and dry ingredients: Gradually add the sifted dry ingredients to the wet ingredients, mixing on low speed or by hand with a whisk until just combined. Be careful not to overmix; overmixing can make the cake tough.
- Add hot coffee: Slowly pour in the hot coffee and mix until the batter is smooth and runny. The hot coffee enhances the chocolate flavor and adds moisture to the cake. The batter will be quite thin, which is normal.
- Divide batter: Divide the cake batter evenly between the prepared cake pans. You can use a kitchen scale to ensure they are even if you want perfectly even layers, or simply estimate.
- Bake: Bake in the preheated oven for 30-35 minutes, or until a toothpick inserted into the center comes out clean or with just a few moist crumbs. Refer to the image to see the golden-brown color of the cake layers once baked.
- Cool in pans: Let the cakes cool in the pans on a wire rack for 10-15 minutes. This allows them to set slightly before you remove them.
- Invert onto rack: After 10-15 minutes, carefully invert the cakes onto the wire rack to cool completely. Make sure they are completely cool before frosting, usually about 1-2 hours. Level the tops of the cake layers with a serrated knife if they are uneven, for a more professional look.
Step 2: Prepare the Cherry Filling
- Combine cherry filling and cornstarch: In a medium saucepan, combine the cherry pie filling, cornstarch, and water. Whisk together to ensure the cornstarch is dissolved and there are no lumps.
- Simmer and thicken: Place the saucepan over medium heat and bring the mixture to a simmer, stirring constantly. “Simmer” means to heat the mixture gently so that small bubbles just begin to break the surface.
- Cook until thickened: Continue to simmer and stir for 2-3 minutes, or until the cherry filling has thickened slightly. The cornstarch helps to thicken the filling, making it less runny in the cake.
- Cool completely: Remove the saucepan from the heat and let the cherry filling cool completely. It will thicken further as it cools. Cooling the filling prevents it from melting the whipped cream later.
Step 3: Make the Halal Whipped Cream
- Prepare gelatin/agar-agar (optional stabilizer): If using halal gelatin or agar-agar as a stabilizer, sprinkle the gelatin or agar-agar powder over cold water in a small bowl. Let it sit for 5 minutes to soften (this is called “blooming” gelatin). After blooming, gently heat the mixture in the microwave for about 10-15 seconds or over a double boiler until just melted and clear. Do not boil. Let it cool slightly but keep it liquid. If not using stabilizer, skip this step.
- Chill bowl and beaters: Make sure your mixing bowl and whisk or beaters are well-chilled. Cold equipment helps the cream whip up quickly and stiffly. Placing them in the freezer for 10-15 minutes beforehand is helpful.
- Whip heavy cream: Pour the chilled heavy cream into the chilled mixing bowl. Beat with an electric mixer on medium speed until soft peaks begin to form. “Soft peaks” mean that when you lift the beaters, the cream forms peaks that gently fold over at the tips.
- Add powdered sugar and vanilla: Gradually add the powdered sugar and vanilla extract to the whipped cream. Continue to beat on medium-high speed until stiff peaks form. “Stiff peaks” mean that when you lift the beaters, the cream forms peaks that stand straight up and hold their shape. Be careful not to overwhip, or the cream can become grainy.
- Add gelatin mixture (optional): If using the gelatin or agar-agar mixture, slowly drizzle the slightly cooled but still liquid gelatin mixture into the whipped cream while continuing to beat on low speed until just combined. This will help stabilize the whipped cream and keep it firm for longer.
- Use immediately or chill: Use the whipped cream immediately for frosting the cake, or chill it in the refrigerator until ready to use.
Step 4: Prepare the Optional Red Glaze (for enhanced visual appeal)
This step is optional but will add a beautiful, glossy red topping to your cake, similar to what you see in the image.
- Combine glaze ingredients: In a small saucepan, whisk together the cherry juice or water, sugar, and cornstarch until smooth. If using red food coloring, have it ready.
- Simmer and thicken: Place the saucepan over medium heat and bring to a simmer, stirring constantly.
- Cook until clear and thickened: Continue to simmer and stir for 1-2 minutes, or until the glaze becomes clear and slightly thickened. It should be pourable but not too runny.
- Add food coloring (optional): If using food coloring, stir in a few drops of red food coloring to enhance the red color of the glaze.
- Cool slightly: Remove from heat and let the glaze cool slightly until it is still pourable but not hot. It will thicken further as it cools.
Step 5: Assemble the Black Forest Cake
- Level cake layers (if needed): If your cake layers are domed or uneven, use a long serrated knife or a cake leveler to carefully trim the tops to make them flat. This will make stacking and frosting the cake easier and more stable.
- Place first cake layer: Place one chocolate cake layer on a cake stand or serving plate.
- Spread cherry filling: Spread half of the cooled cherry filling evenly over the top of the first cake layer.
- Top with whipped cream: Spread a layer of about one-third of the whipped cream evenly over the cherry filling.
- Place second cake layer: Carefully place the second chocolate cake layer on top of the whipped cream layer.
- Frost the cake: Frost the entire cake with the remaining whipped cream. Start with a thin “crumb coat” – a thin layer of frosting that seals in any crumbs. Chill the cake for 15-20 minutes to set the crumb coat, then apply the remaining whipped cream for a thicker, smoother final frosting. Refer to the image for frosting inspiration – a simple, elegant swirl works beautifully.
- Add red glaze (optional): If you prepared the red glaze, gently pour it over the top of the whipped cream frosting. Use a spatula to help spread it evenly, if needed, letting some of it drip attractively down the sides. Observe in the image how the red glaze adds a beautiful visual element.
- Decorate with chocolate shavings and cherries: Decorate the top of the cake with chocolate shavings or grated chocolate. Arrange fresh cherries on top, as seen in the image, for that classic Black Forest Cake look.
Step 6: Chill and Serve
- Chill the cake: Refrigerate the assembled Black Forest Cake for at least 2-3 hours, or preferably overnight, before serving. Chilling allows the cake to set, the flavors to meld together, and the whipped cream to firm up nicely.
- Serve chilled: Slice and serve the Halal Black Forest Cake chilled. The cake is best enjoyed within 2-3 days, stored in the refrigerator.
Tips and Tricks for Perfect Black Forest Cake
- For extra chocolate flavor: You can brush the cooled cake layers with a simple syrup prepared with coffee and a little sugar before adding the cherry filling. This adds extra moisture and enhances the chocolate taste.
- Make ahead: The cake layers and cherry filling can be made a day ahead and stored separately. Assemble and frost the cake on the day you plan to serve it. The red glaze is best prepared shortly before assembly or on the same day for optimal shine.
- Halal whipped cream alternatives: If you have difficulty finding halal heavy cream, you can use a vegan whipped topping that is halal-certified. Be sure to check the ingredients.
- Adjust sweetness: If you prefer a less sweet cake, you can reduce the amount of sugar in the cake layers, cherry filling, whipped cream, and glaze slightly.
- Don’t overbake: Overbaked cake layers will be dry. Start checking for doneness around 30 minutes and bake just until a toothpick comes out clean.
- Cool ingredients are key for whipped cream: Make sure the heavy cream, bowl, and beaters are all well-chilled for the best whipped cream results.
Enjoy Your Homemade Halal Black Forest Cake!
Congratulations! You have just put together a beautiful and delicious Halal Black Forest Cake from scratch. It may seem like a few steps, but each one is simple and rewarding. Baking this cake is a wonderful way to bring joy to your family and friends, and the taste of homemade cake is truly special. The process of making something delicious with your own hands is incredibly satisfying. With the optional red glaze, your cake will have an extra touch of elegance, closely resembling the beautiful Black Forest Cake in the image.
Don’t be afraid to share your baking success! Take a picture of your Halal Black Forest Cake and share it with friends and family. Encourage others to try this recipe and experience the joy of homemade halal baking. Enjoy every slice of your magnificent homemade dessert!