Crochet Your Own Adorable Owl Friend!
Hello fellow crafters! Are you ready to dive into the wonderfully cozy world of amigurumi? Today, we’re going to make the most charming little owl you’ve ever seen – completely by hand! If you’ve always wanted to try crochet but felt a little intimidated, don’t worry! This guide is designed just for you, even if you’ve never held a crochet hook before. We’ll take it slow and steady, step by step, and before you know it, you’ll have a delightful, handmade owl to call your own. Get ready to experience the pure joy of making something beautiful with your own two hands – it’s truly magical!
Materials You’ll Need to Get Started
Before we begin our fun crafting journey, let’s gather all the materials we’ll need. Having everything ready will make the making process smooth and enjoyable. For this adorable owl, you will need:
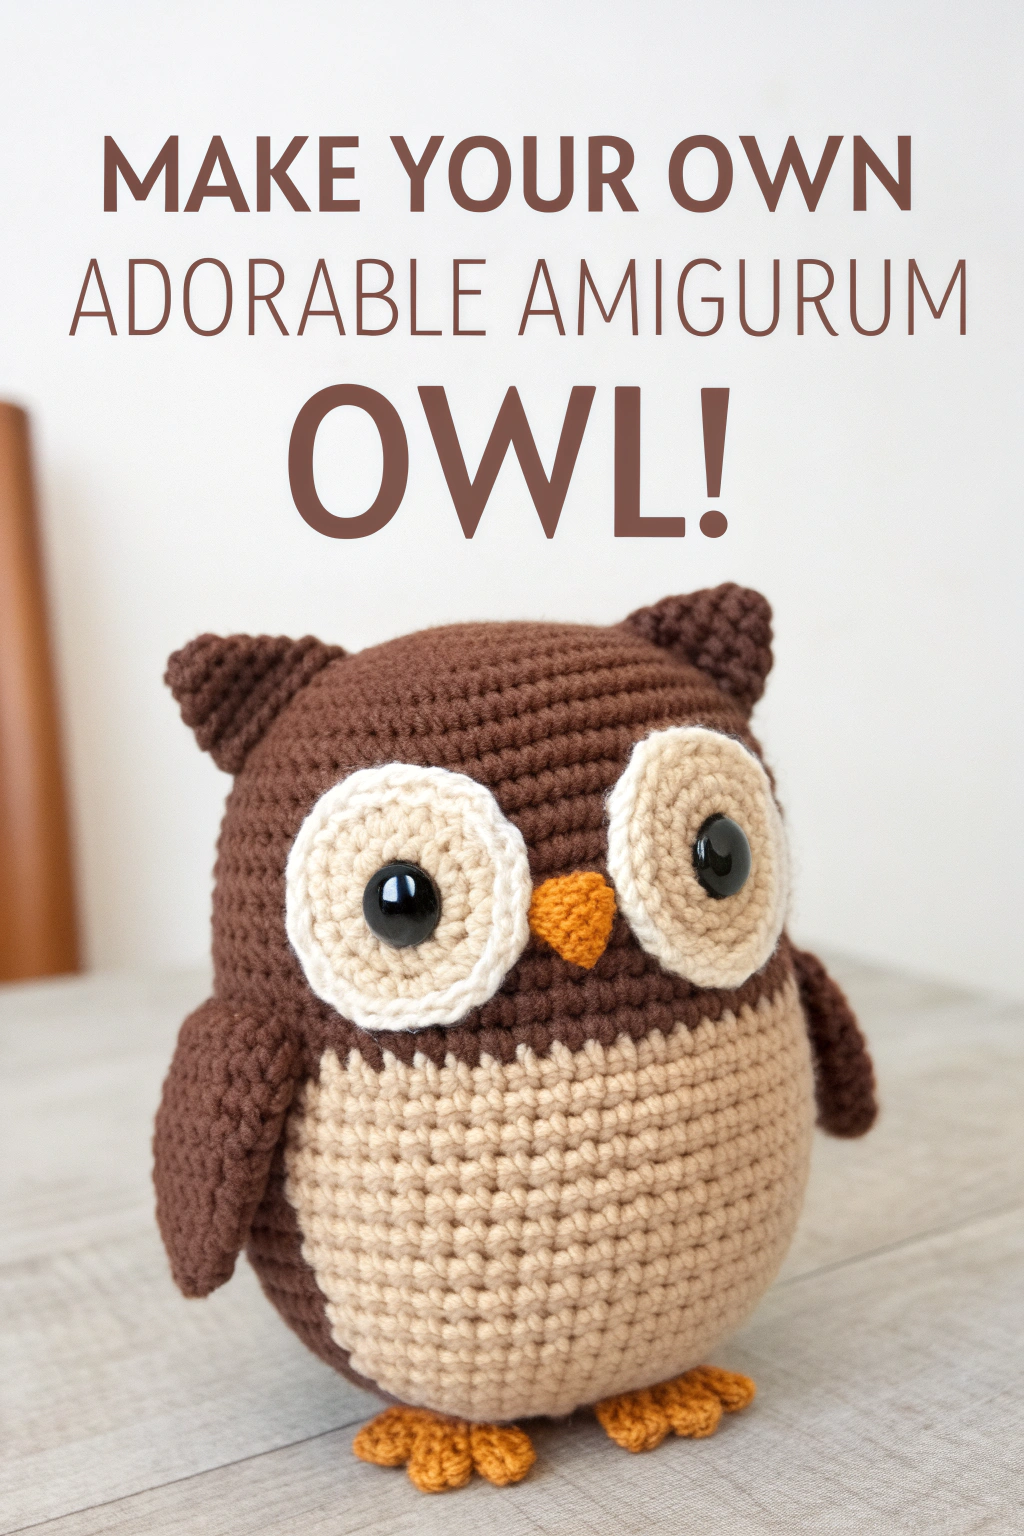
- 🧶 Yarn: You’ll need yarn in a few different colors. Look at the image – we need a main brown color for the body and head, a lighter beige or cream color for the belly and eye patches, white for around the eyes, black for the eyes themselves, and a bright orange for the beak and feet. A soft, medium-weight yarn (like worsted weight cotton or acrylic) is perfect for beginners as it’s easy to work with.
- 🪡 Crochet Hook: The size of your crochet hook depends on your yarn. Check the yarn label for a recommended hook size. For medium-weight yarn, a 3.5mm or 4.0mm crochet hook is usually a good starting point.
- 📌 Stitch Markers: These little helpers are essential for keeping track of your rounds, especially when you’re just starting out. They’re like little flags that mark your place!
- 👁️ Safety Eyes: We’ll use black safety eyes to give your owl its adorable gaze. A size around 9mm or 10mm usually looks great for an owl of this size, but feel free to choose safety eyes that you think look best for your handmade friend!
- 솜 Stuffing: You’ll need fiberfill stuffing to give your owl its plump, huggable shape.
- 🧵 Tapestry Needle: This is a large, blunt needle used for weaving in yarn ends and sewing pieces together.
- ✂️ Scissors: For cutting your yarn.
Getting Ready: Understanding Basic Crochet Stitches
If you’re completely new to crochet, don’t fret! We’ll start with the very basics. Crochet uses a hook to pull loops of yarn through other loops, forming fabric. Think of it like drawing loops with yarn! Here are the essential stitches we’ll use to make our owl:
Making a Slip Knot
First, we need to form a slip knot to start crocheting. Imagine you’re about to tie a knot in a rope, but instead of tightening it completely, you leave a loop. To make a slip knot, hold the yarn and make a loop. Then, insert your hook into the loop, catch the yarn with your hook, and pull it through the loop on your hook. Gently tighten it – that’s your slip knot, ready to start crocheting!
Chain Stitch (ch)
The chain stitch is the foundation of many crochet projects. It’s like the first row of bricks in a wall. To make a chain stitch, hold your hook with the slip knot on it. Wrap the yarn around your hook (this is called “yarn over”), and then pull the hook and the yarn through the loop that’s already on your hook. That’s one chain stitch! Repeat this to make a chain of any length. Look at the image, chains are used to start rounds and sometimes to join pieces.
Single Crochet (sc)
Single crochet is a basic, short stitch. It forms a dense fabric, perfect for amigurumi to keep the stuffing inside. To make a single crochet, insert your hook into the next stitch (or chain). Yarn over, and pull the yarn through the stitch (you’ll have two loops on your hook). Yarn over again, and pull the yarn through both loops on your hook. That’s one single crochet! Imagine you’re picking up a loop and then securing it with another loop.
Increase (inc)
An increase is how we develop a wider piece of crochet fabric. It means making two single crochet stitches in the same stitch. So, you just work one single crochet as usual, but before moving to the next stitch, you work another single crochet in that same stitch. This adds an extra stitch and makes your work wider. In the image, you can see the owl’s body gets wider in the middle – that’s done by using increases.
Decrease (dec)
A decrease is the opposite of an increase. It’s how we narrow our crochet fabric. There are different types of decreases; for this owl, we’ll use the invisible decrease, which is common in amigurumi as it makes the decreases less noticeable. To make an invisible decrease, insert your hook into the front loop only of the next stitch (instead of going under both loops as usual). Then, insert your hook into the front loop only of the next stitch as well. Yarn over, and pull the yarn through both front loops you just picked up (you’ll have two loops on your hook). Yarn over again, and pull through both loops on your hook. This combines two stitches into one, forming a narrower section. Look at the top of the owl’s head and bottom of the body in the image – they get narrower, thanks to decreases.
Slip Stitch (sl st)
A slip stitch is a very short stitch, often used to join rounds or finish off a piece. To make a slip stitch, insert your hook into the stitch. Yarn over, and pull the yarn through the stitch and through the loop already on your hook in one smooth motion. It’s like quickly slipping the yarn through.
Magic Ring (or Magic Circle)
The magic ring is a fantastic technique used to start crocheting in the round without any hole in the center. This is super important for amigurumi to keep them neatly closed at the start. To form a magic ring, wrap the yarn around your fingers to make a loop, crossing the yarn over itself. Insert your hook into the loop, yarn over, and pull up a loop (like making a chain, but within the ring). Now, you have a loop on your hook and a ring of yarn around your fingers. Work your first round of stitches into this ring, crocheting over both strands of yarn that form the ring. After you’ve worked your stitches, gently pull the tail of the yarn to tighten the ring closed. Voila! A magic ring with no center hole!
Let’s Make the Amigurumi Owl: Step-by-Step Instructions
Now for the exciting part – let’s make our adorable owl! We’ll start from the bottom up, forming each part piece by piece and then assembling them. Remember to refer to the image frequently to see how each part looks and how it all comes together.
Making the Owl’s Body
We’ll start with the owl’s main body in brown yarn.
Round 1: Start with a magic ring. Make 6 single crochet (sc) stitches into the magic ring. Pull the magic ring tight to close the center. Place a stitch marker at the end of this round to mark the beginning of the next round. (6 stitches)
Round 2: Increase (inc) in each stitch around. This means making 2 single crochet stitches in every stitch from the previous round. (12 stitches)
Round 3: *Single crochet (sc) in the next stitch, increase (inc) in the next stitch.* Repeat from * to * around. (18 stitches)
Round 4: *Single crochet (sc) in the next 2 stitches, increase (inc) in the next stitch.* Repeat from * to * around. (24 stitches)
Round 5: *Single crochet (sc) in the next 3 stitches, increase (inc) in the next stitch.* Repeat from * to * around. (30 stitches)
Round 6: *Single crochet (sc) in the next 4 stitches, increase (inc) in the next stitch.* Repeat from * to * around. (36 stitches)
Round 7: *Single crochet (sc) in the next 5 stitches, increase (inc) in the next stitch.* Repeat from * to * around. (42 stitches)
Round 8-17: Single crochet (sc) in each stitch around. These are straight rounds, meaning we’re not increasing or decreasing, just building height. (42 stitches in each round)
Round 18: Now we’ll change to the lighter beige yarn to form the owl’s belly. Single crochet (sc) in each stitch around with beige yarn. (42 stitches)
Round 19-23: Continue single crocheting (sc) in each stitch around with beige yarn. (42 stitches in each round)
Round 24: Change back to brown yarn. Single crochet (sc) in each stitch around. (42 stitches)
Round 25-29: Continue single crocheting (sc) in each stitch around with brown yarn. (42 stitches in each round)
Round 30: *Single crochet (sc) in the next 5 stitches, decrease (dec) over the next 2 stitches.* Repeat from * to * around. (36 stitches) We’re starting to narrow the body now.
Round 31: *Single crochet (sc) in the next 4 stitches, decrease (dec) over the next 2 stitches.* Repeat from * to * around. (30 stitches)
Round 32: *Single crochet (sc) in the next 3 stitches, decrease (dec) over the next 2 stitches.* Repeat from * to * around. (24 stitches)
Round 33: *Single crochet (sc) in the next 2 stitches, decrease (dec) over the next 2 stitches.* Repeat from * to * around. (18 stitches)
Start stuffing the body firmly as you continue to close the opening.
Round 34: *Single crochet (sc) in the next stitch, decrease (dec) over the next 2 stitches.* Repeat from * to * around. (12 stitches)
Round 35: Decrease (dec) over the next 2 stitches around. (6 stitches)
Round 36: Decrease (dec) over the next 2 stitches around. (3 stitches). Finish off and close the remaining small opening by weaving the yarn tail through the last stitches and pulling tight. Secure and hide the yarn end inside the body.
Making the Owl’s Head
Now we’ll fashion the owl’s head using brown yarn again.
Round 1: Start with a magic ring. Make 6 single crochet (sc) stitches into the magic ring. Pull the magic ring tight. (6 stitches)
Round 2: Increase (inc) in each stitch around. (12 stitches)
Round 3: *Single crochet (sc) in the next stitch, increase (inc) in the next stitch.* Repeat from * to * around. (18 stitches)
Round 4: *Single crochet (sc) in the next 2 stitches, increase (inc) in the next stitch.* Repeat from * to * around. (24 stitches)
Round 5: *Single crochet (sc) in the next 3 stitches, increase (inc) in the next stitch.* Repeat from * to * around. (30 stitches)
Round 6: *Single crochet (sc) in the next 4 stitches, increase (inc) in the next stitch.* Repeat from * to * around. (36 stitches)
Round 7-14: Single crochet (sc) in each stitch around. (36 stitches in each round)
Round 15: *Single crochet (sc) in the next 4 stitches, decrease (dec) over the next 2 stitches.* Repeat from * to * around. (30 stitches)
Round 16: *Single crochet (sc) in the next 3 stitches, decrease (dec) over the next 2 stitches.* Repeat from * to * around. (24 stitches)
Round 17: *Single crochet (sc) in the next 2 stitches, decrease (dec) over the next 2 stitches.* Repeat from * to * around. (18 stitches)
Round 18: *Single crochet (sc) in the next stitch, decrease (dec) over the next 2 stitches.* Repeat from * to * around. (12 stitches)
Round 19: Decrease (dec) over the next 2 stitches around. (6 stitches)
Finish off, leaving a long yarn tail for sewing. Stuff the head firmly. Sew the head securely to the top of the body.
Making the Eye Patches (x2)
We’ll craft two eye patches using the light beige yarn.
Round 1: Start with a magic ring. Make 6 single crochet (sc) stitches into the magic ring. Pull the magic ring tight. (6 stitches)
Round 2: Increase (inc) in each stitch around. (12 stitches)
Round 3: *Single crochet (sc) in the next stitch, increase (inc) in the next stitch.* Repeat from * to * around. (18 stitches)
Round 4: Single crochet (sc) in each stitch around. (18 stitches)
Finish off, leaving a yarn tail for sewing. You’ll make two of these. Position the eye patches on the owl’s face, referring to the image, and sew them securely to the head.
Adding the Eyes
Now, insert the safety eyes into the center of each eye patch. Make sure they are securely fastened at the back. The black eyes really bring the owl to life!
Making the Beak
Let’s fashion the beak using orange yarn.
Round 1: Start with a magic ring. Make 4 single crochet (sc) stitches into the magic ring. Pull the magic ring tight. (4 stitches)
Round 2: Increase (inc) in each stitch around. (8 stitches)
Round 3: Single crochet (sc) in each stitch around. (8 stitches)
Round 4: Decrease (dec) over the next 2 stitches, single crochet (sc) in the next 4 stitches, decrease (dec) over the next 2 stitches. (6 stitches)
Round 5: Single crochet (sc) in each stitch around. (6 stitches)
Finish off, leaving a yarn tail for sewing. Flatten the beak slightly to form a triangle shape. Sew the beak between and slightly below the eye patches, as seen in the image.
Making the Wings (x2)
We’ll develop two wings using brown yarn.
Round 1: Start with a magic ring. Make 6 single crochet (sc) stitches into the magic ring. Pull the magic ring tight. (6 stitches)
Round 2: Increase (inc) in each stitch around. (12 stitches)
Round 3: *Single crochet (sc) in the next stitch, increase (inc) in the next stitch.* Repeat from * to * around. (18 stitches)
Round 4-8: Single crochet (sc) in each stitch around. (18 stitches in each round)
Round 9: *Single crochet (sc) in the next stitch, decrease (dec) over the next 2 stitches.* Repeat from * to * around. (12 stitches)
Round 10: *Single crochet (sc) in the next stitch, decrease (dec) over the next 2 stitches.* Repeat from * to * around. (8 stitches)
Finish off, leaving a yarn tail for sewing. Flatten the wings slightly and sew them to the sides of the body, referring to the image for placement. You’ll make two wings.
Making the Ears (x2)
Let’s assemble two ears using brown yarn.
Round 1: Start with a magic ring. Make 4 single crochet (sc) stitches into the magic ring. Pull the magic ring tight. (4 stitches)
Round 2: Increase (inc) in each stitch around. (8 stitches)
Round 3: Single crochet (sc) in each stitch around. (8 stitches)
Finish off, leaving a yarn tail for sewing. Flatten the ears slightly to form triangle shapes. Sew the ears to the top of the head, one on each side, as seen in the image.
Making the Feet (x2)
Finally, we’ll construct the feet using orange yarn.
Foot Base (x2):
Round 1: Start with a magic ring. Make 6 single crochet (sc) stitches into the magic ring. Pull the magic ring tight. (6 stitches)
Round 2: Increase (inc) in each stitch around. (12 stitches)
Round 3: Single crochet (sc) in each stitch around. (12 stitches)
Finish off, leaving a yarn tail for sewing. You need to make two foot bases.
Toes (Make 3 for each foot base):
Row 1: Chain 4, single crochet (sc) in the 2nd chain from the hook, single crochet (sc) in the next 2 chains. (3 stitches)
Row 2: Chain 1, turn, single crochet (sc) in each stitch across. (3 stitches)
Row 3: Chain 1, turn, decrease (dec) over the first 2 stitches, single crochet (sc) in the last stitch. (2 stitches)
Row 4: Chain 1, turn, decrease (dec) over the 2 stitches. (1 stitch)
Finish off, leaving a yarn tail for sewing. Make three toes for each foot base, totaling six toes.
Sew the three toes to the front edge of each foot base, evenly spaced. Then sew the completed feet to the bottom of the owl’s body, as shown in the image.
Finishing Touches
Once all the pieces are fashioned and sewn together, it’s time for the final touches! Weave in all loose yarn ends using your tapestry needle, carefully hiding them inside the owl. Make sure all parts are securely attached. Give your owl a gentle squeeze and admire your wonderful handmade amigurumi owl!
You Did It!
Congratulations! You’ve just made your very own adorable amigurumi owl! Wasn’t that fun? You took yarn and a hook and transformed them into this charming little friend. The joy of making something with your own hands is truly special, and you should be incredibly proud of yourself. Now that you’ve developed these skills, imagine all the other amazing things you can craft! Don’t stop here – keep exploring the wonderful world of crochet.
We would absolutely love to see your finished owls! Please share photos of your creations online and tag us – we can’t wait to see your unique, handmade owls come to life! Happy crafting!