Artisan Swirl Halal Doughnut Delights
Hello doughnut adventurers! Embarking on the journey of preparing doughnuts right in your own kitchen brings a special kind of joy. Just picture presenting these absolutely gorgeous, chocolate-swirled treats, knowing you fashioned them by hand. It’s easier than you might think! This guide offers friendly, simple instructions tailored for absolute beginners eager to assemble these delightful Halal Chocolate Swirl Glazed Doughnuts, exactly like the beauties in the picture. The focus is on getting that wonderfully soft texture and that stunning glazed finish that makes everyone smile. Let’s get started!
Gathering Your Kitchen Helpers and Halal Goodies
Getting everything lined up before starting makes the whole process feel like a breeze – much more fun and way less stressful!
Essential Kitchen Equipment
- 🥣 Large Mixing Bowl (for mixing magic!)
- 🥄 Wooden Spoon or Stand Mixer with Dough Hook (your dough’s best friend)
- 📐 Measuring Cups and Spoons (accuracy is key!)
- 🍳 Deep Fryer or Heavy-Bottomed Pot (for that perfect golden fry)
- 🌡️ Cooking Thermometer (essential for the right oil temp)
- 🍩 Doughnut Cutter (or two round cutters, big and small)
- 🕸️ Wire Rack (for cooling those beauties)
- 📄 Baking Sheets lined with Parchment Paper (no sticking!)
- 🥄 Whisk (for smooth glazes)
- 🍲 Small Saucepans (for melting chocolatey goodness)
- ✨ Piping Bag or Ziploc Bag (for those fancy drizzles)
Halal Ingredients Needed
- 🥛 1 cup Warm Milk (comfortably warm, like a baby’s bath – around 105-115°F or 40-46°C)
- 🍞 2 ¼ tsp Active Dry Yeast (1 standard packet – makes things puffy!)
- 🍬 ¼ cup Granulated Sugar (plus 1 tsp for waking up the yeast)
- 🥚 2 large Halal Eggs (let them hang out at room temp for a bit)
- 🧈 ¼ cup Unsalted Butter (melted and slightly cooled, ensure Halal source if needed)
- 🧂 ½ tsp Salt (balances the sweetness)
- 🌾 3 ½ to 4 cups All-Purpose Flour (plus a little extra for dusting)
- 🏺 Halal Vegetable Oil (for frying, grab a big bottle – approx. 6-8 cups)
- ❄️ 2 cups Powdered Sugar (sifted for lump-free glaze)
- ⚪ ¼ cup Milk (for the white glaze)
- 🍦 ½ tsp alcohol free Vanilla Extract (adds that classic flavour)
- 🤍🍫 4 oz Halal White Chocolate (chopped up)
- 🍫 4 oz Halal Milk Chocolate (chopped up too)
- 🥄 2 tsp Coconut Oil or Vegetable Shortening (divided, Halal – helps the drizzles flow!)
Preparing Perfect Halal Doughnuts Step-by-Step
Follow these directions closely, take a deep breath, and enjoy the process! Remember, good things come to those who wait (especially during proofing times!).
Phase 1: Making the Wonderful Dough
- Wake Up the Yeast: Pour the warm milk into your large mixing bowl. Sprinkle in 1 teaspoon of granulated sugar and the yeast. Give it a gentle stir. Now, let this mixture hang out for about 5-10 minutes. You’re looking for it to get foamy or bubbly. This fun step is called proofing the yeast, and it’s how you know the yeast is alive and ready to puff up your dough. If nothing happens, the yeast might be a bit sleepy (old!), so it’s best to start this step again with fresh yeast.
- Mix the Wet Stuff: Once your yeast is bubbly and happy, whisk in the rest of the granulated sugar (¼ cup), the room temperature eggs, and the melted butter. Mix it all together until it’s nicely combined. Using room temp eggs helps everything mix smoothly!
- Add the Dry Stuff: Now, add the salt and 3 ½ cups of the all-purpose flour to the bowl with the wet ingredients.
- Bring it Together: Using a sturdy wooden spoon or your stand mixer (with the dough hook), start mixing on a low speed. Keep going until everything just comes together into what looks like a rough, ‘shaggy’ dough. Don’t worry, it’s supposed to look like that at this stage!
- Time to Knead: Lightly flour your countertop and turn the dough out. Kneading is like giving the dough a little workout! It builds strength (gluten) for that lovely doughnut texture. Fold the dough over, push it down and away with the heel of your hand, give it a little turn, and repeat. Keep this rhythmic motion going for about 8-10 minutes. The dough will transform from shaggy to smooth and elastic. It should feel slightly sticky, but not like it’s permanently attaching itself to your hands. If using a stand mixer, let the dough hook do the work on medium-low speed for 6-8 minutes. Is it super sticky? Add just a tiny bit more flour (a tablespoon at a time), but don’t overdo it, or the doughnuts might get tough. You’ve got this!
- First Cozy Rest (Proofing): Wipe out your mixing bowl and lightly grease it with a bit of oil. Pop the kneaded dough back in, turning it over so the whole surface gets a light coating of oil (this stops it from drying out). Cover the bowl snugly with plastic wrap or a clean kitchen towel. Find a warm, cozy spot in your kitchen, away from drafts, and let the dough rest for 1 to 1.5 hours. It should puff up and double in size! This is the yeast working its magic, filling the dough with air.
Phase 2: Shaping Up and Second Rest
- Roll it Out: Once the dough has doubled (isn’t that amazing?), gently press down in the center to release some air. Turn it back onto your lightly floured surface. With a rolling pin, gently roll the dough out until it’s about ½ inch thick all over. Try to keep it nice and even!
- Cut Out Your Doughnuts: Use your doughnut cutter to press out the shapes. No cutter? No problem! A larger round cookie cutter (around 3 inches) works for the outside, and a smaller one (about 1 inch) cuts the hole. Place your perfectly cut doughnuts (and the little doughnut holes if you’re saving them!) onto your parchment-lined baking sheets. Give them a little space to breathe.
- Second Cozy Rest (Proofing): Loosely cover the cut doughnuts with plastic wrap or a towel again. Let them have another short rest in that warm spot for 30-45 minutes. They’ll get noticeably puffier. This second rest makes them super light when fried. Just keep an eye on them – if they puff up too much (over-proof), they might deflate sadly in the hot oil. Puffy but stable is the goal!
Phase 3: The Golden Frying Stage
- Heat Up the Oil: While the doughnuts are on their final rest, pour your vegetable oil into the heavy-bottomed pot or deep fryer. You need enough oil for the doughnuts to float, usually 2-3 inches deep. Start heating the oil over medium heat. Clip your cooking thermometer to the side and watch carefully until it reaches 350-360°F (175-180°C). Getting the oil temperature just right is super important! Too hot burns the outside while the inside is raw. Too cool makes them oily. This thermometer is your best friend here!
- Fry Time!: Gently, carefully, lower 2 or 3 doughnuts into the hot oil. Don’t overcrowd the pot – this can make the oil temperature drop too much. Let them fry for about 60-90 seconds on the first side until they’re a beautiful golden brown. Then, using tongs or a slotted spoon, gently flip them over and fry for another 60-90 seconds on the other side.
- Drain and Cool Down: Once both sides are perfectly golden, lift the doughnuts out of the oil with your slotted spoon, letting any extra oil drip back into the pot for a moment. Place them onto the wire rack that you cleverly set over a baking sheet (to catch any drips!). Now, patience is key again! Let them cool for at least 10-15 minutes before you even think about glazing. Slightly warm is okay, but too hot and the glaze will just slide right off.
Phase 4: Glazing and Dazzling Decorations
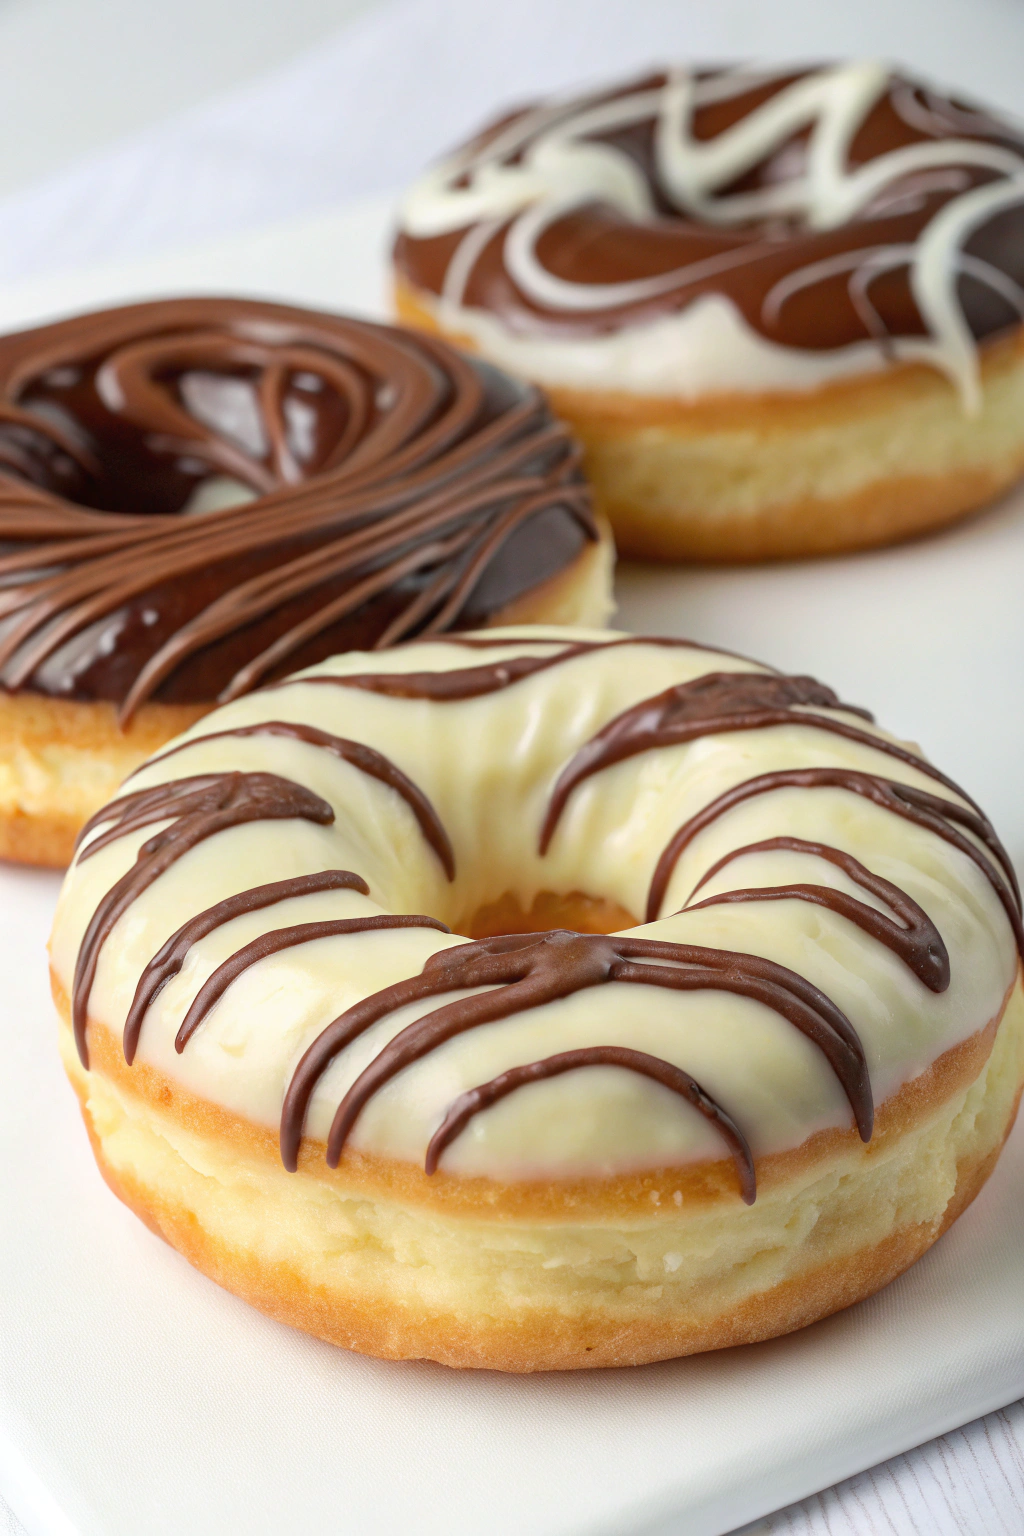
Okay, here comes the really fun part – making them look as amazing as they taste! The photo shows three gorgeous styles: two with rich milk chocolate glaze and one with a creamy white chocolate glaze, all finished with pretty drizzles. Let’s replicate those looks!
- Whip Up the White Glaze Base: In one of your small saucepans, gently warm up ¼ cup of milk and the chopped white chocolate over low heat. Stir, stir, stir constantly until it’s all melted and perfectly smooth. Take it off the heat. Now whisk in 1 cup of the sifted powdered sugar and the vanilla extract until it’s lovely and smooth. Too thick? A tiny splash more milk will fix it. Too thin? A little more powdered sugar does the trick.
- Mix the Milk Chocolate Glaze Base: In your other small saucepan, do the same thing: gently heat the other ¼ cup milk (you might need slightly more or less depending on your chocolate) and the chopped milk chocolate over low heat, stirring until melted and smooth. Remove from the heat and whisk in the remaining 1 cup of sifted powdered sugar until smooth. Adjust the consistency if you need to.
- Get Your Drizzles Ready:
- White Drizzle: Melt half of the Halal white chocolate (2 oz) with 1 teaspoon of the coconut oil/shortening. You can do this in the microwave (use short 15-20 second bursts, stirring after each) or in a small bowl set over a pan of simmering water (making sure the bottom of the bowl doesn’t touch the water). Stir until totally smooth.
- Milk Chocolate Drizzle: Do exactly the same thing with half of the Halal milk chocolate (2 oz) and the other 1 teaspoon of coconut oil/shortening until it’s melted and smooth.
- Glaze Those Doughnuts!:
- Take some of your cooled doughnuts and dip their tops right into the yummy milk chocolate glaze base. Lift, let the excess drip off for a second, and place them back on the wire rack.
- Do the same with the remaining doughnuts, dipping them into the lovely white chocolate glaze base. Back onto the rack they go!
- Apply Those Gorgeous Swirls: Let’s copy those beautiful patterns from the picture:
- White Base + Milk Choc Stripes: For the doughnut with the white glaze base, pour your melted milk chocolate drizzle into a piping bag fitted with a small round tip, OR spoon it into a small Ziploc bag and snip a tiny corner off. Carefully drizzle thin, curved lines back and forth across the white glaze, just like the pattern you see in the foreground doughnut.
- Milk Choc Base + White Swirls: Grab a doughnut coated in the milk chocolate glaze. Using your melted white chocolate drizzle (in its piping/Ziploc bag), apply thicker, more noticeable curved swirls over the top. Look at the doughnut in the background of the picture for inspiration.
- Milk Choc Base + Fine Milk Choc Swirls: The third style (middle-left in the image) has delicate, fine lines of milk chocolate drizzled over the milk chocolate base. Use your prepared milk chocolate drizzle (you might need to melt the other half of the milk chocolate with a touch more shortening if you ran low or want it very fine for this design) and drizzle it in tight, elegant swirls. Getting this fine detail really makes it look like the picture!
- Let Them Set: Now for the hardest part: waiting! Let the doughnuts sit undisturbed on the wire rack for at least 20-30 minutes. This gives the glazes and drizzles time to firm up so they don’t smudge when you pick them up.
Serving Your Amazing Homemade Treasures
These Halal Chocolate Swirl Glazed Doughnuts are absolutely best enjoyed fresh, ideally on the very day you prepare them. That soft, pillowy texture and the rich chocolatey goodness are pure bliss! Serve them simply – those beautiful swirl patterns are the star of the show.
Preparing treats like these is more than just following steps; it’s about pouring a little love into your cooking and feeling that wonderful sense of accomplishment. Hopefully, you feel encouraged to give this recipe a whirl! Embrace the fun of the process, and get ready to share your incredibly delicious results with family and friends. Happy doughnut making!