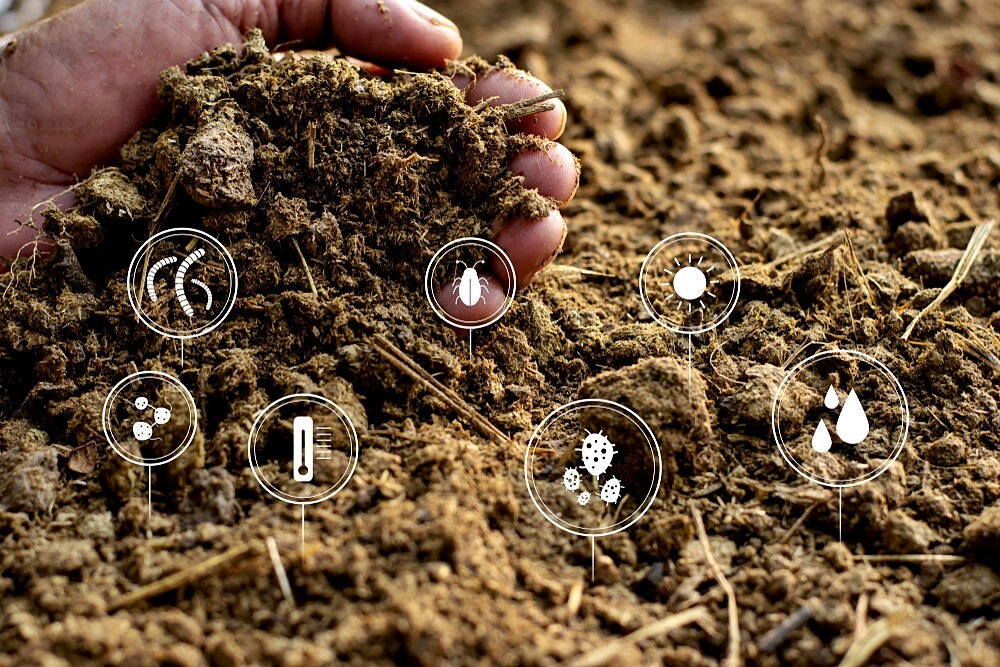
A compost is the best way to dispose of vegetable and garden waste and to preserve good humus at the same time. We explain how you can make a compost.
What can I put in the compost?
- Eggshells
- Cardboard
- Tea set (Attention: Some tea bags contain metal clips which must be removed before use)
- Coffee grounds
- vegetable and fruit scraps
- Foliage
- Wood chippings
- Wilted flowers and herbs (chopped)
- Weeds (Attention: Not if they already carry seeds!)
- Lawn cuttings (slightly dried out, otherwise rotting can occur)
- Algae
- Shrub cut (chopped)
What can’t go in the compost?
- Ashes
- Diapers
- Cat Litter
- Weeds with seeds
- Sprayed citrus fruits (unsprayed ones are okay)
- Sprayed banana or pineapple peel
- Cooked food (attracts rats)
- Animal products (especially meat, fish, dairy products)
- Bones
- Biscuits
- Nutshells
- Purchased cut flowers (contaminated with pesticides)
- Foliage of chestnuts, oaks, walnut trees, plane trees or cherry laurel (rots slowly)
- Plants with fungal infestation
- Root weed
- Large branches or twigs
Plant compost: Preparations
If you want to create a compost, you first have to decide whether a compost container or rather a compost heap meets the requirements. A compost container is ideal for a small garden, while a compost heap requires more space. It is important that the compost is held together with a firm and air-permeable border. There should also be direct contact with the ground so that earthworms etc. can penetrate the compost heap. Contact with the ground also allows water to drain away and prevents waterlogging.
Tip: If you decide on a closed compost container, it is best to use compost accelerators.
It’s the layering that counts!
The compost must be piled up in the right mixture to stimulate the rotting process:
- The first layer is spread directly on the ground and should consist of garden waste about 30 cm high (grass clippings, wood chippings).
- Then pile up five to ten cm of garden soil so that microorganisms can get into the compost heap.
- Now wood chippings and grass clippings or fruit or vegetable peelings are alternately layered on top of each other. The chopped branches enable the oxygen supply. In addition, potato peelings or coffee filters, for example, should not always be stacked in the same place. With the appropriate layering, a temperature of over 60 degrees is created inside the compost. This causes the seeds of weeds to die and soil pests are eliminated.
- The compost heap should be covered with lawn cuttings from about 1.20 m upwards. Alternatively, some garden soil can be sprinkled on the top layer and cucumber or pumpkin can be planted in it: The large leaves of the plants provide a natural cover for the compost.
- Within three months the compost will shrink by two thirds. Now it must be moved with a shovel to stimulate aeration and mixing. As a result, the inside area comes out and the outside area comes in again. Tip: If the material is too moist, some dry material can be undermined.
Creating compost: Tips & Tricks
- Install several compost heaps in your garden: you can use at least one while the other one is resting!
- Choose a location that is semi-shade or shade and a place that is easily accessible with a wheelbarrow. The compost should also be protected from the wind.
- Weeds can quickly spread over the humus soil of the compost. Therefore, seed weeds should only be composted before flowering and root weeds should not be disposed of in the compost. In this case the organic waste bin is the better choice!
- Water the compost on hot days! This promotes microorganisms and rotting. If the compost is too dry, ants will show this. You can recognise a good moisture content by the fact that the inside of the compost feels like a sponge.
- Too much wet compost waste causes rotting! Rot spreads a musty smell and should be avoided at all costs. In this case, put the compost on the ground again and bury dry material under it.
- Always chop or shred twigs, branches, perennial sections or flowers – otherwise it will take years before they rot!
- Pay attention to the ratio of carbonaceous (C) and nitrogenous material (N). The C/N ratio is ideally between 15:1 and 20:1. You can either portion the layers accordingly or mix the starting material directly with each other. Carbon is contained in branch cuttings, leaves, straw and brown material. Nitrogen is found in green material, such as vegetable waste, weeds or grass clippings.
- If rain continues, the compost should be covered.
Using compost
After about seven months, the biological waste is composted (note: composting is suspended in winter). The material is now crumbly and smells like forest soil. The humus must now be sieved through a sieve. Material that has not yet rotted remains. These remains are thrown on a compost again.
The finished compost is best spread on the beds 1 to 2 cm thick in spring and then worked in.

