Golden Glazed Chewy Oat Bars
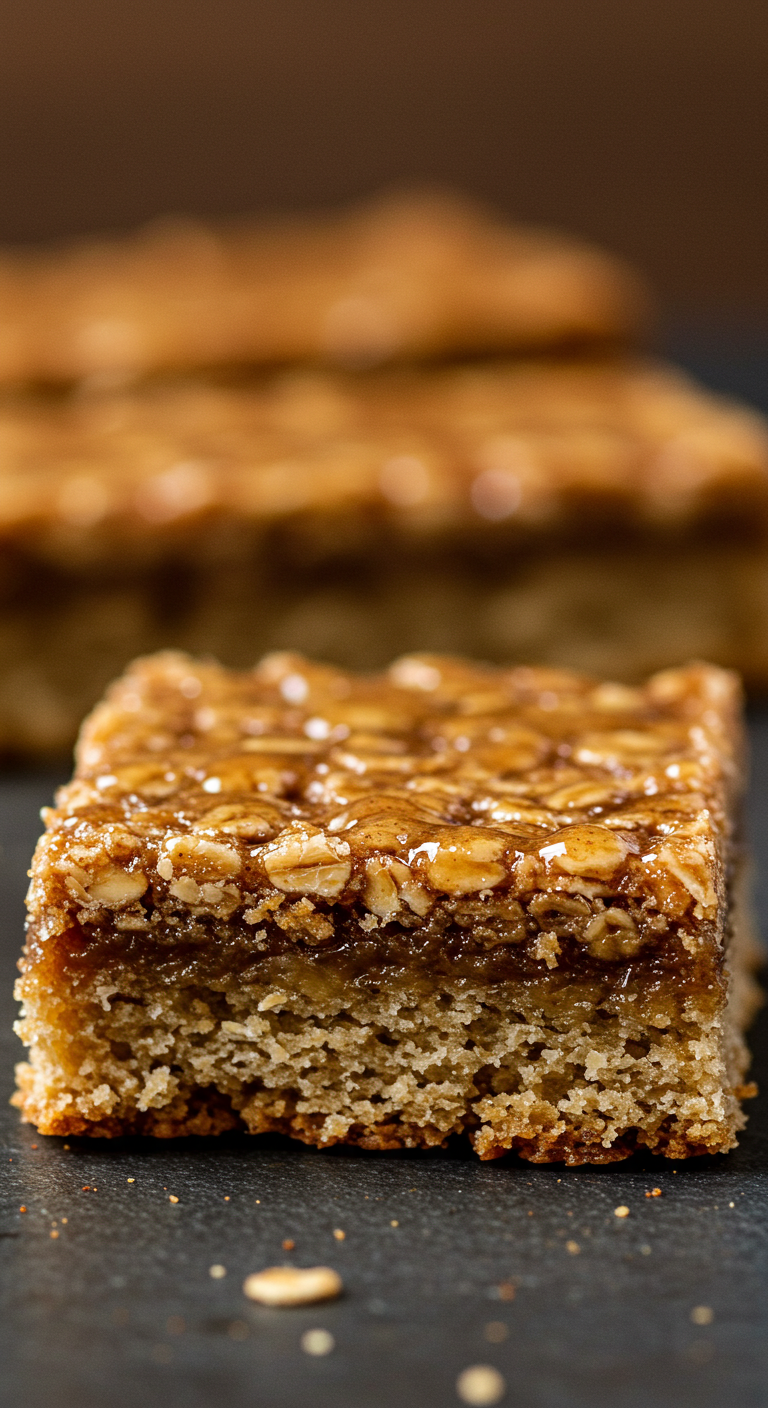
Imagine pulling these delightful Chewy Oat Bars from the oven! This recipe breaks down exactly how to prepare them, making it super approachable for anyone starting their baking journey. It guides bakers towards achieving that beautiful bake seen in the photo, complete with its soft bottom layer and irresistible, glossy oat topping. These bars aren’t just pretty; they deliver a wonderfully satisfying chew and a comforting sweetness that makes any day feel a little brighter.
Getting Started: What You’ll Need
Before embarking on this baking adventure, gather the right tools and ingredients. Ensuring everything is ready makes the process smooth and enjoyable.
Essential Halal Ingredients:
- 🧈 200g Halal Unsalted Butter (plus extra for greasing)
- 🍚 150g Light Brown Sugar
- 🍯 100g Golden Syrup
- 🥄 1 tsp alcohol free vanilla extract
- 🌾 180g Plain Flour (All-Purpose Flour)
- 🥄 ½ tsp Baking Soda (Bicarbonate of Soda)
- 🧂 ¼ tsp Salt
- 🥣 250g Rolled Oats (not instant)
Kitchen Equipment:
- ⚖️ Kitchen Scale (for accurate measurements)
- 🥣 Large Mixing Bowl
- 🥄 Wooden Spoon or Spatula
- 🍳 Small Saucepan
- 📏 Measuring Spoons
- 📜 Baking Parchment Paper
- ⬜️️ 20cm (8-inch) Square Baking Tin
- 🌡️ Oven
- 🥅 Wire Rack (for cooling)
- 🔪 Sharp Knife (for cutting)
Preparing Your Chewy Oat Bars: Step-by-Step
Follow these instructions carefully to replicate the delicious oat bars shown. Patience and attention to detail yield the best results.
1. Prepare the Baking Tin and Oven
First, get the oven ready. Set it to 180°C (350°F, Gas Mark 4). This is called preheating – letting the oven reach the correct temperature before the baking starts ensures even cooking.
Next, prepare the square baking tin. Take a small amount of extra butter and lightly rub it all over the inside base and sides of the tin. This is greasing. Then, cut a piece of baking parchment paper large enough to cover the bottom and come up the sides of the tin. Press it gently into the greased tin; the butter helps it stick. This lining step prevents the bars from sticking and makes them easy to lift out later.
2. Make the Base Mixture
Place 100g of the unsalted butter (make sure it’s softened, meaning it’s at room temperature and easy to mix, but not melted) and all the light brown sugar into the large mixing bowl.
Using a wooden spoon or electric mixer, beat the butter and sugar together. Beating means mixing vigorously. Continue until the mixture becomes lighter in colour and looks fluffy. This process incorporates air and is essential for the base’s texture.
Pour in the vanilla extract and mix it in briefly.
In a separate smaller bowl, combine the plain flour, baking soda, and salt. Stir them together gently. This ensures the baking soda (which helps the base rise slightly) and salt (which balances the sweetness) are evenly distributed.
Add this dry flour mixture to the butter and sugar mixture in the large bowl. Mix gently with the wooden spoon or spatula until everything is just combined into a soft dough. Do not overmix; mixing too much can make the base tough. The goal is a slightly crumbly, soft texture, which leads to the tender base seen in the image.
3. Assemble the Base Layer
Take about two-thirds of the dough mixture you just prepared. Press this portion evenly into the bottom of the lined baking tin. Use your fingers or the back of a spoon to spread it out, ensuring it covers the entire base in a flat layer. This forms the foundation of the oat bars. Set the remaining one-third of the dough aside for now.
4. Prepare the Oat Topping
Place the remaining 100g of unsalted butter and all the golden syrup into the small saucepan.
Heat this mixture gently over low heat on the stovetop. Stir occasionally until the butter has completely melted and combined smoothly with the syrup. Do not let it boil; gentle heating is sufficient. This step melts the binder for the oat topping.
Remove the saucepan from the heat. Add all the rolled oats to the melted butter and syrup mixture in the saucepan. Stir well with a wooden spoon or spatula until all the oats are thoroughly coated in the glossy, sticky mixture. This ensures the topping holds together and achieves the shiny appearance visible in the photo.
5. Finish Assembling the Bars
Remember the one-third of the base dough you set aside? Crumble this remaining dough evenly over the base layer already pressed into the tin.
Now, carefully spoon the warm oat topping mixture over the crumbled dough layer. Spread it out gently with the back of a spoon or spatula, covering the entire surface evenly right to the edges. Aim for a consistent layer thickness, which helps achieve the uniform golden-brown bake seen in the image.
6. Baking to Golden Perfection
Place the baking tin into the center of the preheated oven.
Bake for 20-25 minutes. Keep an eye on it towards the end. The oat bars are ready when the topping is a rich golden brown, exactly like the colour in the photograph, and the edges are slightly darker and set. The centre should feel firm if gently pressed.
7. Cooling is Crucial
Once baked, carefully remove the tin from the oven using oven gloves. Place the hot tin on a wire rack.
This step is very important: Allow the oat bars to cool completely in the tin before attempting to cut them. They will be very soft while hot and need time to firm up. Cooling properly ensures they hold their shape and develop the chewy texture. This might take a couple of hours at room temperature.
8. Cutting and Serving
Once completely cool, use the edges of the baking parchment paper to lift the entire slab out of the tin onto a cutting board.
Using a sharp knife, cut the slab into squares or rectangles. The image shows neat, square portions. Wipe the knife clean between cuts if needed for the cleanest edges.
Your Chewy Oat Bars are now ready to be enjoyed!
Sharing Your Baking Success
There’s a special satisfaction in preparing something delicious from scratch. These Chewy Oat Bars, with their soft base and syrupy oat topping, are a wonderful introduction to the joys of home baking. Feel encouraged to try this recipe, paying attention to the simple techniques explained. When your golden bars emerge from the oven and fill the kitchen with their sweet aroma, take a moment to appreciate the results. Consider sharing a photo of your finished bars – seeing homemade goodness always brings a smile! Enjoy every chewy bite.