Make Your Own Sunshine Knitted Sunflower
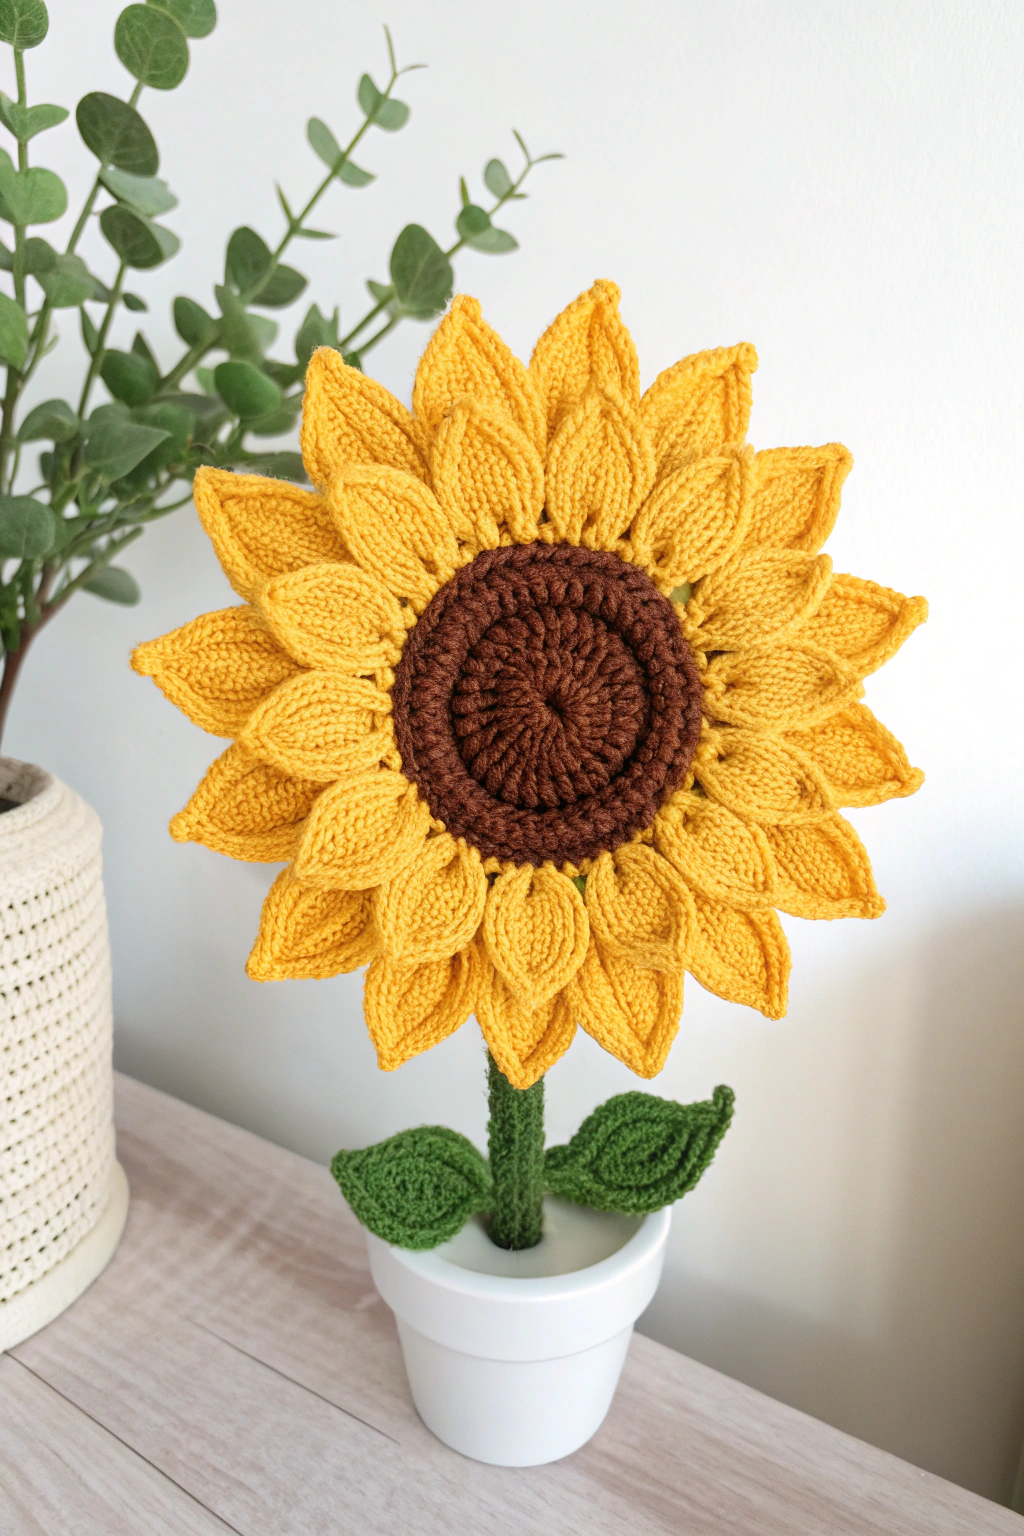
Hello crafty friends! 🌻 Ready to bring a little bit of everlasting sunshine into your home? Look no further than this adorable knitted and crocheted sunflower! Refer to the image to see just how cheerful and bright this project is. Even if you’re new to knitting and crochet, don’t you worry. This guide is designed just for you, breaking down each step so you can fashion your very own beautiful bloom. There’s something truly special about making things with your own hands, and this sunflower is a wonderfully rewarding project. Let’s gather our supplies and get started!
What You’ll Need
Here’s a list of materials and tools to assemble your sunflower. The sunflower in the image uses worsted weight yarn, but feel free to adjust based on your stash!
- 🧶 Worsted Weight Yarn:
- Bright Yellow (for petals) – approx. 50-70 yards
- Dark Brown (for center) – approx. 30-40 yards
- Green (for stem and leaves) – approx. 40-50 yards
- Knitting Needles: US Size 7 (4.5mm) – Double Pointed Needles (DPNs) or circular needles work well. Straight needles can be used for the petals if preferred.
- Crochet Hook: Size G (4.0mm) or H (5.0mm) – choose one suitable for your green yarn.
- 🪵 Support: Wooden dowel rod or sturdy floral wire, approx. 1/4 inch diameter and 10-12 inches long.
- ☁️ Stuffing: Polyester fiberfill (a small amount for the center).
- 🪴 Pot: Small, clean plant pot (approx. 3-4 inches diameter). You can see in the image a simple white pot is used.
- 🪨 Filler: Pebbles, dried beans, gravel, or floral foam to stabilize the sunflower in the pot.
- 🪡 Tapestry Needle: For weaving in ends and sewing pieces together.
- ✂️ Scissors: For cutting yarn.
- ✨ Stitch Markers (optional): Helpful for marking rounds in crochet.
Let’s Start Crafting Your Sunflower!
We’ll build this sunflower piece by piece. Take your time with each section, and remember to enjoy the process! Refer back to the image often for visual guidance.
Step 1: Fashion the Brown Center (Crochet)
The center of our sunflower gives it that classic look. We’ll use crochet worked in the round to produce two flat circles.
- What’s Crochet in the Round? Instead of working back and forth in rows, we’ll work in a continuous spiral or joined rounds to make a circle.
- What’s a Magic Ring? It’s a technique to start crocheting in the round with a tightly closed center hole. If you’re unfamiliar, you can alternatively chain 2, and work Round 1’s stitches into the second chain from the hook.
- What’s SC? Single Crochet. Insert hook, yarn over, pull up a loop, yarn over, pull through both loops on hook.
- What’s INC? Increase. Make two single crochet stitches into the same stitch from the previous round. This makes the circle grow larger.
Instructions (Make 2 Circles):
Using your Brown Yarn and crochet hook:
- Start with a magic ring.
- Round 1: Work 6 SC into the magic ring. (6 stitches) Pull the ring tight. You can place a stitch marker in the last stitch to keep track of your rounds.
- Round 2: INC in each stitch around. (12 stitches)
- Round 3: [SC in the next stitch, INC in the next stitch] repeat 6 times around. (18 stitches)
- Round 4: [SC in the next 2 stitches, INC in the next stitch] repeat 6 times around. (24 stitches)
- Round 5: [SC in the next 3 stitches, INC in the next stitch] repeat 6 times around. (30 stitches)
- Round 6: [SC in the next 4 stitches, INC in the next stitch] repeat 6 times around. (36 stitches)
- Round 7: [SC in the next 5 stitches, INC in the next stitch] repeat 6 times around. (42 stitches)
- Round 8: [SC in the next 6 stitches, INC in the next stitch] repeat 6 times around. (48 stitches)
Continue increasing in this pattern (adding one more SC between increases each round) until your circle is the desired size. Observe in the image the proportion of the brown center to the petals. Aim for a diameter of roughly 3-4 inches. Once the first circle is done, fasten off, leaving a short tail. Make a second identical circle, but do not fasten off the yarn yet if you plan to crochet the circles together later. Otherwise, fasten off leaving a long tail for sewing.
Step 2: Knit the Sunny Yellow Petals (Knitting)
Now for those iconic petals! These are knitted flat using stockinette stitch, which gives them that smooth appearance you see in the image.
- What’s Stockinette Stitch? It’s made by knitting all stitches on one side (the ‘right’ side or RS) and purling all stitches on the other side (the ‘wrong’ side or WS).
- What’s Cast On (CO)? Getting the first stitches onto your needle.
- What’s Knit (K)? The basic knit stitch.
- What’s Purl (P)? The basic purl stitch, the reverse of knit.
- What’s KFB? Knit Front and Back. Knit into a stitch as normal, but before sliding it off the left needle, knit into the back loop of the same stitch, then slide it off. This is an increase, adding one stitch.
- What’s K2tog? Knit Two Together. Insert the right needle into the next two stitches on the left needle as if to knit, and knit them together as one stitch. This is a decrease.
- What’s SSK? Slip, Slip, Knit. Slip the next stitch knitwise, slip the next stitch knitwise, insert the left needle back through the front of these two slipped stitches, and knit them together. This is another decrease that leans the opposite way to K2tog.
- What’s Bind Off (BO)? Finishing the stitches so they don’t unravel.
Instructions (Make Approx. 28 Petals):
Refer to the image – notice there are two layers of petals. We’ll need about 14 for the front layer and 14 for the back layer.
Using your Yellow Yarn and knitting needles:
- CO 3 stitches.
- Row 1 (WS): Purl all stitches.
- Row 2 (RS): KFB, K1, KFB. (5 stitches)
- Row 3 (WS): Purl all stitches.
- Row 4 (RS): KFB, K3, KFB. (7 stitches)
- Row 5 (WS): Purl all stitches.
- Rows 6-11: Work in Stockinette Stitch (Knit all RS rows, Purl all WS rows) for 6 rows, starting with a knit row.
- Row 12 (RS): SSK, K3, K2tog. (5 stitches)
- Row 13 (WS): Purl all stitches.
- Row 14 (RS): SSK, K1, K2tog. (3 stitches)
- Row 15 (WS): Purl all stitches.
- Row 16 (RS): K2tog, K1. (2 stitches) – Alternatively, for a pointier tip as seen in the image, try an Sl1-K2tog-PSSO (Slip 1, Knit 2 together, Pass Slipped Stitch Over) on Row 14 (RS) ending with 1 stitch, then cut yarn and pull through. Let’s stick to the simpler version for beginners: After Row 15, you can BO the remaining 3 stitches or do one more decrease row (e.g., K2tog, K1 or a central decrease) for a sharper point. Let’s finish with:
- Row 16 (RS): SSK, K1. (2 stitches)
- Row 17 (WS): P2tog (Purl 2 together). (1 stitch)
- Cut yarn, leaving a long tail (about 6-8 inches) for sewing. Pull the tail through the last loop to secure.
Tip: Weave in the initial cast-on tails now to save time later. Repeat this process to make approximately 28 petals. Don’t worry about perfection; slight variations add character!
Step 3: Craft the Stem (Crochet)
The stem gives our sunflower height. We’ll crochet a tube to cover the dowel rod or wire.
Instructions:
Using your Green Yarn and crochet hook:
- Start with a magic ring.
- Round 1: Work 6 SC into the magic ring. (6 stitches) Pull tight.
- Round 2 onwards: Work SC in each stitch around, working in a continuous spiral (don’t join rounds unless you prefer). Keep working rounds of SC until the tube is slightly longer than your dowel rod/wire.
- Fasten off, leaving a tail for sewing.
- Gently slide the crocheted tube onto the dowel rod or wire. Use the yarn tails at each end to close the tube around the dowel if needed, or add a dab of glue inside for extra security.
Step 4: Fashion the Leaves (Crochet)
You can see in the image two lovely green leaves near the base of the stem.
- What’s HDC? Half Double Crochet. Yarn over, insert hook, yarn over, pull up a loop (3 loops on hook), yarn over, pull through all 3 loops.
- What’s DC? Double Crochet. Yarn over, insert hook, yarn over, pull up a loop (3 loops on hook), yarn over, pull through 2 loops, yarn over, pull through remaining 2 loops.
- What’s Ch? Chain stitch.
Instructions (Make 2 Leaves):
Using your Green Yarn and crochet hook:
- Ch 11.
- Row 1: Starting in the 2nd chain from the hook: SC in the first stitch, HDC in the next stitch, DC in each of the next 6 stitches, HDC in the next stitch, SC in the last stitch. (10 stitches worked along one side of the chain).
- Turning the corner: Work 3 SC into the end of the foundation chain (this helps round the tip of the leaf).
- Working down the other side: Now, working into the opposite loops of the original foundation chain: SC in the first stitch space, HDC in the next, DC in each of the next 6 stitches, HDC in the next, SC in the last stitch space.
- Slip stitch to the very first SC made to join.
- Fasten off, leaving a long tail for sewing. Repeat to make a second leaf.
Step 5: Assemble Your Sunflower
Now for the exciting part – bringing all the pieces together!
- Attach Petals: Take one brown circle. Using the long tails on your petals and a tapestry needle, sew the base of about 14 petals evenly around the edge of the brown circle. Refer to the image for placement.
- Add Second Layer: Sew the remaining 14 petals onto the same brown circle, positioning them slightly behind the first layer and offsetting them so they peek through the gaps.
- Join Center: Place the second brown circle on top of the first, sandwiching the petal bases between them. Using the long tail from one circle (or a new piece of brown yarn), sew the two circles together around the edge. Before you close it completely, add a small amount of polyester fiberfill to give the center a slightly puffy look, similar to the one shown in the image. Finish sewing closed and weave in the end.
- Attach Stem: Firmly sew the top end of the green stem cover (with the dowel inside) to the back of the brown center. Make sure it’s secure and centered. You might need several strong stitches.
- Add Leaves: Using the yarn tails on the leaves, sew them securely to the stem, near the base. Observe in the image how they are positioned opposite each other. Weave in any remaining ends neatly.
Step 6: Pot Your Sunflower
Almost there! Let’s give your sunflower a home.
- Choose your small pot.
- Fill the pot with your chosen filler material (pebbles, floral foam, etc.). This provides weight and stability.
- Carefully but firmly push the bottom end of the sunflower stem down into the center of the filler material until it stands upright securely. Adjust as needed.
Your Blooming Masterpiece!
Congratulations! You’ve successfully fashioned your very own knitted and crocheted sunflower. Isn’t it wonderful? Setting it on a desk, shelf, or windowsill is sure to bring a smile to your face. Remember the joy you felt during each step of making this lovely bloom.
We would absolutely love to see your finished sunflowers! Share a picture in the comments below, or tag us on social media. Happy crafting!