Cozy Knit Baby Mittens – Your First Fun Project!
Ready to pick up those knitting needles and make something adorable? These baby mittens are the perfect project for beginner knitters! Don’t worry if you’ve never held needles before – we’ll go through every step together, nice and slow. You’ll be so thrilled to see these tiny, cozy mittens taking shape right in your hands. Let’s get started and fashion something truly special!
Materials You’ll Need to Gather
Before we begin, let’s gather everything we need. Having your materials ready will make the whole making process smooth and enjoyable.
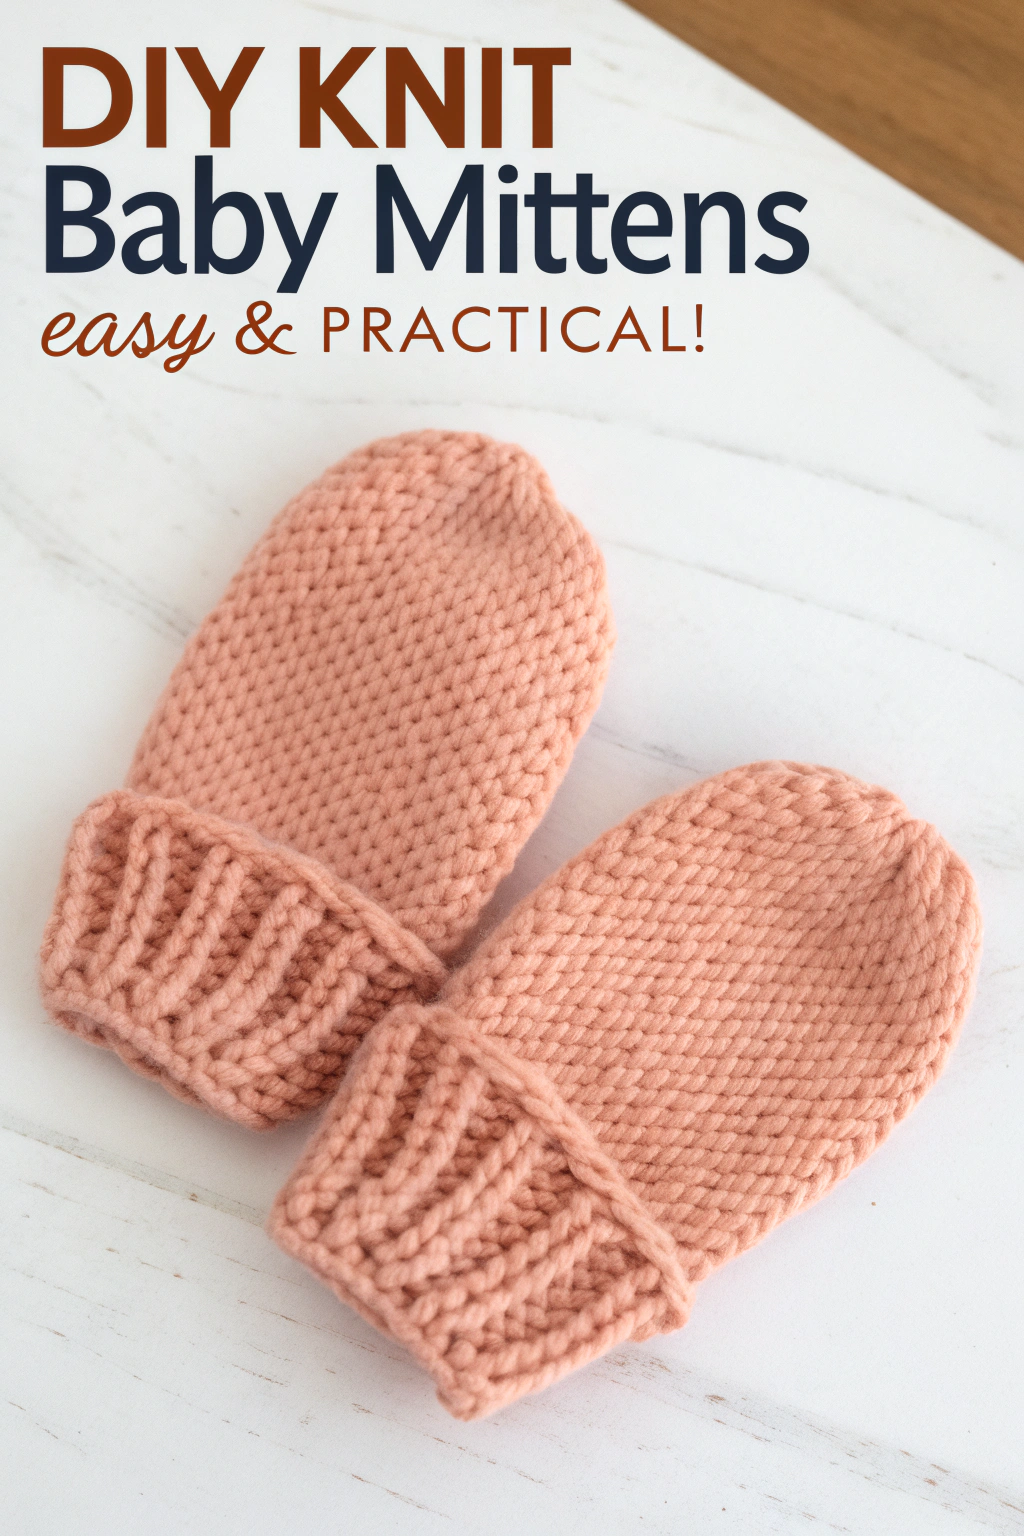
- 🧶 Bulky weight yarn: This thicker yarn will help your mittens knit up quickly, which is great for beginners! Choose a soft, baby-friendly yarn in a color you love. The mittens in the image are a lovely, gentle pink.
- 🪡 Size US 8 (5mm) knitting needles: These are straight needles, the kind you might picture when you think of knitting. This size works well with bulky yarn to develop a nice, cozy fabric.
- ✂️ Scissors: For snipping your yarn – always handy!
- 📍 Yarn needle (also called a tapestry needle or darning needle): This needle has a large eye to thread yarn and a blunt tip, perfect for tucking in yarn ends neatly at the end.
Getting Started – Let’s Knit Our Mittens!
Now for the fun part – actually building these mittens! We’ll start at the bottom cuff and work our way up. Remember, take your time, and don’t be afraid to rewind and re-read any part if you need to. We are making these together!
Step 1: Casting On – The First Row
This is how we get the yarn onto the needle to start our knitting. Think of it as forming the foundation row for your mittens. We’re going to use a simple method called the long-tail cast on.
- Make a slip knot: Hold the tail of your yarn (the end coming off the ball) and fashion a loop. Bring the tail over and under the yarn coming from the ball, then pull the loop snug. Place this loop onto one of your knitting needles. This is your first stitch.
- Position your yarn: Hold the needle with the slip knot in your right hand. Drape the yarn tail over your thumb and the yarn from the ball over your index finger of your left hand. Imagine you’re making a slingshot with your fingers and yarn!
- Form the cast on stitches: Bring the needle tip down and forward to scoop up the yarn from your thumb, then bring the needle tip back and up to scoop up the yarn from your index finger. Pull the needle tip down and through the loop on your thumb, then release the yarn from your thumb. Tighten gently. You’ve just cast on one stitch! Repeat this step until you have 24 stitches on your needle.
Tip for Beginners: Don’t pull your cast-on stitches too tight! They should be snug, but not so tight that it’s hard to knit into them in the next row. If they are too tight, the bottom edge of your mitten cuff will be too tight too.
Step 2: Knitting the Ribbed Cuff – Rows 1-20
Look closely at the image – you’ll see the bottom part of the mittens has vertical lines. This is called ribbing, and it makes the cuff stretchy and snug around the wrist. We’re going to craft a 1×1 rib, which is super easy.
- Row 1 (Right Side): Knit 1, Purl 1. Repeat this pattern across the entire row. Let’s break this down:
- Knit (k): Insert your right needle into the front of the first stitch on the left needle, from left to right. Wrap the yarn around the right needle tip and pull it through the loop, bringing the new stitch onto the right needle. The old stitch slips off. You’ve knitted one stitch!
- Purl (p): Bring the yarn to the front of your work (between you and your needles). Insert your right needle into the front of the next stitch on the left needle, from right to left, going behind the left needle. Wrap the yarn around the right needle tip and pull it through the loop, bringing the new stitch onto the right needle. The old stitch slips off. You’ve purled one stitch!
- Continue alternating knit and purl stitches (Knit 1, Purl 1) until you reach the end of the row.
- Row 2 (Wrong Side): Knit the purls and purl the knits. This means when you see a knit stitch from the previous row (it looks like a ‘V’), you knit it. When you see a purl stitch (it looks like a horizontal bump), you purl it. This is what builds the ribbed texture. So, if your last stitch in Row 1 was a purl, your first stitch in Row 2 will be a purl, then a knit, and so on.
- Repeat Rows 1 and 2: Keep knitting Rows 1 and 2, repeating them over and over, for a total of 20 rows. This will produce a cuff that’s about 2 inches long – just like the ones in the image! You can measure with a ruler if you like, or just eyeball it.
Helpful Tip: It’s easy to lose count of rows when you’re starting out. You can use a row counter (a little tool that keeps track), or simply count the rows of ribbing as they develop. You’ll see the ribbed lines forming!
Step 3: Knitting the Mitten Body – Rows 21-50
Now we’re moving onto the main part of the mitten, the hand section. In the image, this part is smooth and solid – that’s stockinette stitch! It’s even easier than ribbing because you only do one thing on each row.
- Row 21 (Right Side): Knit all stitches. Yes, that’s it! Just knit every stitch across the row.
- Row 22 (Wrong Side): Purl all stitches. And again, just purl every stitch across the row.
- Repeat Rows 21 and 22: Keep going, alternating Row 21 (knit all) and Row 22 (purl all) for a total of 30 rows (from row 21 to row 50). This will fashion the main body of the mitten, making it about 3 inches long, similar to what you see in the picture.
Beginner Note: Stockinette stitch curls at the edges! Don’t worry, this is completely normal and will be fixed when we seam the mitten later. Just focus on making those knit rows and purl rows nice and even.
Step 4: Shaping the Top – Making it Round
To close the top of the mitten and assemble its rounded shape, we need to decrease the number of stitches. Decreasing simply means knitting two stitches together to make one stitch, which reduces the total stitch count.
- Round 1 (Right Side): Knit 2 together (k2tog) across the row.
- Knit 2 together (k2tog): Insert your right needle into the front of the first two stitches on your left needle at the same time, as if they were one stitch. Then, knit them together as one stitch. You have now decreased one stitch! Repeat this k2tog across the entire row. You will now have half the number of stitches you started the round with.
- Round 2 (Wrong Side): Purl all stitches. Just purl every stitch in this row. No decreasing here.
- Round 3 (Right Side): Knit 2 together (k2tog) across the row again. Repeat the k2tog decrease across the entire row. You’ll have even fewer stitches now.
- Round 4 (Wrong Side): Purl all stitches. Purl all stitches again, no decreases.
- Continue Rounds 1-4: Keep repeating Rounds 1-4 until you only have about 6-8 stitches left on your needle. You’ll see the top of the mitten taking shape and closing up.
Step 5: Finishing Off and Seaming
We’re almost at the finish line! Now we just need to finish off the last stitches and seam up the side. Even though the baby mittens in the image look seamless, they are actually fashioned by knitting a flat piece and then seaming it together. The goal is to join the mitten edges with a seam that is as invisible as possible, achieving that smooth, continuous look. However, depending on your knitting tension and technique, you might produce a very minimal seam or one that’s hardly noticeable at all. Here’s how to finish off and seam…
- Cut the yarn: Snip your yarn, leaving a tail of about 6 inches.
- Draw through the last loop: Take your right needle and pull it up, making the last stitch loop bigger. Slip the right needle out of the loop, then thread the yarn tail through this loop. Pull the tail snug to secure the last stitch – you’ve just cast off!
- Weave in the ends: Thread your yarn needle with the yarn tail. Weave the needle in and out through the stitches on the wrong side of your mitten to tuck the tail away and hide it. Do the same with the yarn tail from your cast-on row at the bottom cuff. Trim any excess yarn close to the mitten.
- Seaming (If needed): If there is a seam needed, with the wrong side facing out, use your yarn needle and yarn tail to neatly sew the side edges of the mitten together, from the cuff to the top. If you knit flat, you’d seam up the side edge. If you find a gap at the very top after decreasing, you can use your yarn needle to close it by drawing the yarn through the remaining stitches and pulling it tight, like a drawstring.
- Fold the cuff: Fold the ribbed cuff up towards the outside of the mitten, as seen in the image. This makes a neat and cozy double layer for the wrist.
You Did It! Enjoy Your Handmade Mittens
Look at what you’ve produced! You’ve just knitted a beautiful pair of baby mittens all by yourself. Isn’t it wonderful to make something useful and lovely with your own hands? The joy of crafting is truly special.
Now you can fashion another mitten to make a pair! Follow the exact same steps to develop a second mitten that matches the first.
Don’t be shy – show off your mittens! These handmade mittens are not only practical but also filled with love and care. Share photos of your finished mittens – we’d absolutely love to see your creations and cheer you on! Happy knitting!