Crochet Your Own Stylish Yarn Basket
Ever dreamed of a super cute and practical way to keep your yarn stash tidy and oh-so-stylish? Well, grab your crochet hook, because we’re about to make a beautiful yarn basket together!
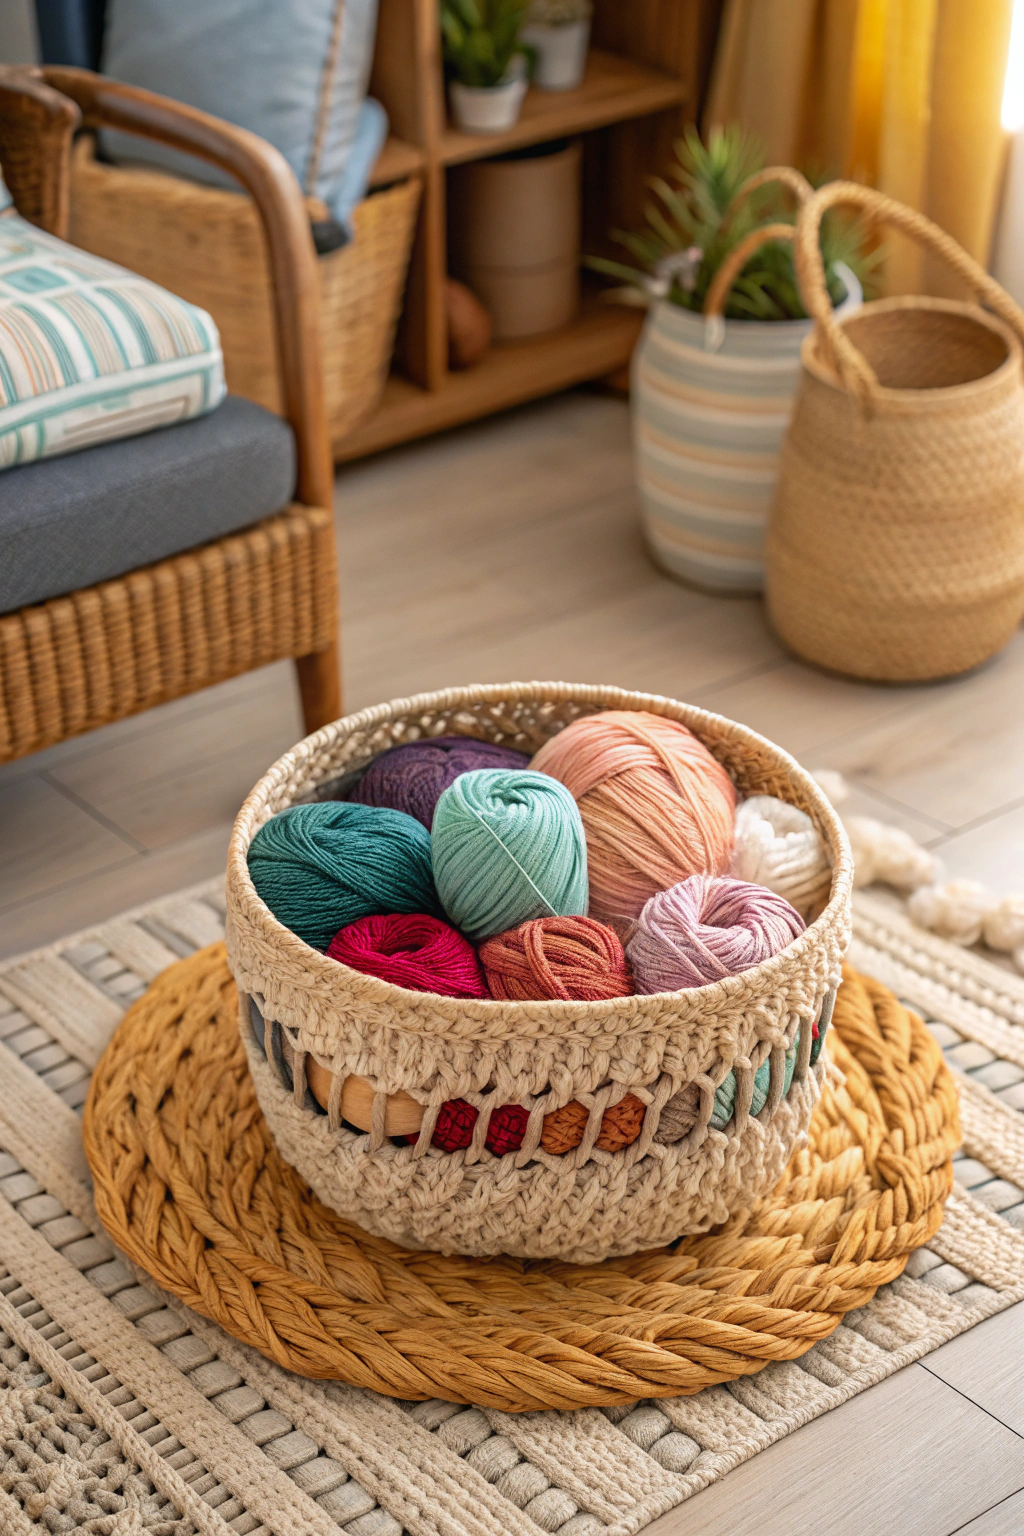
This project is perfect for total beginners, and it’s so satisfying to create something lovely with your own hands, just like the charming basket you see in the image! Let’s dive in and crochet our way to a gorgeous yarn storage solution!
What You’ll Need to Get Started
Before we begin our fun crochet adventure, let’s gather all the bits and bobs we need. Don’t worry, it’s a really simple list!
- 🧶 Yarn: Medium-Chunky Yarn or Textured Yarn. Look for a soft, medium-chunky or textured yarn in a solid color you adore. About 200-300 yards should be plenty to make a basket similar in size to the one pictured, perfect for holding a few yarn balls. You can also choose a contrasting color for the optional decorative band.
- 🪡 Crochet Hook: 8mm or 9mm Crochet Hook (Optional: 10mm for a looser weave). An 8mm or 9mm hook will be ideal for a medium-chunky yarn and create a texture closer to the basket in the image. (Optional: A 10mm hook can also be used for a slightly looser and larger basket, which is also beginner-friendly). If your yarn label suggests a different hook size, use that as a guide.
- ✂️ Scissors: For snipping your yarn, of course! Any scissors will do.
- 🧵 Yarn Needle (or Tapestry Needle): This is like a big, blunt sewing needle with a large eye. We’ll use it to tuck in the yarn ends neatly at the end, so everything looks super polished and professional.
Let’s Get Crocheting!
Ready to turn yarn into a beautiful basket? Awesome! If you’ve never picked up a crochet hook before, don’t worry at all. We’re going to start with the absolute basics and take it one step at a time.
Think of crocheting like building with loops of yarn instead of blocks!
Basic Crochet Stitches for Your Basket
Before we make our basket, let’s learn a few super simple crochet moves. These are the building blocks of almost all crochet projects, and they are really easy to get the hang of. We’ll be using these stitches to create the textured look of the basket in the image.
- Slip Knot: This is how we start every crochet project! Make a loop with your yarn, leaving a tail. Imagine you’re making the letter ‘p’. Put your hook through the loop from the front, grab the yarn coming from the ball (this is called the ‘working yarn’), and pull it through the loop on your hook. Pull the tail to tighten the knot onto your hook. Congratulations, you’ve made a slip knot!
- Chain Stitch (ch): This is the foundation of many crochet projects, like making a necklace out of yarn loops! Hold your hook with the slip knot on it. Wrap the working yarn around your hook from back to front (this is called ‘yarn over’ or ‘yo’). Now, pull that yarn through the loop that’s already on your hook. You’ve made a chain stitch! Repeat this to make a chain as long as you need. Each ‘v’ shape you create is a chain stitch. We’ll use chains to start our basket.
- Single Crochet (sc): This is a nice, short stitch and it’s perfect for making a sturdy fabric for our basket. Imagine you’re making little, tight knots in a row. To make a single crochet, first insert your hook into the stitch you are working into (we’ll show you where in the next steps!).Yarn over (wrap the yarn around your hook), and pull that loop of yarn back through the stitch. You will now have two loops on your hook. Yarn over again, and pull that yarn through both loops on your hook. You’ve made a single crochet! This stitch is used throughout the basket in the image, giving it that lovely, dense texture.
- Slip Stitch (sl st): This is a very simple stitch that we’ll use to join rounds together and to finish off. It’s like a super-fast single crochet, but without the yarn overs! To make a slip stitch, insert your hook into the stitch. Yarn over and pull that loop of yarn directly through both the stitch you just went into and the loop already on your hook. It’s quick and creates a flat, almost invisible join.
Step-by-Step Basket Creation
Okay, now we know the basic moves. Let’s make our basket! We’re going to work in rounds, starting from the bottom and building upwards, just like building a little yarn pot!
Refer to the image to see the lovely round shape and consistent texture of the basket as we go.
Round 1: Magic Ring
- Make a loop of yarn, leaving a tail (about 4-6 inches long). Hold the loop where the yarn crosses over.
- Insert your hook into the loop.
- Yarn over and pull up a loop (like making a chain stitch inside the loop). This secures your magic ring.
- Now, we are going to work single crochet stitches into the magic ring. Work 6 single crochet stitches into the magic ring. Imagine you are putting your hook into the center of the loop and making single crochets all around. Don’t make them too tight!
- Once you have 6 single crochet stitches, gently pull the yarn tail to close the center ring tight.
- Join to the first single crochet stitch of the round with a slip stitch. This means you slip stitch into the very first single crochet you made in this round, to close the circle.You’ve finished Round 1! You should have a tiny circle now.
Round 2: Increasing in Each Stitch
- Increase in each stitch around. This means you will make 2 single crochet stitches in every single crochet stitch from the previous round.
- So, in the first stitch of Round 1, make 2 single crochet stitches. In the next stitch, make 2 single crochet stitches, and keep going all the way around.
- You will have made 12 single crochet stitches in total in this round (because 6 stitches from the last round x 2 = 12).
- Join to the first single crochet of this round with a slip stitch.Round 2 is done! Your circle is getting bigger!
Round 3: Spaced Increases
- *Single crochet in the next stitch, increase in the stitch after that.* Repeat from * to * around. This means you do one single crochet in the first stitch, then two single crochet stitches in the next stitch (that’s your increase). Then one single crochet in the next stitch, then two in the next, and so on, all the way around the circle.
- You should end up with 18 single crochet stitches in this round.
- Join with a slip stitch to the first single crochet. Round 3 complete!
Round 4 and onwards (Base of the Basket)
We’ll keep increasing in a similar way to make the base of our basket flat and round, just like you see in the image. For each round, we’ll add one more single crochet stitch between the increases.
- Round 4: *Single crochet in the next 2 stitches, increase in the next stitch.* Repeat around. (You’ll have 24 stitches)
- Round 5: *Single crochet in the next 3 stitches, increase in the next stitch.* Repeat around. (You’ll have 30 stitches)
- Round 6: *Single crochet in the next 4 stitches, increase in the next stitch.* Repeat around. (You’ll have 36 stitches)
… and so on. Keep going, increasing in this way (adding one more single crochet between each increase every round) until your base is about 6-8 inches in diameter, or the size you prefer. Look at the image – the base is a nice round circle.
If your base starts to ruffle or wave, you might be increasing too fast. If it starts to cup inwards, you might need to increase more often. But for this simple basket, increasing as described should work perfectly to achieve a flat base like the one in the image.
Starting the Basket Walls (Going upwards)
Once your base is the size you like, we’re going to start working upwards to create the sides of the basket. We’ll do this by changing where we put our hook for each stitch.
- Round (Wall Round 1): Back Loop Only Single Crochet (BLO sc) in each stitch around. This sounds a bit technical, but it’s easy! Normally, when you crochet, you put your hook under both loops of the stitch from the row below.For this round, we are only going to put our hook under the back loop of each stitch. If you look closely at the top of your stitches from the previous round, you’ll see they look like ‘v’ shapes. The loop closer to you is the ‘front loop’, and the loop further away is the ‘back loop’. For this round, insert your hook under only the back loop of each stitch and make a single crochet. Do this in every stitch around.This creates a nice ‘ridge’ or ‘bend’ where the base meets the wall, giving your basket a defined shape, just like the one in the image!
- Join with a slip stitch.
Adding the Decorative Band (Optional)
(This step is optional if you want to add a decorative band around the middle of your basket, similar to the one in the image. If you prefer a solid color basket, you can skip this section and continue with “Continuing the Basket Walls”).
- Change Yarn Color (Optional): If you want a different colored band, fasten off your current yarn color and join a new color. For a band like the one in the image, choose a contrasting, but complementary color. If you want the band to be the same color but just textured, continue with the same yarn.
- Row of Contrasting Color Single Crochet Band: To create a simple decorative band like the one in the image, crochet one round of single crochet using a contrasting color yarn. Work one single crochet in each stitch around. Join with a slip stitch at the end of the round and fasten off the contrasting color yarn.
- Rejoin Main Color: Rejoin your main yarn color to continue with the next section.
Continuing the Basket Walls
Now we just keep crocheting in rounds to make the walls as tall as you want your basket to be!
- Round (Wall Rounds 2 onwards): Single crochet in each stitch around. For all the rounds after the first wall round (and after the decorative band round, if you added it), just do regular single crochet stitches (going under both loops of the stitch again, unless told otherwise). Work in a continuous spiral, or join each round with a slip stitch if you prefer a more defined round.If you join with a slip stitch, remember to chain 1 at the start of each new round before you start single crocheting. Just keep going, round after round, until your basket is about 6-7 inches tall, or the height you like! Look at the image again – the basket walls are straight and sturdy, perfect for holding their shape.
Steps in Brief
Here’s a quick overview of the steps to make your stylish yarn basket:
- 🧶 Start with a magic ring and make 6 single crochet stitches in Round 1.
- 📈 Increase in each round to create a flat base.
- ⬆️ Switch to back loop only single crochet for one round to start the walls.
- 🎨 Optional: Add a decorative band in a contrasting color or texture.
- 🧱 Single crochet in each stitch for the rest of the rounds to build the basket walls to your desired height.
- 🧵 Fasten off and weave in ends to finish neatly.
You Did It!
Give yourself a huge pat on the back! You’ve just crocheted your very own stylish yarn basket! Isn’t it satisfying to see something so useful and pretty that you made with your own hands? Your finished basket will look wonderfully similar to the one in the image, with its sturdy shape and lovely texture, especially if you added the decorative band!
This basket is the perfect size for keeping your yarn balls organized and looking beautiful in your craft space, just like you can see in the photo. It adds a touch of handmade charm to any room!
By using a medium-chunky yarn and an 8mm or 9mm hook, you’ve created a basket with a lovely texture similar to the one in the image. If you used a 10mm hook, your basket might be slightly larger and have a more open weave, which is also beautiful and beginner-friendly!
Feel free to personalize your basket even further! Experiment with different colors for the band, or try adding other simple stitch patterns for texture. The possibilities are endless!
We’d absolutely love to see your creations! Please share photos of your finished yarn baskets – it makes us so happy to see what you make. Happy crocheting!