The Ultimate Guide to Making Delicious Homemade Vanilla Extract
Vanilla extract is the secret weapon in many bakers’ arsenals, imparting a rich, complex flavor to everything from cookies to cakes. While it’s easy to grab a bottle from the store, creating your own vanilla extract at home can be a rewarding experience that yields a superior product. In this comprehensive guide, we’ll walk you through the process of making pure, natural vanilla extract using a time-honored technique that’s both simple and effective.
Understanding Vanilla Extract: Nature’s Flavor Enhancer
At its core, vanilla extract is an infusion that captures the essence of vanilla beans. This concentrated flavoring is a staple in baking and cooking, adding depth and warmth to countless recipes. By making it at home, you can control the quality and purity of your extract, ensuring a superior flavor profile in all your culinary creations.
Types of Vanilla Beans: A World of Flavors
Vanilla beans come in several varieties, each with its unique characteristics:
- Madagascar Bourbon: The most common type, known for its rich, creamy flavor.
- Tahitian: Floral and fruity, with cherry-like notes.
- Mexican: Bold and smoky, perfect for spicy or savory dishes.
Ingredients and Equipment: Setting the Stage for Success
Creating your own vanilla extract requires just a few key ingredients and tools:
Choosing the Right Vanilla Beans
Look for plump, oily beans with a strong aroma. Grade A beans are ideal for extract-making due to their high moisture content.
Essential Ingredients
- High-quality vanilla beans
- Food-grade vegetable glycerin
- Filtered water
Tools and Containers
- Clean glass bottles or jars with tight-fitting lids
- Sharp knife or scissors
- Funnel (optional, but helpful)
Step-by-Step Guide: Crafting Your Liquid Treasure
Now, let’s dive into the heart of the process:
- Prepare the Vanilla Beans:
- Split each bean lengthwise, exposing the tiny seeds inside.
- Cut the beans into 1-inch pieces to increase surface area.
- Combine Ingredients:
- Place the prepared beans in your chosen container.
- Mix equal parts glycerin and water.
- Pour the glycerin mixture over the beans, ensuring they’re fully submerged.
- Seal the container tightly.
- Store and Age:
- Keep the mixture in a cool, dark place.
- Shake the container gently once a week.
- Let it infuse for at least 8 weeks, though 3-6 months will yield a richer flavor.
- When Is It Ready?:
- Your extract is usable after 8 weeks, but the flavor will continue to develop.
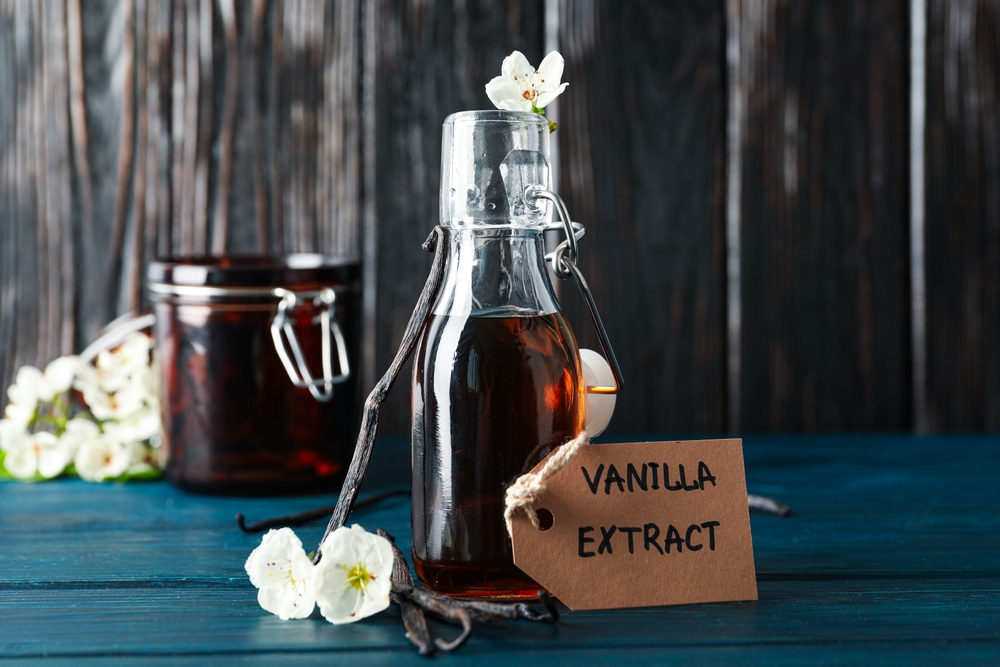
- The liquid should be dark brown with a strong vanilla aroma.
Tips for Success: Elevating Your Extract
To ensure the best results, keep these tips in mind:
- Ratio: Use about 5-6 vanilla beans per cup of glycerin mixture for a robust flavor.
- Enhancing Flavor: Add a split vanilla bean to your bottle of extract to intensify the flavor over time.
- Patience is Key: The longer you let your extract infuse, the richer and more complex the flavor will become.
Creative Variations: Expanding Your Vanilla Horizons
Once you’ve mastered the basic recipe, try these exciting variations:
- Vanilla-Cinnamon Extract: Add a cinnamon stick to your infusion.
- Vanilla-Coffee Extract: Include a few coffee beans for a mocha-inspired flavor.
- Vanilla Bean Paste: Blend your extract with vanilla bean seeds for a thick, paste-like consistency.
Using Your Homemade Vanilla Extract: A Culinary Adventure
Your homemade extract isn’t just for baking! Here are some innovative ways to use it:
- Baking: Enhance cakes, cookies, and pastries.
- Beverages: Add depth to smoothies, hot chocolate, or mocktails.
- Savory Dishes: Use a drop in tomato-based sauces or marinades for vegetables.
The Economics of Homemade Vanilla Extract: Savings in Every Drop
While the initial cost might seem high, homemade vanilla extract is a long-term investment:
- A 4-ounce bottle of premium store-bought extract: $10-$15
- Cost of homemade (same quantity): $5-$8 after the first batch
Plus, you can continuously top off your homemade extract with more glycerin mixture, making it last even longer.
Frequently Asked Questions: Demystifying the Process
Q: How long does homemade vanilla extract last? A: Properly stored, it can last for several years due to the preservative nature of glycerin.
Q: Can I use imitation vanilla beans? A: For the best flavor and quality, always use real vanilla beans.
Q: Is homemade vanilla extract safe to consume? A: Yes, when made with food-grade ingredients and properly stored, it’s completely safe.
Conclusion: Your Journey to Vanilla Mastery
Creating your own vanilla extract is more than just a culinary project—it’s a journey into the heart of flavor. With patience and quality ingredients, you’ll produce an extract that surpasses anything you can buy off the shelf. The process is simple, the results are extraordinary, and the satisfaction of using your own homemade extract in your favorite recipes is unparalleled.
So why wait? Gather your ingredients, embrace the process, and start your vanilla-making adventure today. Your taste buds—and your baked goods—will thank you.