The Best Way to Cool a Cake Without Drying It
Are you tired of spending hours baking the perfect cake, only to have it turn dry and crumbly during the cooling process? You’re not alone. Many home bakers struggle with this common issue, but fear not! In this comprehensive guide, we’ll explore the best techniques to cool your cake while keeping it moist and delicious. Whether you’re a beginner or an experienced baker, these expert tips will help you achieve bakery-quality results every time.
Understanding the Science of Cake Cooling
Before we dive into the practical steps, it’s essential to understand why proper cooling is crucial for your cake’s texture and taste.
The Role of Temperature in Cake Structure
When a cake comes out of the oven, its structure is still setting. The proteins and starches in the batter are continuing to coagulate and gel, respectively. Cooling too quickly can cause the cake to contract rapidly, leading to cracks or a tough texture. On the other hand, cooling too slowly can result in a gummy texture and increased risk of bacterial growth.
How Moisture Behaves During the Cooling Process
As your cake cools, moisture within the cake moves from warmer areas to cooler ones. This process, known as moisture migration, can lead to a dry cake if not managed properly. The goal is to allow some moisture to escape (to prevent sogginess) while retaining enough to keep the cake moist.
The Impact of Cooling Methods on Cake Texture and Taste
Different cooling methods can significantly affect your cake’s final texture and flavor. Rapid cooling might preserve moisture but can lead to a dense texture, while slow cooling allows for better flavor development but risks drying out the cake. Finding the right balance is key to achieving the perfect cake.
Essential Tools for Cooling Cakes
Before we get into the cooling process, let’s ensure you have the right tools on hand:
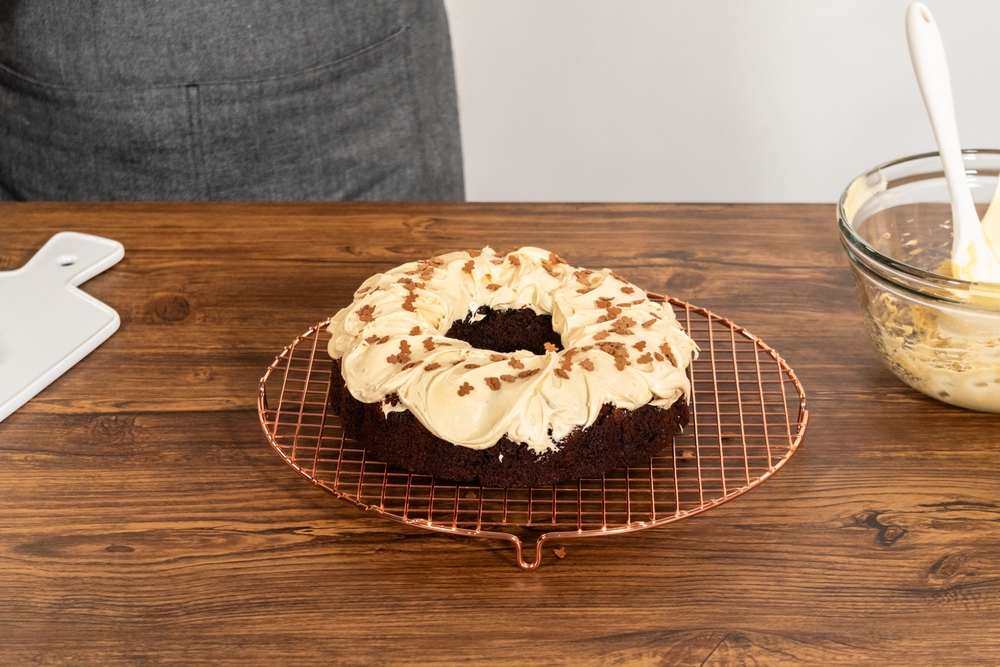
- Cooling racks: These allow air to circulate around the entire cake, promoting even cooling. Wire racks are ideal for most cakes.
- Cake leveler: This tool helps you create even layers, which is crucial for uniform cooling and stacking.
- Cake boards: These provide a sturdy base for moving and storing your cooled cakes.
- Parchment paper: Use this to line your pans for easy cake removal.
Having these tools ready will make the cooling process smoother and more effective.
Step-by-Step Guide to Cooling a Cake Without Drying It Out
Now, let’s walk through the process of cooling your cake to perfection:
Immediate Post-Baking Steps
- Timing the initial cooling period: Once you’ve removed your cake from the oven, set a timer for 10 minutes. This brief period allows the cake to set slightly, making it easier to remove from the pan.
- Loosening the cake from the pan: After 10 minutes, run a thin knife or offset spatula around the edges of the cake to loosen it from the sides of the pan.
Proper Removal Techniques
- Inverting the cake onto a cooling rack: Place a cooling rack on top of the cake pan, then quickly flip both together. Gently lift the pan off the cake. If you’ve used parchment paper, peel it off slowly.
- Handling delicate cakes: For very delicate cakes, like chiffon or angel food, cool them in their pans upside down to prevent collapsing.
The Two-Stage Cooling Process
- Initial rapid cooling: Leave the cake on the rack for about 1-2 hours, or until it reaches room temperature. This allows excess moisture to evaporate without drying out the cake.
- Gradual room temperature cooling: Once at room temperature, move the cake to a cooler area of your kitchen for another hour. This gradual cooling helps develop flavor and set the texture.
Wrapping Techniques for Moisture Retention
- When to wrap the cake: Once the cake is completely cool to the touch, it’s time to wrap it.
- Best materials for wrapping: Use plastic wrap for short-term storage (1-2 days) or aluminum foil for longer storage. Wrap the cake tightly to prevent air from drying it out.
Advanced Cooling Techniques for Different Cake Types
Different types of cakes require slightly different cooling approaches:
- Sponge and chiffon cakes: Cool upside down to maintain their light, airy texture.
- Dense cakes (like pound cakes): These can be left in the pan for up to 15 minutes before removing to cool on a rack.
- Layered cakes and tortes: Cool layers separately on racks before assembling.
- Cheesecakes and custard-based cakes: Let these cool in their pans in the turned-off oven with the door slightly ajar to prevent cracking.
Common Cake Cooling Mistakes and How to Avoid Them
Be aware of these common pitfalls:
- Cooling cakes in the pan: This can lead to soggy bottoms and overcooked edges.
- Rushing the cooling process: Patience is key! Cooling too quickly can cause the cake to crack or become dry.
- Improper wrapping techniques: Wrapping a warm cake can trap steam and make it soggy.
- Refrigerating cakes too soon: This can dry out the cake and alter its texture.
Troubleshooting Cooling Issues
Even experienced bakers encounter problems. Here’s how to handle common issues:
- Dealing with stuck cakes: If your cake sticks, try steaming it out by placing a damp cloth over the bottom of the pan for a few minutes.
- Fixing cracks and breaks: Use frosting or simple syrup to “glue” broken pieces back together.
- Salvaging over-dried cakes: Brush layers with simple syrup to add moisture back into the cake.
Expert Tips for Perfectly Cooled Cakes
Take your cake cooling skills to the next level with these pro tips:
- Using simple syrup: Brush cooled cake layers with a flavored simple syrup to add moisture and enhance flavor.
- The “upside-down” cooling method: For extra-moist cakes, place a clean tea towel on your cooling rack before inverting the cake onto it. The towel helps retain moisture.
- Utilizing steam for ultra-moist cakes: For some cakes, covering them with a dome while they cool can help retain moisture through steam.
Storing and Serving Your Perfectly Cooled Cake
Proper storage is crucial for maintaining your cake’s moisture and flavor:
- Short-term storage: Keep at room temperature in an airtight container for 2-3 days.
- Long-term storage: Freeze unfrosted layers wrapped tightly in plastic wrap and aluminum foil for up to 3 months.
- Bringing refrigerated cakes to room temperature: Let the cake sit out for 30 minutes to 1 hour before serving for the best flavor and texture.
Conclusion
Mastering the art of cooling cakes without drying them out is a game-changer for any baker. By understanding the science behind the process and following these expert tips, you’ll be able to create moist, delicious cakes that rival those from any professional bakery. Remember, patience is key – resist the urge to rush the cooling process, and your taste buds will thank you. Happy baking!
FAQs
Q: Can I put a hot cake in the fridge to cool it faster? A: It’s not recommended. Rapid cooling can cause the cake to become dense and gummy. Always cool cakes at room temperature first.
Q: How long should I wait before frosting a cake? A: Wait until the cake is completely cool to the touch, which usually takes 2-3 hours. Frosting a warm cake can cause the frosting to melt and slide off.
Q: My cake always sticks to the cooling rack. What am I doing wrong? A: Try lightly greasing your cooling rack or placing a piece of parchment paper between the rack and the cake.
Q: Is it okay to leave a cake out overnight to cool? A: For most cakes, it’s fine to leave them out overnight to cool, as long as they’re covered once they reach room temperature. However, cakes with perishable fillings should be refrigerated.
Q: How can I tell if my cake is completely cool? A: Touch the bottom center of the cake. If it feels cool to the touch and there’s no warmth, it’s fully cooled and ready for frosting or storage.