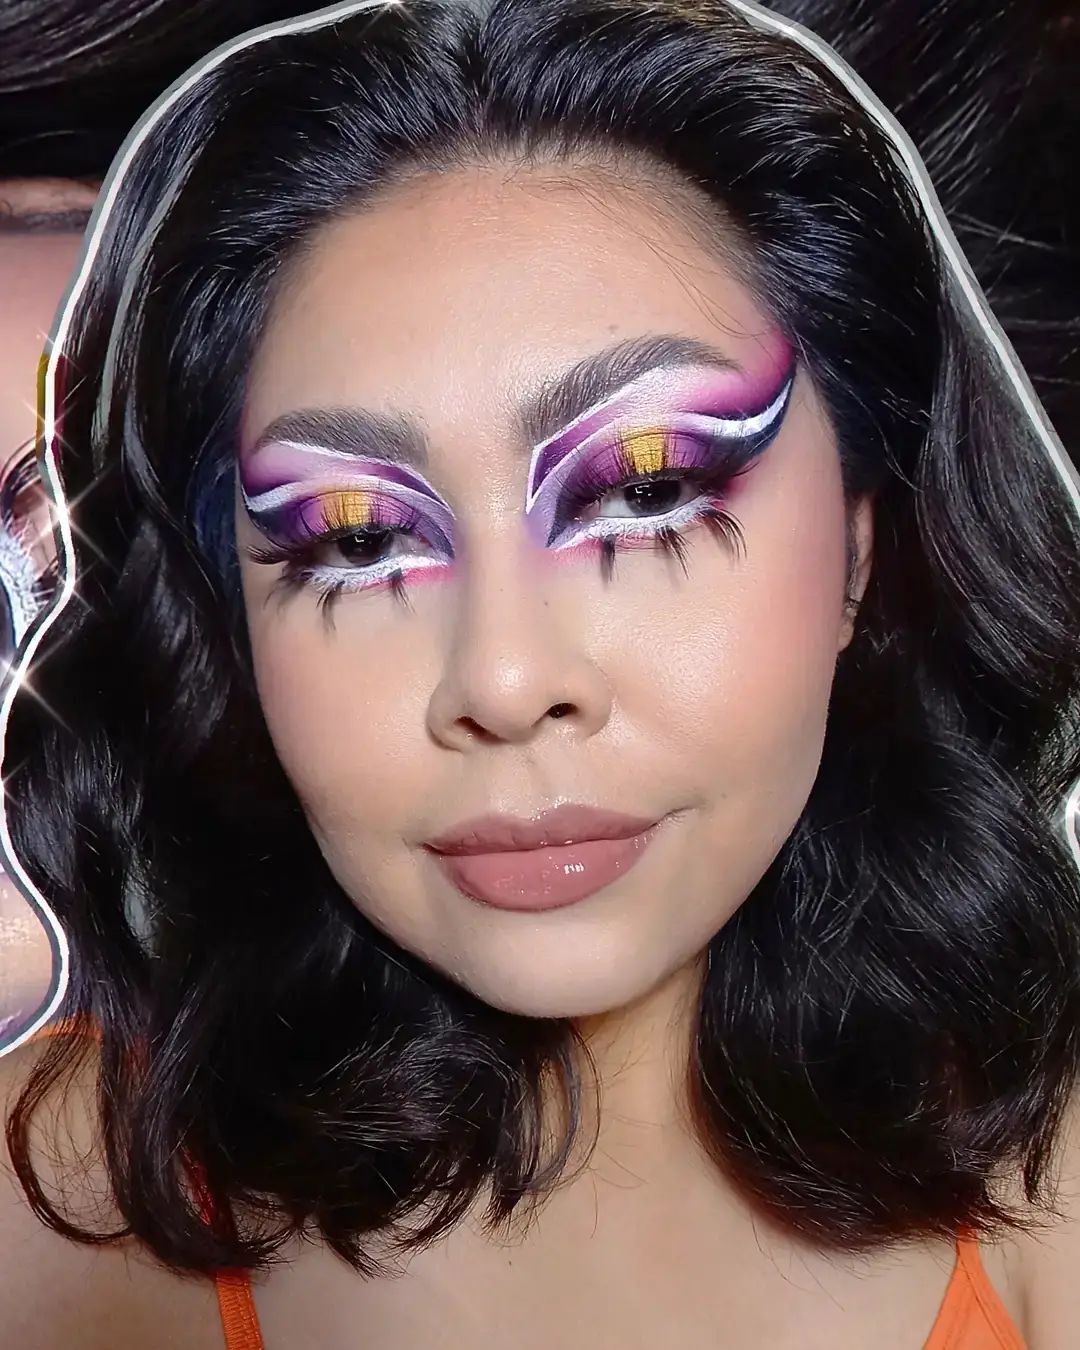
Cut Crease is not a new handicraft trend, but the technique in terms of eye make-up. We explain why the new make-up technique is so popular and how it works.
Many feel put off by special eye makeup techniques, as you need a bit of flair to make them look really good in the end. However, the Cut Crease is relatively easy to implement if you pay attention to a few little things. And its effect is simply phenomenal!
What is a Cut Crease?
As already mentioned, the Cut Crease is a special eye make-up. The cut crease is primarily used here. It stands out from the rest of the lid, especially the moving part, as if by a cut. The special, intense look is achieved by making up the moving lid in a light shade and the crease in a darker shade This makes the eye appear more defined and expressive, giving it more depth.
Due to the use of light and dark shades to achieve breaks around the eyes, Cut Crease could also be called “contouring for the eyes”.
Cut Crease vs. Smokey Eyes
At first glance, Cut Crease and Smokey Eyes are very similar. Both techniques create an intense, dramatic look. And with both makeup techniques, this effect is achieved through the use of dark colors.
While the Smokey Eyes are particularly impressive because of their smoky appearance – hence the English term “smokey” for “smoky” – cut-crease eyes are much more defined, but also extremely se xy.
With both techniques, at least two eyeshadow colors are usually used. But these are distributed in different ways. With Smokey Eyes, the inner part of the eyelid, i.e. the part that is closer to the eye, is made up with the darkest color, while further outside it becomes lighter and lighter. With Cut Crease, the part just above the crease of the eyelid is given the dark color, while the movable lid is made up with the lighter shade. In both techniques, the transitions are carefully blurred.
Instructions
1. How to apply make-up for Cut-Crease-Eyes – Step by step
You need:
- Eye shadow base (not absolutely necessary, but good for a long-lasting
- two eyeshadow colors, one darker, one lighter (when choosing, stay in the same color family if possible, i.e. a light brown and a dark or a light gray and a darker gray. Or simply choose a neutral cream or white for the lighter part). Both tones should stand out from each other as much as possible.
- Eyeshadow brush, beveled as slightly as possible (but you can also use your fingers.)
- Mascara
Step 1
It is best to first apply an eyeshadow base. It ensures that the eyeshadow stays where it belongs. In addition, this primer can make the colors appear more intense.
Step 2
Apply the darker eyeshadow along the crease of the eyelid. If possible, orientate yourself on the upper part of the fold, i.e. where you can feel the bone. Lightly shade the dark shade both towards the inside of the eye and towards the brow.
Step 3
Now it’s the turn of the movable lid. Apply the light shade of eyeshadow here.
Step 4
To round off the look, you can now also apply the dark eyeshadow directly above the lash line (where an eyeliner would otherwise be). Just as below the eye. A fine or strong eyeliner can now also be drawn. But this is purely a matter of taste.
Step 5
At the end you should give the lashes a lot of coverage, preferably with black, but a brown shade can also achieve a nice effect.
2. Cut Crease – Made especially easy
You need:
- a small plastic spoon
Step 1
First apply an eyeshadow base as described above.
Step 2
Now first apply the light eyeshadow to the movable eyelid.
Step 3
Now cover the movable eyelid with the plastic spoon and apply the dark eyeshadow above the plastic spoon. Then blend in lightly.
Step 4
Remove the plastic spoon and correct any small mistakes or blend them further.
Step 5
Round off the whole thing with mascara and possibly an eyeliner.
More tips for the cut crease
- Color experiments: The Cut Crease can be made up in all imaginable colors. So why not combine dark and light purple tones, for example. This gives green eyes a special color intensity.
- Metallic and extreme glitter: If you want something more festive, you can also choose metallic eyeshadows for the Cut Crease. Eye shadows with glitter particles also look great then.
- Make up big eyes: A white kohl pencil on the waterline opens the eyes optically.
- Charcoal pencil: The crease of the eyelid does not necessarily have to be made up with an eyeshadow. The cut crease works well with a kohl or charcoal pencil. Some even find it easier to use a pen because you can work with it more precisely. That is a matter of taste and depends on the individual make-up routine.
Can you also wear the Cut Crease in everyday life?
The great thing about Cut Crease is that you can make it up in dark, intense colors, but you can also fall back on light, more restrained tones. This allows you to integrate the Cut Crease into evening make-up as well as make-up for everyday use. With light beige and brown tones, the Cut Crease is even suitable for the office.

