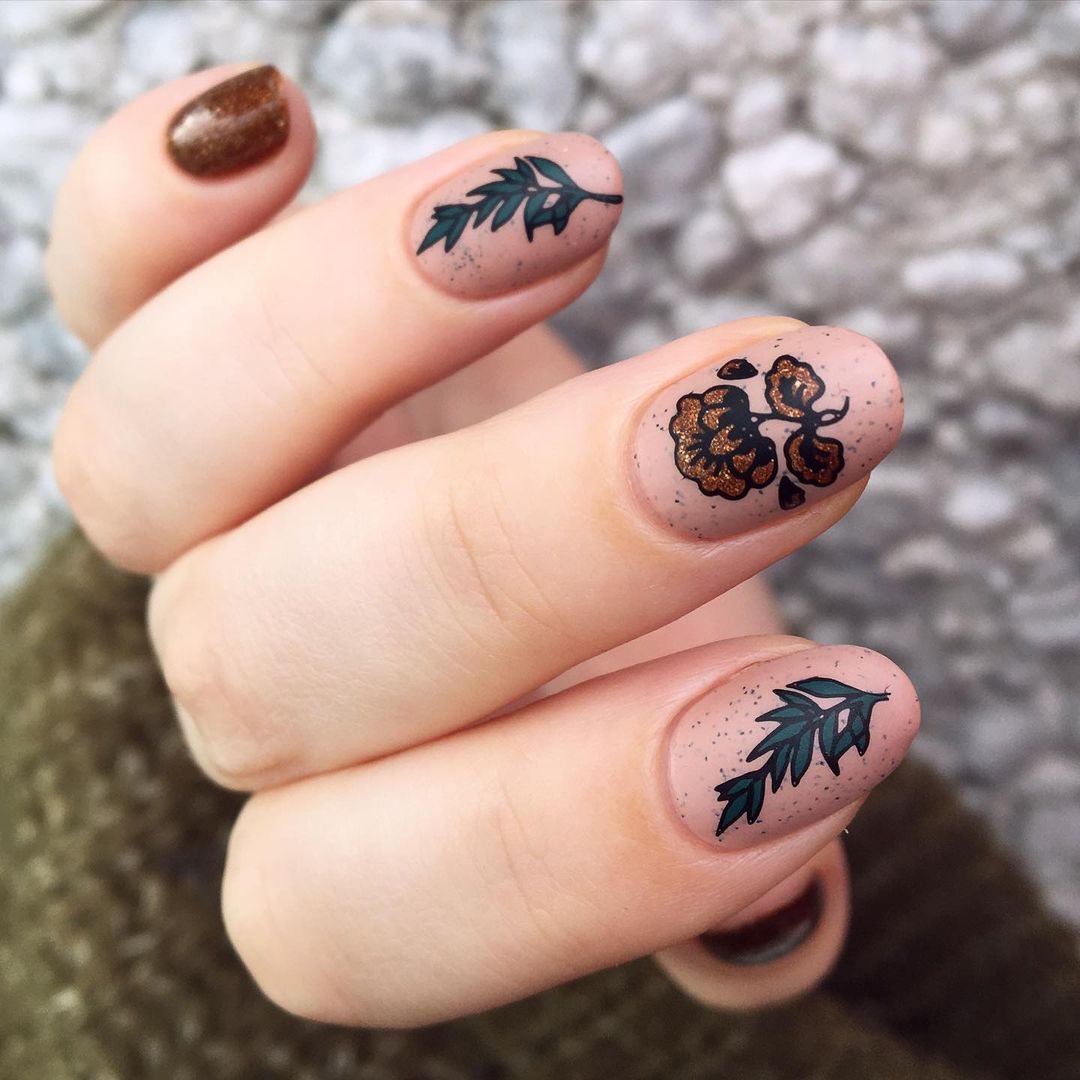
Nail styling is an exciting profession in which creation has no limits! Nail stylists are inspired by painting techniques to transform nails into true works of art. The incredible palette of colors and textures offered by UV gels and acrylic paints allows to create all kinds of nail decorations. Here is for the beginners in nail art, a small overview of the different drawing techniques.
One stroke technique
The one stroke is a Nail Art technique that consists in making drawings on the nail with a brush soaked in 2 colors of acrylic paint nail art. The fact of applying a light color and a dark color at the same time allows to work gradients very easily and to obtain depth and volume. This technique allows you to create beautiful floral designs. As in painting and drawing, it is the contrast between light and shadow that creates relief and brings your design to life.
One stroke designs are made with flat and/or beveled nail art brushes and acrylic paint.
To make a nail art in one stroke, take on the corners of a brush moistened, red and white for example. By working the two colors at the same time you will get a nice pink gradient with which you can draw on the nail the patterns of your choice.
There are different ways to create one stroke designs. You can apply this mixture of 2 colors:
- with the flat of the brush,
- with the edge of the brush for fine lines or strokes,
- by touch, i.e. by lightly tapping your brush or by making a light zig-zag movement which will create relief in the drawing.
Watercolor nail art
The watercolor nail art technique involves drawing on the nail with watercolor paint in a tube or cup. This highly pigmented paint can be worked with water with fine, flat brushes, ideally brushes made of natural bristles such as the Kolinsky brushes.
The decorations in watercolor paint can only be worked on frosted supports such as gel or resin for better grip. The “watercolor” effect and result is created by the paint, which when diluted provides soft colors and typical transparent gradients. The whole technique is based on how much water you use and how to stretch and dilute the color. We finish this decoration by protecting its watercolor drawing with a finishing gel, taking care to border the nail well to protect the pattern.
Stamping
Stamping is a technique that allows you to decorate nails on false nails or natural nails very quickly, using a stamp. Stamping consists more precisely in transferring an engraved motif into a plate using a stamp and a special stamping varnish. Not all varnishes work well in stamping. For the transfer to work properly, the varnish must be highly pigmented and opaque.
Foil
Foil is an ultra-fine metallic finish paper, sold in the form of rolls. It helps to give a unique metallic look on the nail that cannot be achieved otherwise. The foil technique consists of gluing the foil on all or part of the nail, which, like a gold leaf, metallize it. The foil is applied to all gel colors thanks to a special glue: the foil glue.
Optionally, the foil can be applied directly to the sticky residue of a UV gel, provided it is a special UV gel foil. In this case, the foil is placed after lengthening the nail and lengthening the plate, on the sticky of the colored gel, before continuing with the construction, the filing and ending with any additional decoration.
The foil allows you to create all kinds of effects and can be combined perfectly with other nail art techniques such as the 3D effect.
3D nail art
3D is an impressive nail art technique that allows you to sculpt any pattern of your choice in 3D on the nail. Flowers, fruits, ribbons, roses, lace, Santa Claus, anything is possible! 3D nail decorations are made in gel or resin.
The 3D gel has the advantage of infinitely sculpting because it dries only under a UV lamp. It is worked with a dotting tool, or a brush and cleaner. You can flatten it, stretch it, shape it until you create the 3D shape you want. The resin is sculpted little by little, ball after ball, using a brush. The shaping is done by crushing, stretching and connecting the resin balls together.
These 3D decorations, whether made in gel or resin, are then enhanced by an acrylic paint job to accentuate the volumes and colors.

