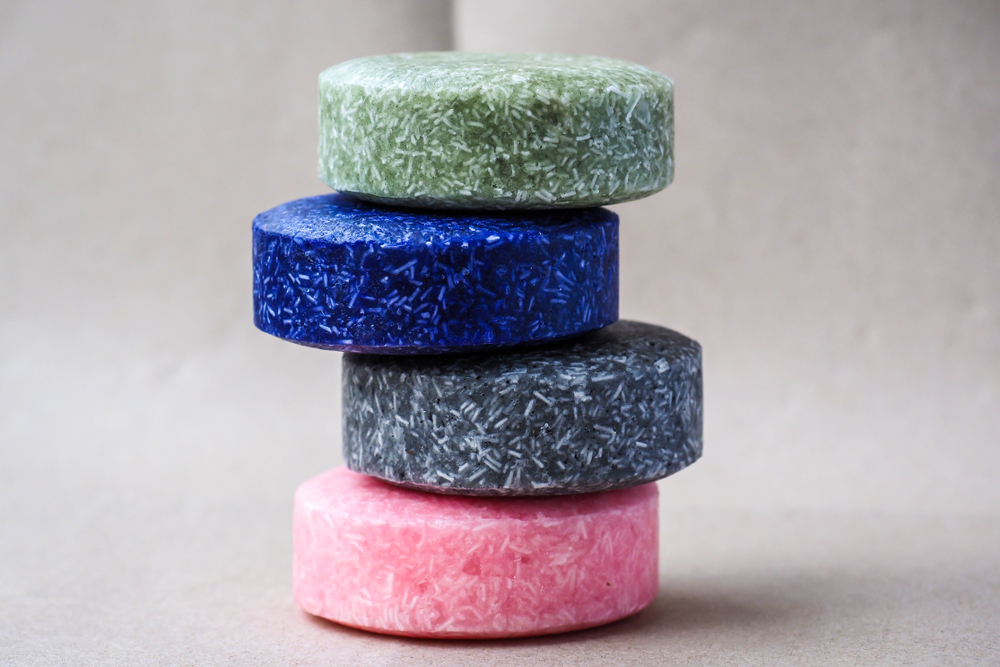
Making shampoo bars yourself is not difficult at all. The decorative soaps are a cheap and environmentally friendly alternative to liquid shampoo and also ensure beautiful and well-groomed hair. We’ll show you how to do it.
Compared to conventional shampoos, homemade shampoo bars offers many advantages. Shampoo bars have many advantages over conventional shampoos: it contains no synthetic surfactants, but many nourishing and natural ingredients. This not only protects your hair, but also the environment. In addition, one bar of hair soap lasts about as long as two bottles of shampoo, saving you money.
You can easily make your own shampoo bar with just a few ingredients. This way, you know exactly which ingredients are in it and can tailor the recipe to your specific needs. How this works, we explain to you below step by step.
Homemade Shampoo Bar
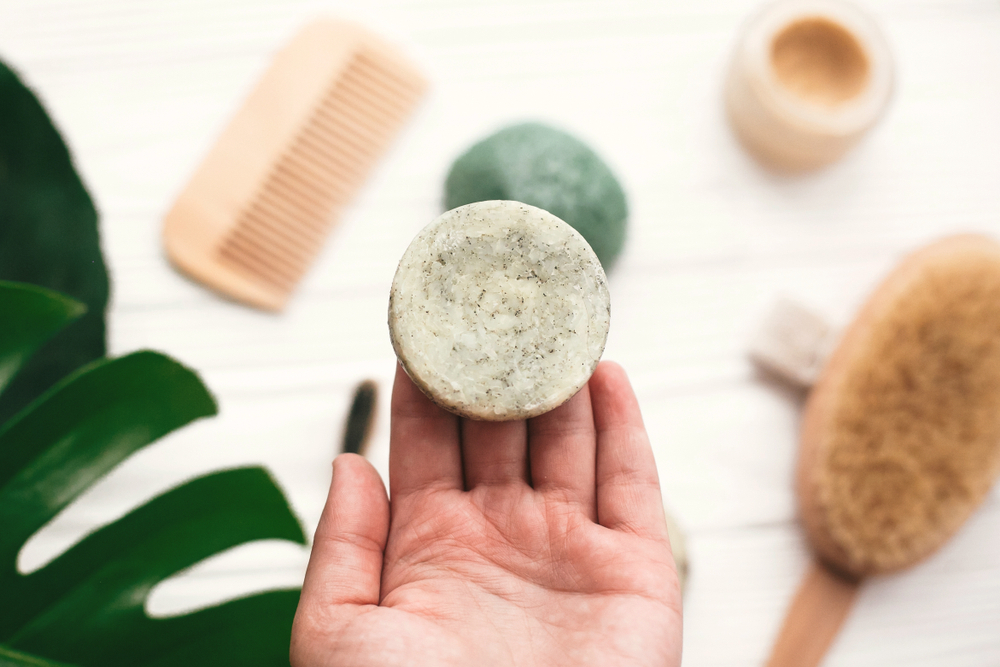
There are basically two ways to make hair soap yourself. You can either work with existing curd soap or boil your soap from scratch. In the following we will introduce you to both options. For beginners, we recommend using curd soap as this is the easier way.
1. Making shampoo bar with curd soap
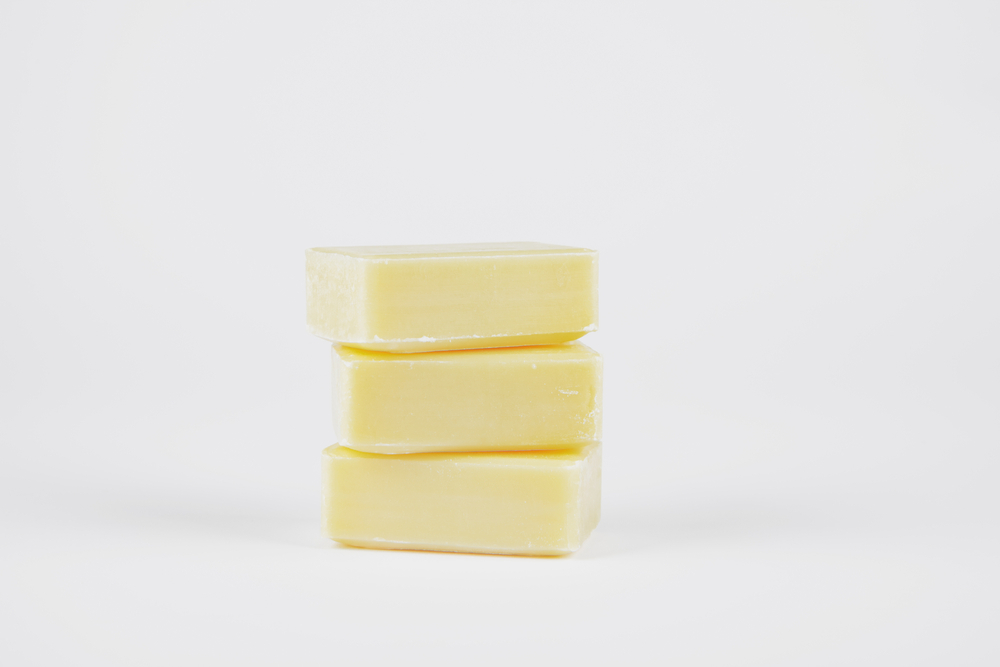
For this, you take a melted curd soap as a base and enrich it with oils, herbs and flowers according to your own wishes. This is simple and leads in the result to a good hair soap (shampoo bar).
You need the following ingredients:
- 100 g curd soap
- 50 ml water
- 2 tablespoons olive oil or coconut oil
- 10 drops of essential oil
- Optional: flowers, herbs
Here’s how you do it:
- First you need to grind the curd soap. This is easily done with a kitchen grater or a knife. Then put the soap pieces in a pot with warm water and heat them up. Mix the ingredients until you get a thick, creamy mass.
- Next, add nourishing oils of your choice to the mixture. Olive oil or avocado oil provide intense moisture to the hair. Coconut oil makes for great lather. Castor oil is also a good choice, as it ensures good combability and a beautiful shine. Grapeseed or hemp oil are lighter oils and therefore good for thin or oily hair. Try different recipes until you find the perfect blend for your hair.
- Also mix essential oils into your recipe. These will give your hair soap a great scent. Lavender oil is said to have a stress-relieving effect. Orange and mandarin oils, on the other hand, are said to have an uplifting effect. Geranium oil has a balancing and calming effect. Again, try different combinations and find out what you like best. However, you should only add a few drops, because in high concentration essential oils can irritate the skin.
- The last step is to fill the finished mass into a silicone mold. If you wish, you can decorate the shampoo bar with flowers or herbs before letting it cool and harden. After one or two days, your the homemade shampoo bar should be easy to remove from the mold. Done!
Shampoo bar self-boiling
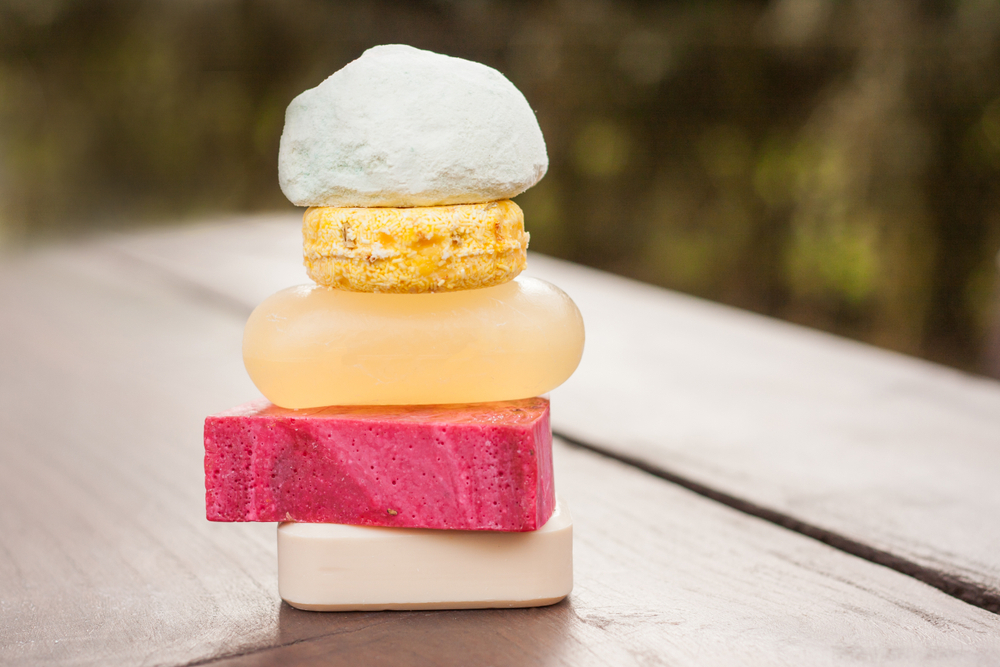
Boiling shampoo bar is a bit more complicated, not entirely harmless and therefore rather something for advanced in terms of making your own hair soap. You will need sodium hydroxide and should wear gloves, goggles and long clothing, as sodium hydroxide is corrosive when unsaponified. Be sure to avoid inhaling the fumes directly. For example, wear a respirator or work at an open window.
You need the following ingredients:
- Coconut oil
- Olive oil
- Shea butter
- Sodium hydroxide
- Cold water
- Essential oil
- Optional: soap color, herbs
Here’s how you do it:
-
- First of all, you should weigh your ingredients. To determine the exact amount of sodium hydroxide in relation to the other ingredients, be sure to use a soap calculator. The recipe will be different depending on whether you want to achieve a high or low degree of superfatness. The superfatness indicates how many unsaponified oils are present in the finished soap. Dry hair benefits from a high superfatness, thin or greasy hair from a low one.
- Pour cold water into a saucepan and gradually add the weighed sodium hydroxide while stirring constantly. Heat is generated when the water and sodium hydroxide are mixed. Caution: Be sure to follow the order and add the sodium hydroxide to the liquid slowly and never add the liquid to the sodium hydroxide.
- Set the lye aside and let it cool down.
- Slowly melt coconut oil and shea butter in a saucepan over low heat, mix well and then add the oils.
- When your lye and melted fats have cooled to about 40 degrees, pour the lye through a strainer into the melted fats. The strainer will filter out any undissolved sodium hydroxide pieces. Mix the soap suds well with a hand blender for about 30 seconds so that a creamy, homogeneous mass is formed.
- Then pour the shampoo bar into a silicone mold. When a thin layer has formed, refrigerate the soap. After 24 hours, you can remove the soap from the mold. But be careful: the soap still has to ripen. To do this, place it covered in a cool place for at least four weeks.
Tip: If you put herbs or flowers in the molds before filling the shampoo bar, they will later be found as a pretty decoration on top of the finished shampoo bar.
Applying the shampoo bar
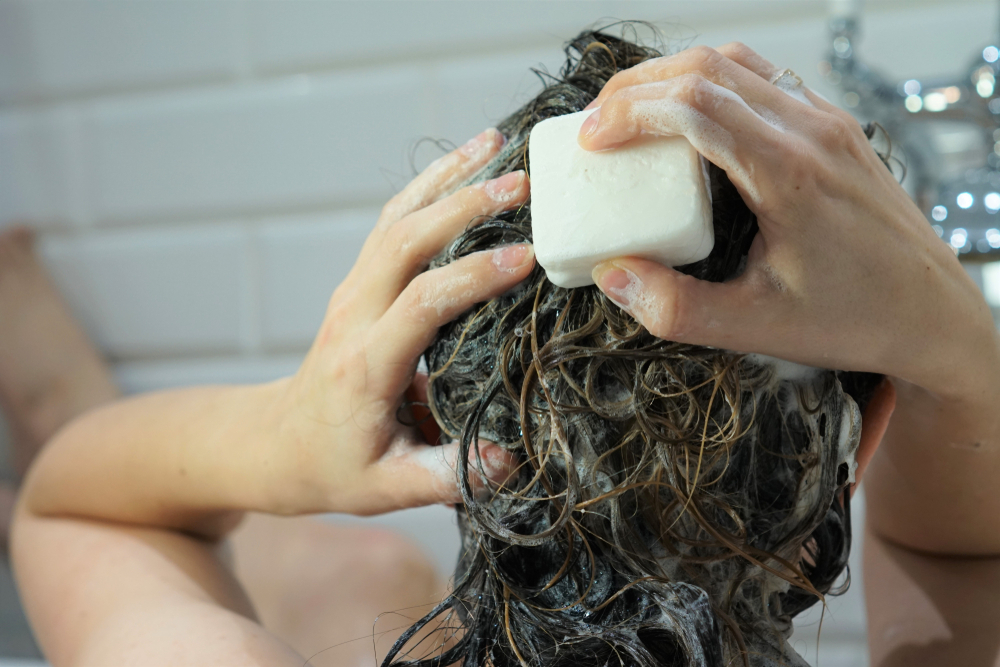
The use of the shampoo bar differs in some respects from washing your hair with a liquid shampoo. Therefore, you should follow some tips:
- Either take the whole shampoo bar with you in the shower or cut off a small piece beforehand. This way you can store the remaining shampoo bar in a dry place and it won’t soften unnecessarily.
- Lather the shampoo bar with water in your hands and spread the foam on your hair and scalp. Then rinse the foam thoroughly.
- After washing, an acid rinse of water and apple cider vinegar is recommended, which makes the hair shinier and easier to comb. Especially with hard water, an acid rinse prevents the buildup of lime soap in the hair. The rinse is not rinsed out. The smell disappears by itself when the hair dries.
- Store the shampoo bar in a soap dish or soap bag to allow it to dry and last longer.
- When you switch from liquid shampoo to shampoo bar, hair may feel stringy at first. Be patient: over time, hair will get used to the formula without artificial additives and will look healthier and shinier.

